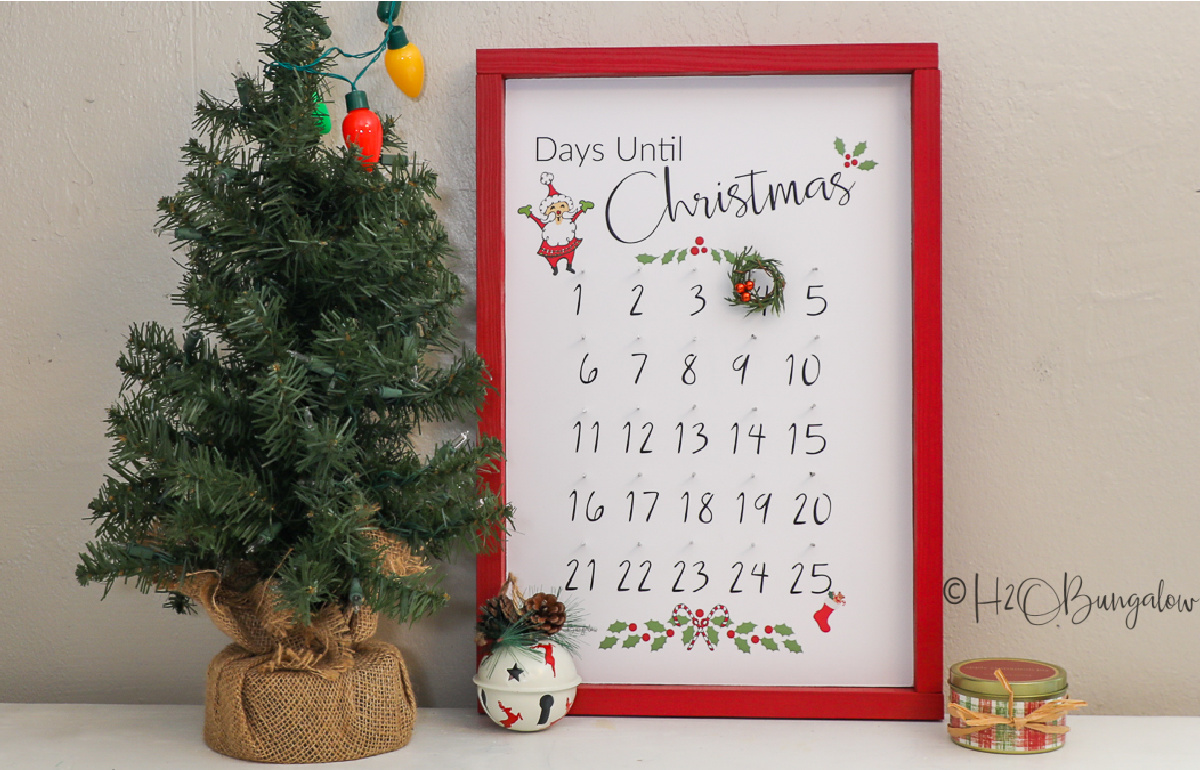
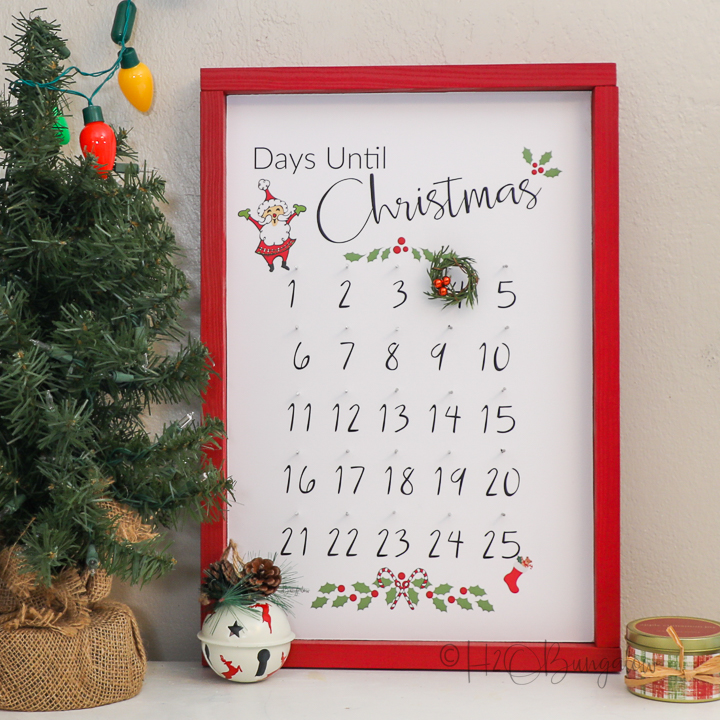
DIY Advent Calendar
Make a handmade advent calendar to display in your home this holiday season using HomeRight tools! It's a great Christmas decoration for your walls.
Hi I’m Wendi from H2OBungalow.com. Today I’m going to share with you how to make an advent calendar to count down the days until Christmas.
I’ve also made a quick video tutorial so you can see all the steps to this project in detail. If you’d like to download my free advent calendar graphic to use for your own project, you can find it in my post on my website at H2OBungalow.com.
Supplies needed to make a DIY advent calendar.
- ½” plywood cut to 12” x 18”
- 1” x 2” board @ 6 ft
- Quick Finish Paint Sprayer
- HomeRight small paint shelter
- Dropcloths
- Jigsaw
- Craft paint, 4 oz - red
- Sander
- Poster – You can download mine free from my website here
- Hanging hardware
- Exacto knife
- Ruler
- Repositionable spray adhesive
- Eye protection
- Respirator
Step 1: Print the advent calendar
You can have the advent calendar graphic printed at an office supply store in many sizes. I had mine printed to a 12” x 18” size on matt paper with a heavy poster paper. It was done in a day and cost about $10.

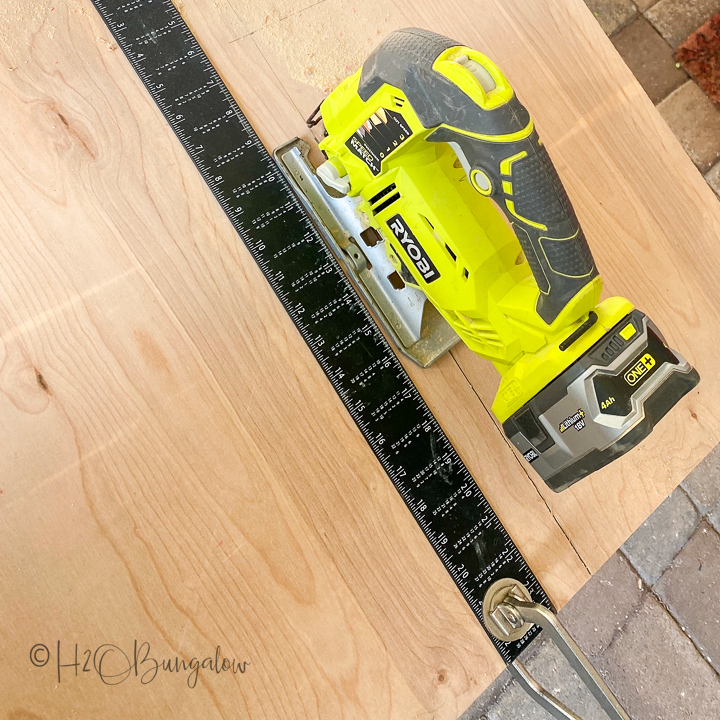
Step 2: Make the poster frame
Cut a 12” x 18” piece from a ½” sanded plywood. You can use a jigsaw, miter or table saw to do this. Cut two 18” lengths and two 13 ½” lengths from the 1” x 2” board.
Step 3: Lightly sand the plywood and frame parts
Be sure to sand the sharp edges of the four frame pieces.

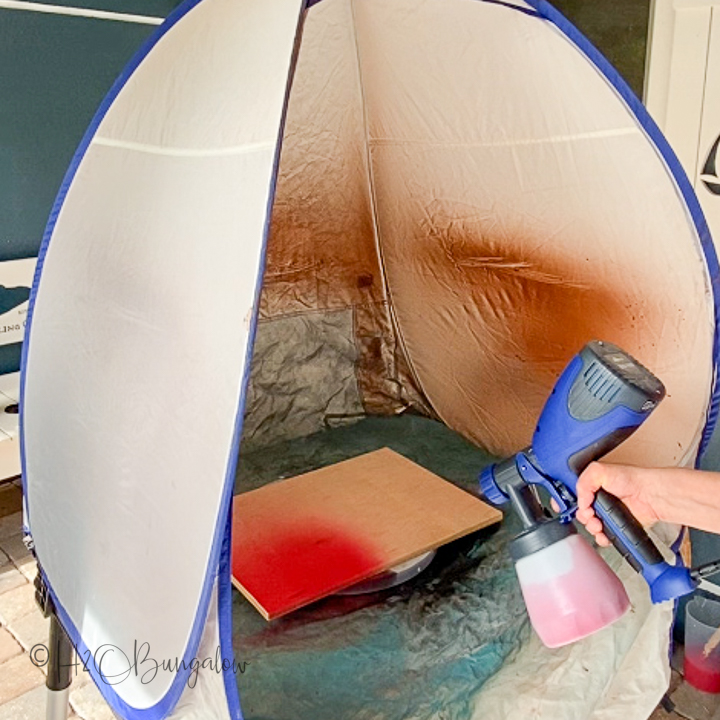
Step 4: Paint
Paint one side of the plywood and all four sides of the frame lengths with red craft paint and a Quick Finish paint sprayer.
Dilute the paint to a medium thin pancake batter consistency. To make painting easier, use a lazy Susan in a small paint shelter. Place the frame parts on the lazy Susan and spin when painting to get an even coating of paint.
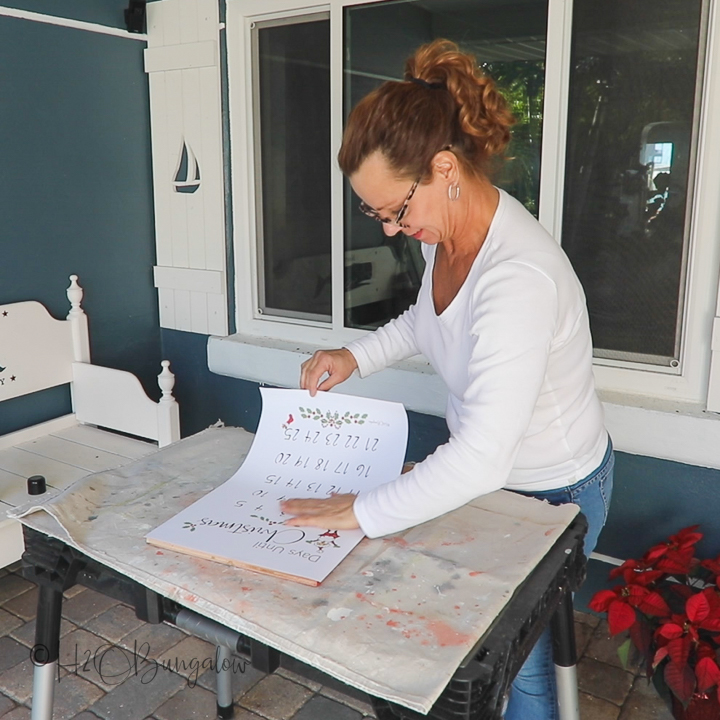
Step 5: Mount the poster onto the frame
Spray both the unpainted plywood side and the back of the printed graphic and carefully place the poster onto the plywood. Press down to remove air bubbles.
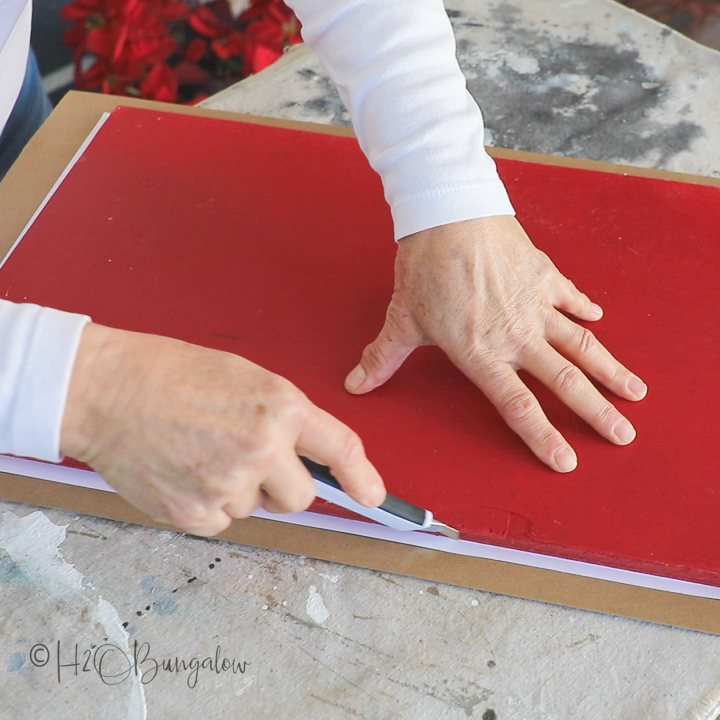
Step 6: Trim
Place the poster face down and run an exacto knife or box cutter along the edge of the plywood to trim the excess poster.
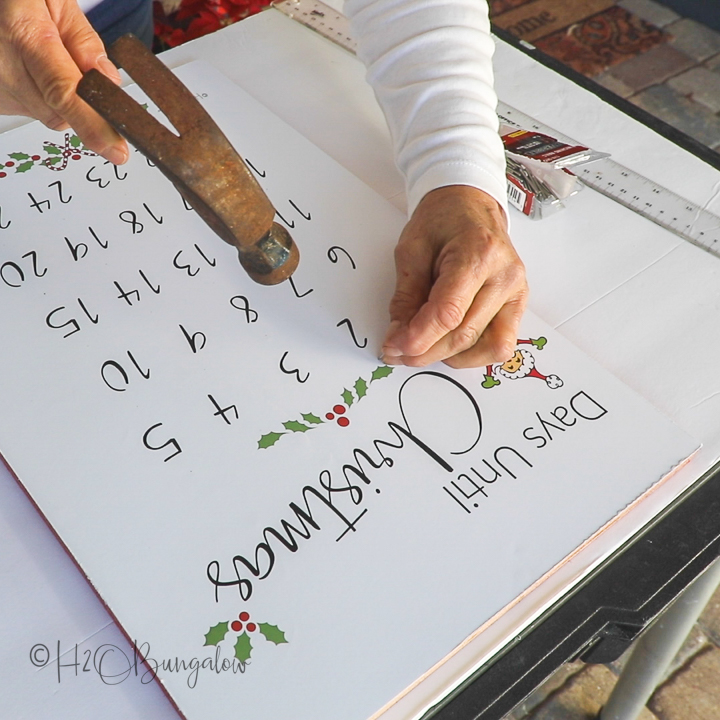
Step 7: Nail the positions
Mark the nail positions on the advent calendar. Use a pencil and ruler to mark a light mark above each day. Keep enough distance to hang a small ornament over the date on the calendar.
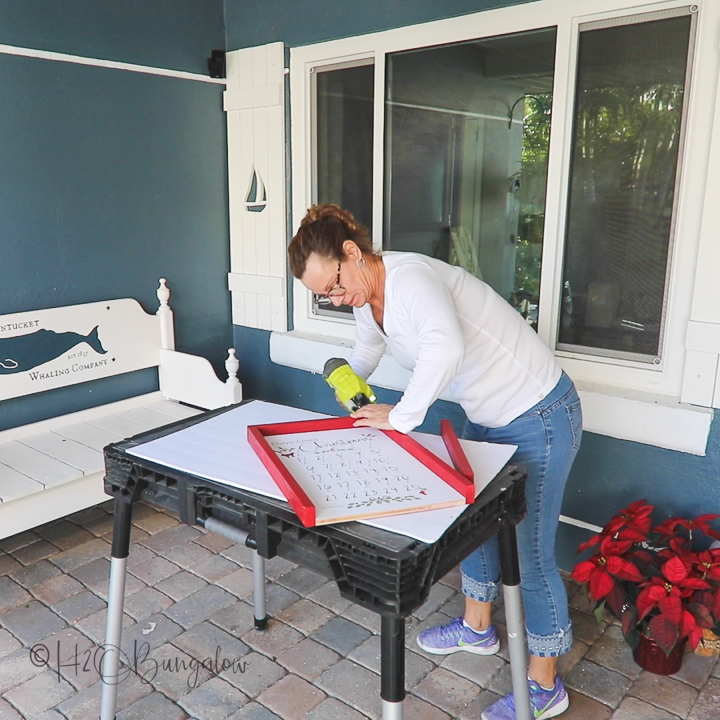
Step 8: Add the frame
Add the frame by attaching the two 18” lengths to the long sides and then the two 13 ½” lengths to the top. Secure with a brad nailer. Add hanging hardware to the back of the calendar to hang on a wall if desired.
Looking for more DIY projects to use your HomeRight products on? You’ll find lots of different types of home decor and home improvement project tutorials using many of the HomeRight products on my blog at H2OBungalow.com.
Download project steps & shopping list
We'll never share your email with anyone else.