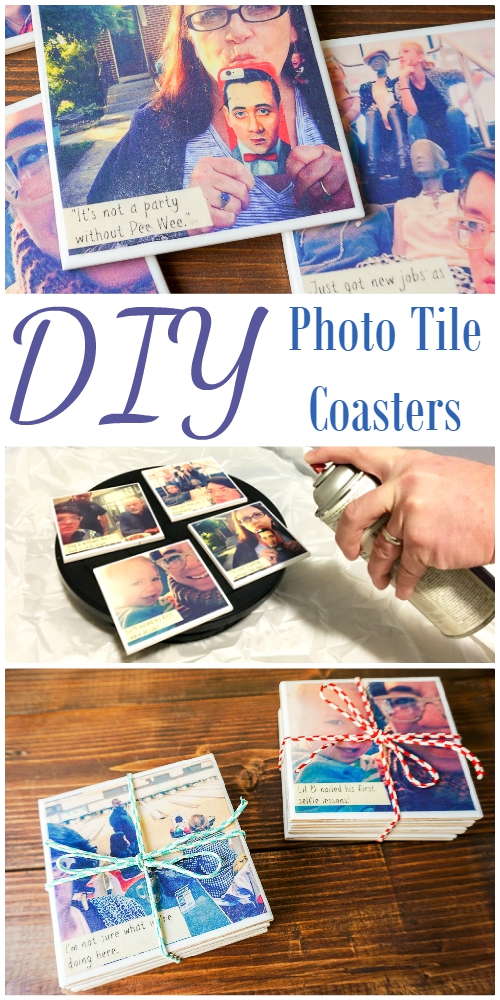
DIY Tile Coasters
You can create these tile coasters for just a couple dollars!
Materials Needed:
- Small Spray Shelter
- HomeRight Turntable
- 4" x 4" ceramic tiles
- Mod Podge
- Foam Brush
- Triple Thick Clear Glaze
- Photos
BEFORE:

AFTER:
Project Steps:
We’re pretty obsessed at our house with personalizing everything! In this age when everyone takes pictures constantly with their phones, it’s always a little sad to me that hardly anyone actually prints pictures anymore! Not everyone has tons of wall space for framed photos, though, so these DIY tile coasters are a great alternative! Now you can show off some of your favorite photos in a practical way! I made these for my sister as a gift and it was such a simple process that now I want to make more for myself!
STEP 1:
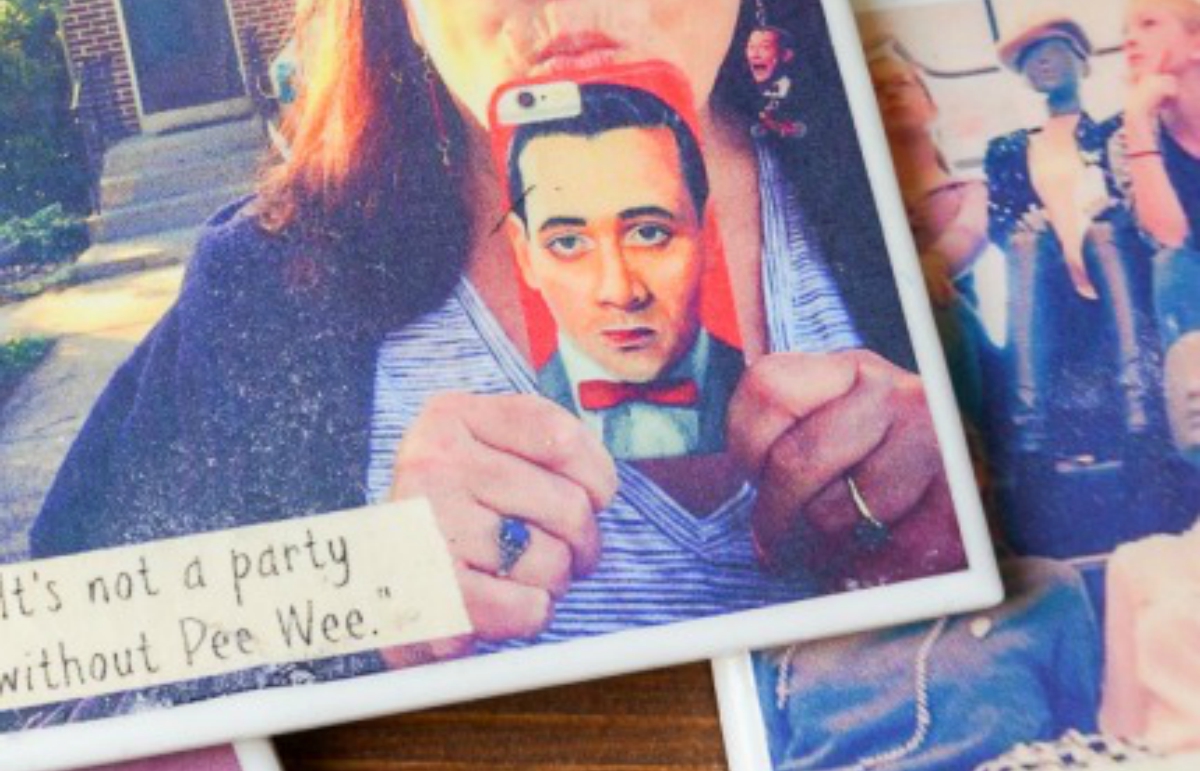
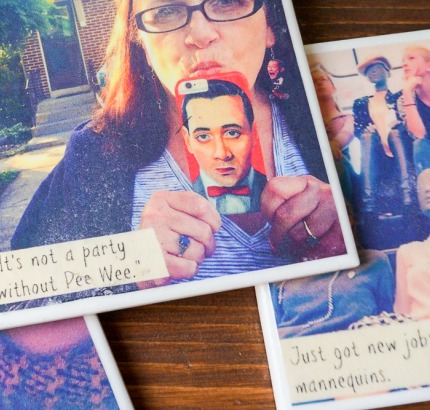
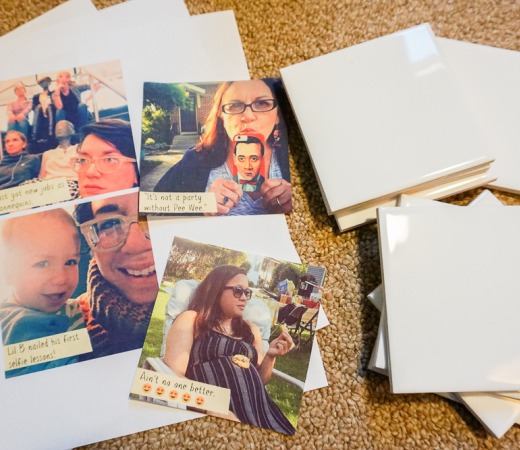
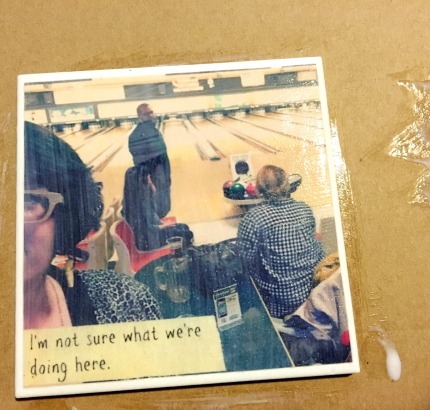
Print off your photos on regular photo paper. The regular paper (as opposed to a heavier cardstock) works better with the Mod Podge so your corners don’t curl up. I chose to use Instagram photos since they are already cropped square. You could just use the photos as is, but I used PicMonkey to add text. I wanted to include the captions my sister used on her Instagram posts since they were funny! This is a totally optional step, though.
Once you have your photos saved, insert them into a Word document. Then highlight each photo and resize to 4”x 4”. Print them off and cut out each photo.
STEP 2:
Using a small paintbrush or foam brush, add a layer of Mod Podge to the back of the photo.
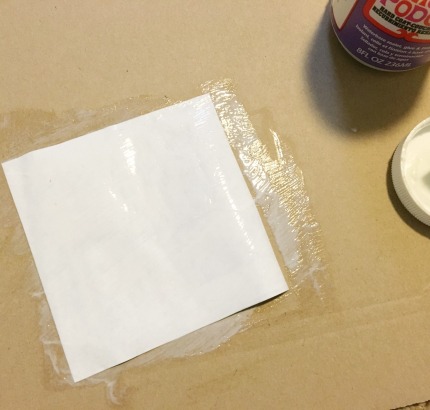
STEP 3:
Center the photo onto your tile and smooth out starting from the center out towards the edges. You want to remove any air bubbles in this step. Let dry.
STEP 4:
Brush a layer of Mod Podge over the top of the photo. Be sure to seal the edges of the photo with the Mod Podge.
After this has dried, add a second coat of Mod Podge and let dry.
STEP 5:
Set up your Small Spray Shelter. This step takes about 2.3 seconds since it just pops up on its own with no assembly required! This spray shelter is a lifesaver for anyone who likes to craft even through the cold winter months! You can see in the background that I have this set up in my crowded (messy) office, but I don’t have to worry about over spray because of the spray shelter's sides and bottom!

STEP 6:
The HomeRight Turntable makes projects like this go so much faster! It’s really important to get all 4 sides of your coasters sealed with the spray varnish to make sure it is completely waterproof. With the turntable, I can rotate the tiles as I’m working to make sure they’re sealed the entire way around.
I did 3 coats of the spray varnish (letting it dry in between coats), just to be safe.
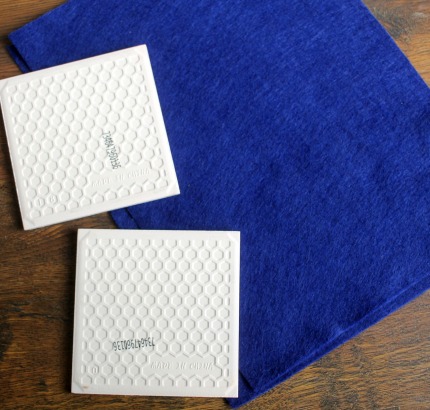
STEP 7:
Once the coasters were completely dried, I took sheets of felt and cut squares out for the back of the coasters. This helps protect the table surface that you’ll be putting them on. I only needed 1.5 felt sheets for 8 coasters.
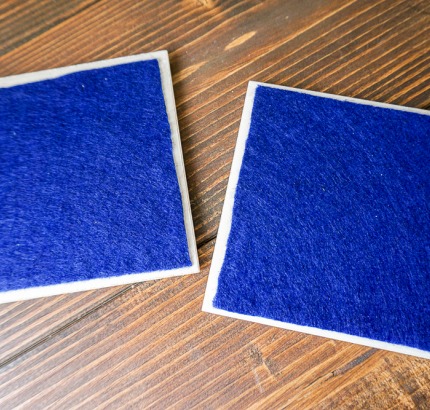
STEP 8:
I used hot glue to adhere the fabric to the back of the tile coasters.
STEP 9:
You can start using them immediately or wrap them up and give them as gifts! The tiles were only 15 cents a piece, so the cost is extremely low for such a fun, practical gift!
You can create these tile coasters for just a couple dollars! It's a great way to show off some of your favorite photos in a practical way! With the small spray shelter, you can even make these year-round without having to wait for warmer weather!
Download project steps & shopping list
We'll never share your email with anyone else.