How to Spray Polyurethane
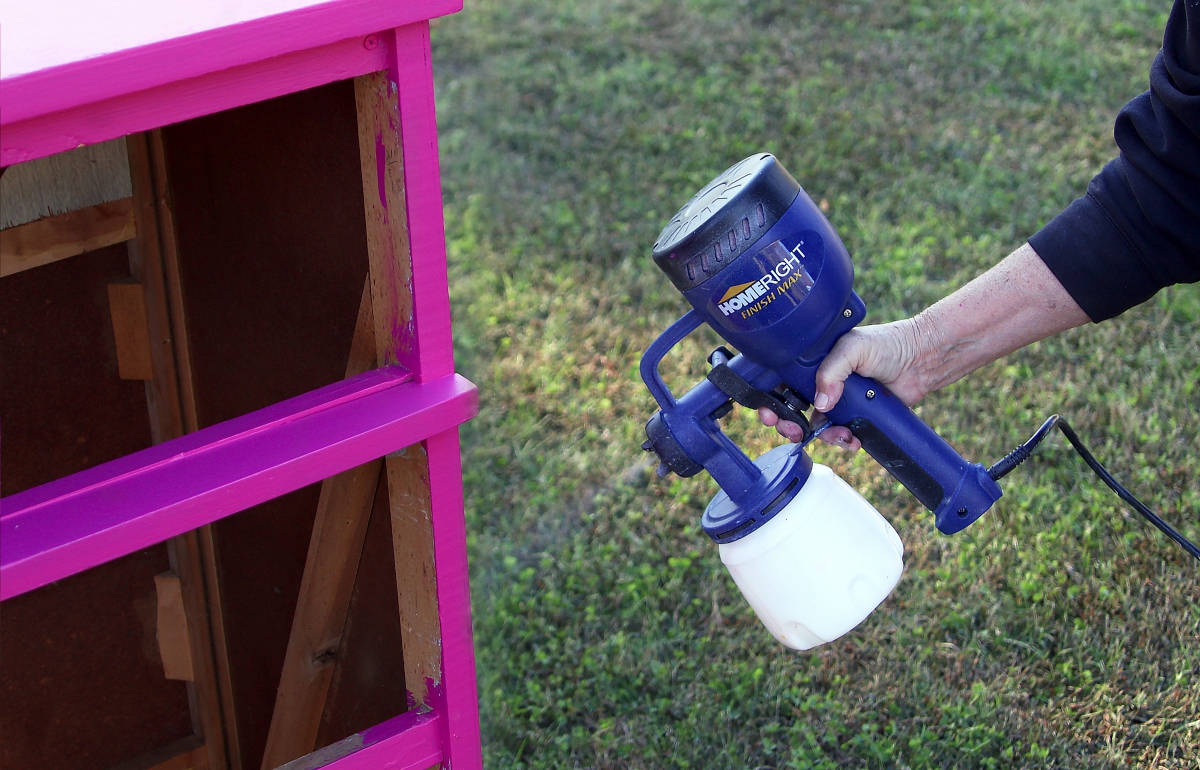
Make applying polyurethane easy by using a HomeRight sprayer!
Materials Needed:
- Finish Max or Super Finish Max
- Polyurethane
- Large Spray Shelter or Small Spray Shelter
Project Steps:
Scott with Saws on Skates Reveals Why a Paint Sprayer is Always the Better Option!
We DIYers have a love-hate relationship with polyurethane. We love it because it provides a clear, durable finish for our DIY projects, but we hate it because it's so tricky to apply with a paintbrush. Don't stir it too much because you'll create bubbles. Don't wipe your brush on the rim of the can because you’ll introduce bubbles into the finish. Don't brush it too much because you'll create bumps. It feels like there are more don'ts than dos.
Did you know there's an easier way to apply polyurethane? The HomeRight Super Finish Max not only effortlessly sprays paint, but it also sprays polyurethane like a professional furniture shop! Spoiler alert... I will NEVER apply polyurethane with a brush EVER again! EVER!
For years I avoided polyurethane for my DIY projects because it was so difficult to apply. Earlier this year I got a HomeRight Super Finish Max to spray paint on an outdoor coffee table. It was so easy to use that I decided to paint some Adirondack chairs. Then I painted a dresser. I even painted the siding of my house.
There was one thing in the instructions that caught my eye. The HomeRight Super Finish Max could also be used to spray polyurethane. What?! The sprayer I just used to spray the siding of my house could also be used to spray a fine finish like poly? I had to give this a try!
STEP 1:
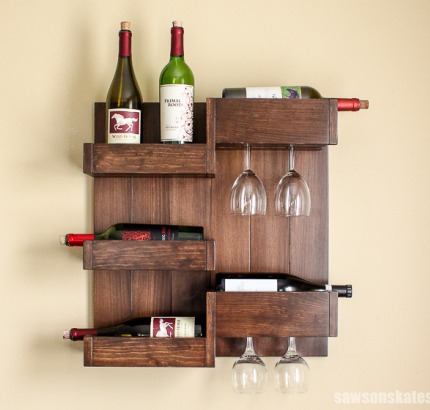
The results are in and I’m totally convinced. I will NEVER apply poly with a brush EVER again! The finish on this wall-mounted wine bar is amazing. The poly was quick to apply and the piece looks like it came from a furniture factory!

STEP 2:
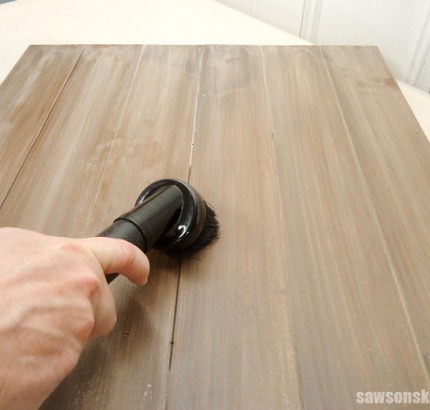
Prep Your Project
A quality finish begins by properly prepping the surface of your furniture project. All of the polyurethane in the world won’t cover the mistakes of a poorly prepped project. Start by thoroughly sanding the piece, fill any holes or gaps with wood filler and apply a coat of quality wood stain.
Setup a Dust-Free Environment
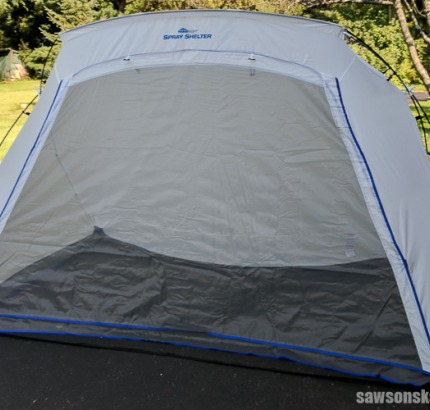
While it's drying, polyurethane attracts dust like a moth to a flame. Those moths, errrr I mean dust specks, can create bumps in the finish and will need to be sanded smooth. To reduce the chances of dust ruining your finish it's import to set up a dust-free environment and the best way to do that is with a HomeRight Spray Shelter.
The spray shelter not only protects surrounding objects from overspray but best of all it prevents dust from landing on your furniture project while it’s drying. The spray shelter is also great for painting furniture projects.
STEP 3:
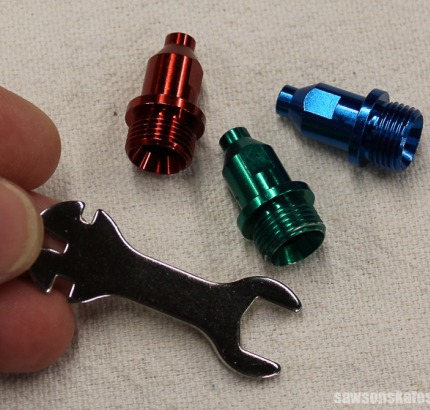
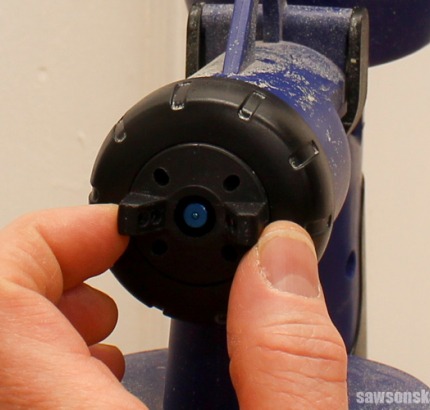
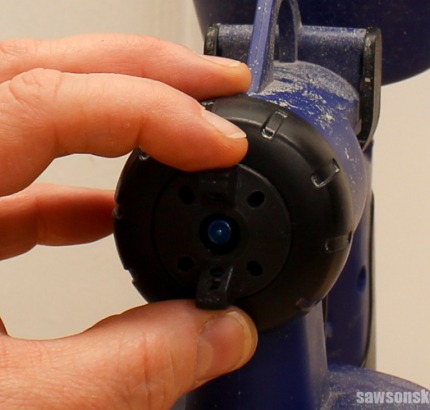
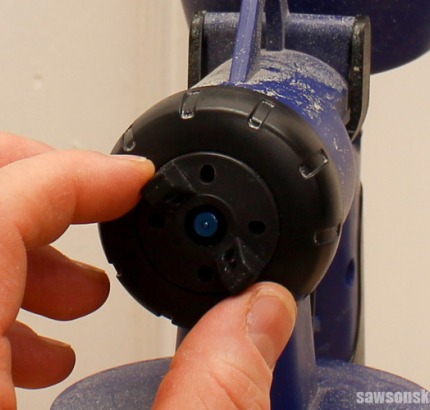
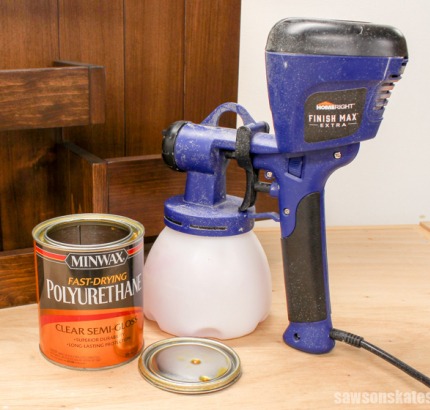
Setup the Sprayer and Select the Correct Tip The HomeRight Super Finish Max sprayer can go from spraying the siding of a house to spraying a fine finish like polyurethane because of the three tips included with the kit. The blue tip sprays stain and polyurethane in a 1″-6″ spray pattern, which is great for furniture projects. So that’s the one we want to use. The tip is easy to install with the included wrench.
STEP 4:
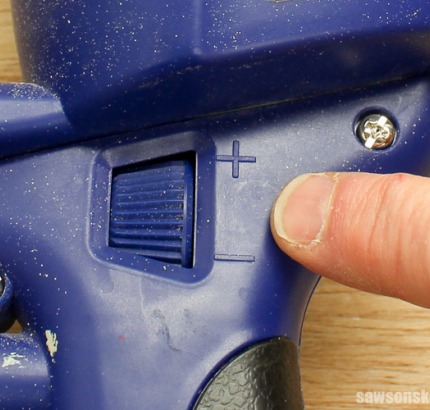
Adjust the Volume Control Knob
Spraying just the right amount of polyurethane is critical. The goal is to allow just enough poly to flow through the sprayer to evenly coat the piece and be able to overlap each stroke or pass without spraying too much or too little.
The volume control knob governs the amount of poly allowed to flow through the sprayer. Turning the knob towards the "+" allows more poly to flow and turning towards the "-" allows less poly to flow. Fine tuning to get the perfect amount is sooo easy thanks to the volume control knob on the HomeRight Super Finish Max sprayer.
STEP 5:
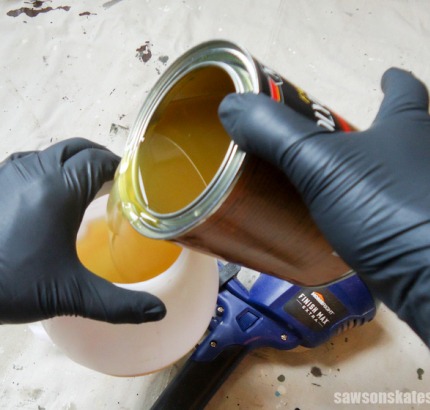
Thin or Mix the Polyurethane Just like you would prime bare wood if you were going to paint, we need to "prime" or apply a base coat of polyurethane so we can later apply additional coats of poly. The base coat is simple to make. It's two parts polyurethane thinned or mixed with one part paint thinner. Start by adding the polyurethane to the container.
STEP 6:
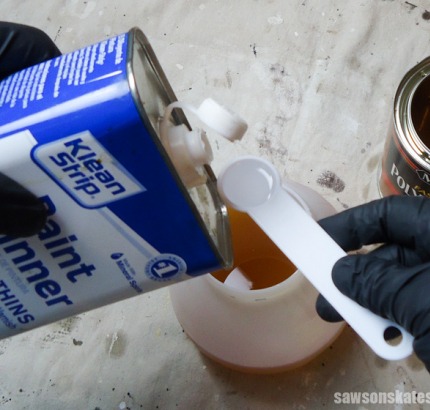
Then mix with the appropriate amount of thinner.
STEP 7:
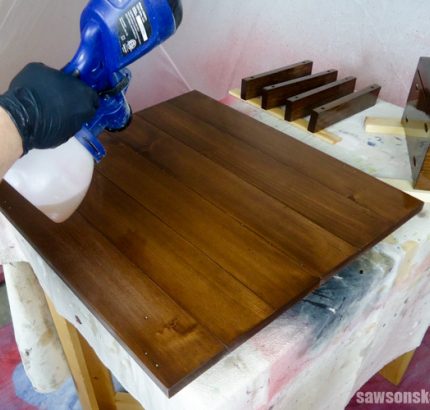
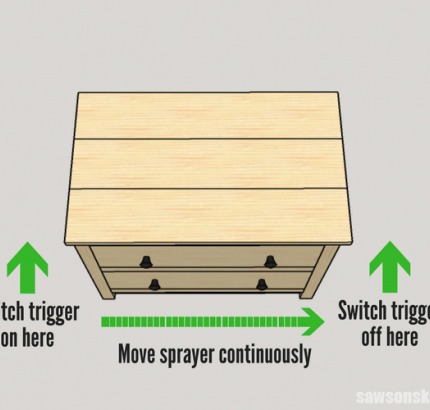
Spray the Polyurethane There are a couple of important things to keep in mind when spraying polyurethane. First, keep the sprayer 10″ to 12″ away from the surface you’re spraying. Second, switch the trigger on as you approach the piece, follow through with a long, continuous movement and switch the trigger off when the sprayer is beyond the piece.
STEP 8:
A long, continuous movement is important because if you start and stop while spraying the piece you will end up with more poly in some areas and less in others. Applying more poly in some areas could cause runs or drips in your finish. The goal is for an even coat that is uniformly thick over the entire piece.
Another way to ensure a uniformly thick coat is to keep a stiff wrist. Allowing your wrist to bend at the beginning and end of a stroke creates an arc. That arc applies more poly at the middle of the stroke and less at the beginning and end of the stroke. Keeping your wrist stiff will ensure that you spray an even coat that is uniformly thick over the entire piece.
Spray Patterns
The HomeRight Super Finish Max sprayer has three spray patterns which provides complete coverage for any surface you are spraying.
Horizontal
The horizontal spray pattern is the spray pattern I use the most. It’s perfect for spraying surfaces like tabletops and the front and sides of dressers, etc.
STEP 9:
Vertical The vertical spray pattern is perfect for spraying vertical surfaces like table legs.
STEP 10:
Horizontal/Vertical The horizontal/vertical spray pattern can be used for both horizontal and vertical surfaces. It’s great for spraying inside corners and edges of table tops.
STEP 11:
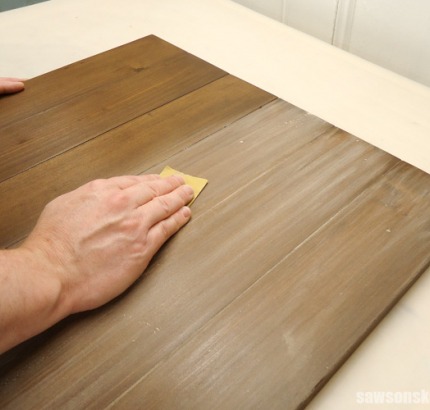
Sand Between Coats Polyurethane has a strange characteristic. It doesn't like to stick to itself. We need to sand between coats in order to make the new coat stick to the previous coat. Sanding creates fine scratches and those fine scratches create a place for the next coat of poly to “bite” in to. I use 220 grit sandpaper to lightly sand the poly. Remember, the keyword is lightly. We’re just trying to scuff the poly. If you sand too aggressively you could sand right through the poly and even sand off the stain.
STEP 12:
Thoroughly remove all of the sanding dust with a Shop-Vac.
STEP 13:
Apply Additional Coats How many coats of polyurethane should you spray? I would recommend to spray a base coat and then spray two to three regular coats to ensure a durable finish.
STEP 14:
Conclusion
Thanks to the HomeRight Super Finish Max sprayer I will NEVER apply poly with a brush EVER again! Applying polyurethane with the sprayer is quick, easy and the result is nothing less than professional.
For more info about prepping projects, adjusting the volume control knob and more hints and tips for spraying polyurethane please visit Saws on Skates (https://sawsonskates.com/spray-polyurethane/) And please let me know if you have any questions about spraying polyurethane... I'm happy to help!
Feature image photo credit: Petticoat Junktion
Download project steps & shopping list
We'll never share your email with anyone else.