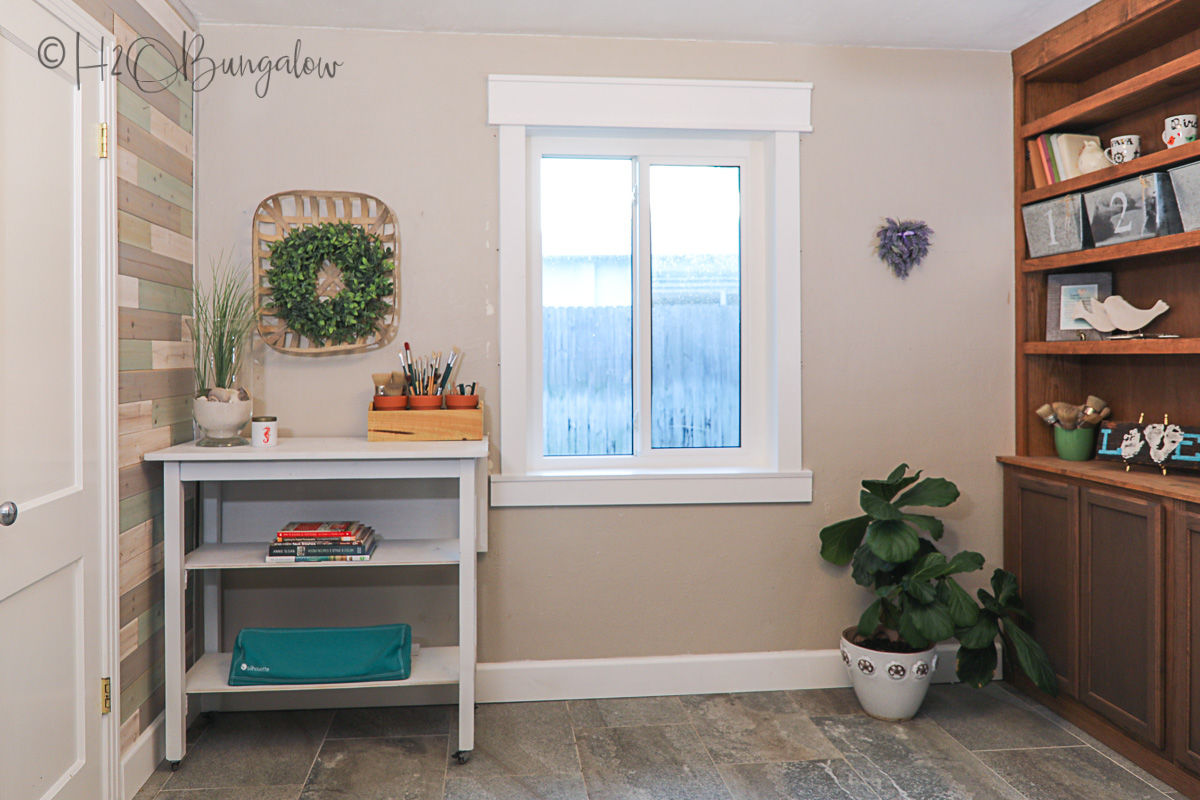
How to Build a Basic Window Sill
Create and add a window sill to your windows by following these simple steps. Use a HomeRight sprayer to achieve a great finish with no brush marks.
Hi I’m Wendi from H2oBungalow.com. Today I’m going to share with you how to build a basic window sill for your home. Upgrading or changing a window sill is an easy project, only requiring a few basic tools and simple building skills. I’ve made three sill styles today, one with Craftsman trim, one without an apron and one with a simple moulding apron underneath the sill.
I’ve made an informative video tutorial covering all of the steps in detail which you can see below. If you’d also like to read the step by step instructions and find out more about how to make a window sill or what style is best to use, you can find them in my blog post at H2OBungalow.com.
Supplies needed:
- 1 x 6” or 1 x 8” select pine board depending on the depth of your window
- Super Finish Max Sprayer
- Extra Super Finish Max paint container
- Paint
- Miter saw
- Jigsaw
- Construction adhesive
- Sander
- Tape measure
- Drop cloth
- Safety goggles
- Respirator or face mask
Step 1:
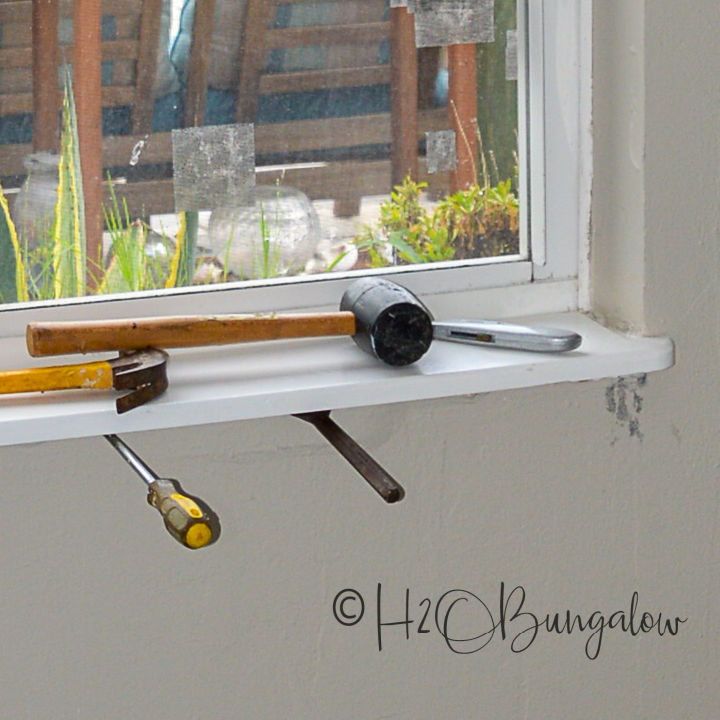
Measure the width and depth of your window sill. Add to the width measurement the amount you’d like your window sill to extend beyond the edge of the window. If you are replacing a window sill remove it before measuring for the new sill.
Step 2:
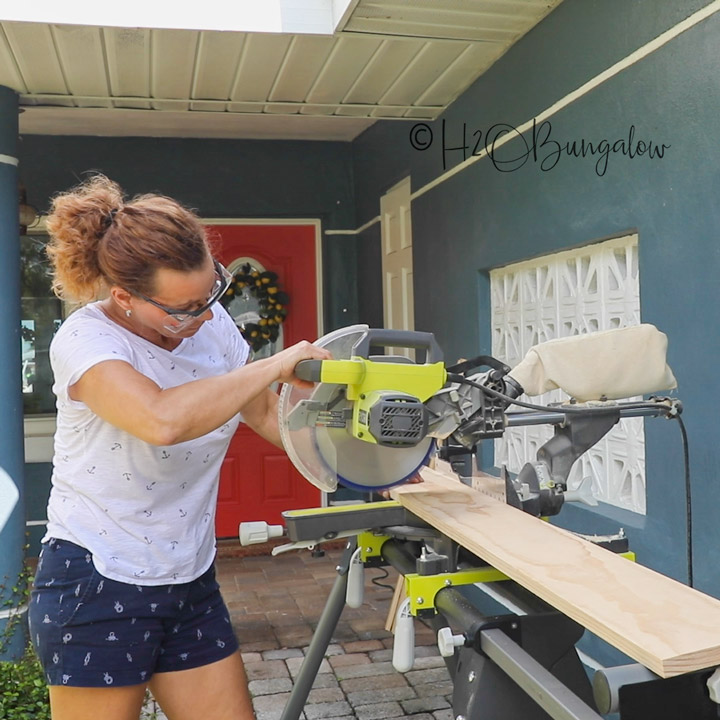
Cut the window sill length with a miter saw. Measure and cut the depth of the sill with a jigsaw.
Step 3:
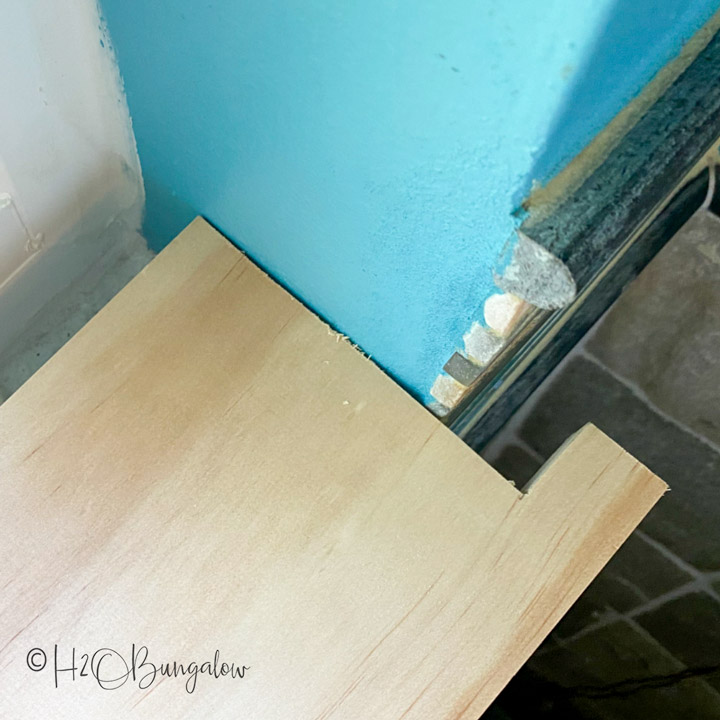
Dry fit the window sill to make sure it fits. Carefully shave off a little if needed. Lightly sand over any edges or rough ends.
Step 4:
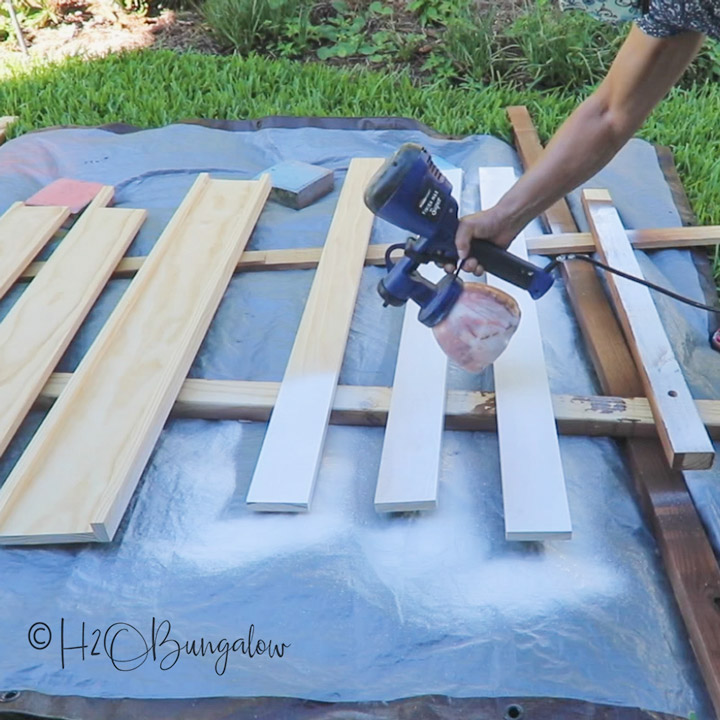
Apply two coats of paint with a Super Finish Max Paint Sprayer. Use drop cloths to protect the surface underneath. It helps to elevate the wood sills on blocks of wood so nothing touches the sides when painting. You’ll find several more tips on painting a project with a Super Finish Max in my post and video.
Step 5:
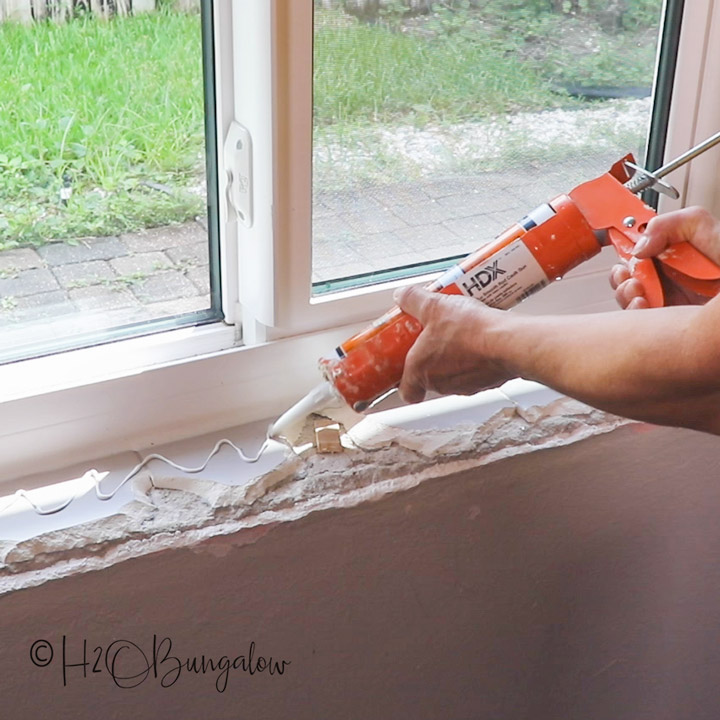
Install the window sill. Add construction glue to the sill first, place the window sill in position. If you’re adding an apron or window trim around the window, do that next.
Step 6:
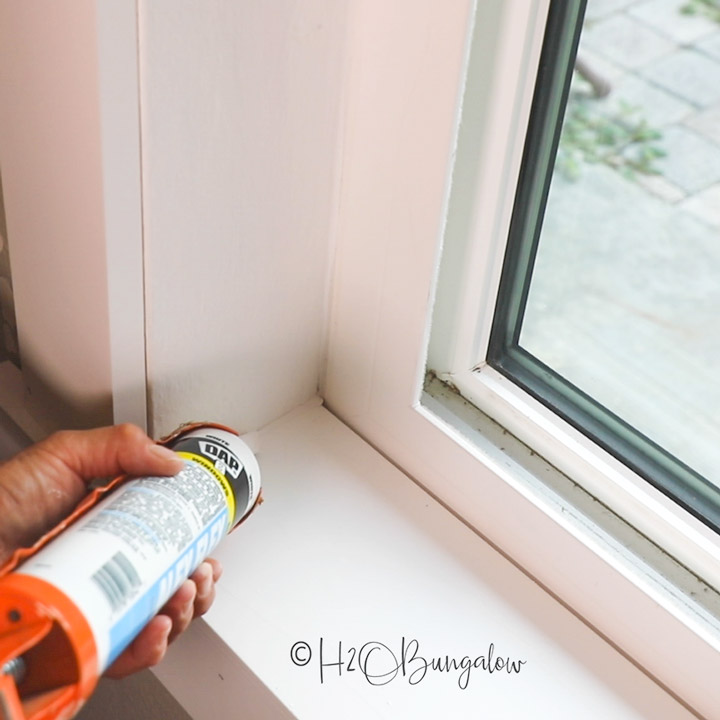
Caulk around the window sill, sealing gaps and spaces.
Enjoy your new window sills! This sponsored post was created by H2O Bungalow. Looking for more DIY projects to use your HomeRight products on? You’ll find lots of different types of home decor and home improvement project tutorials using a HomeRight Super Finish Max paint sprayer on my blog at H2OBungalow.com.
Download project steps & shopping list
We'll never share your email with anyone else.