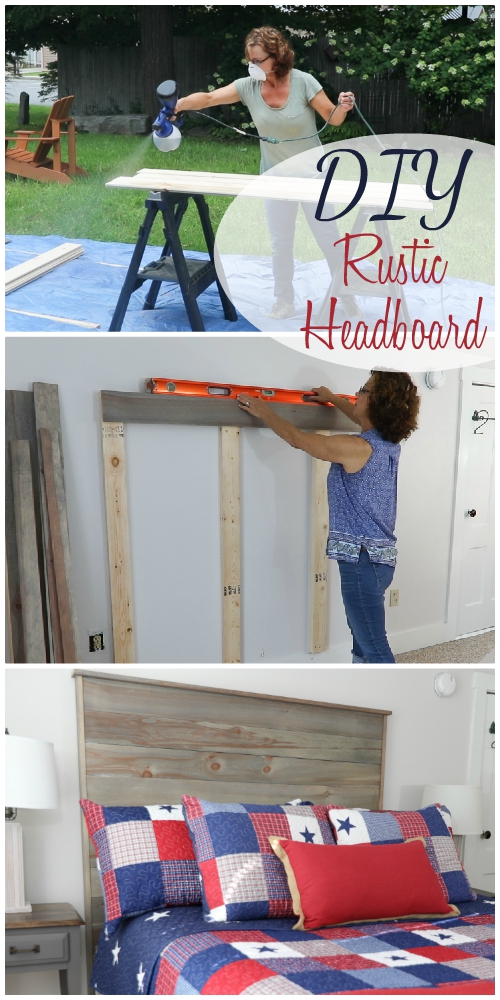
How To Build a Rustic Headboard
Make your own rustic headboard using this step by step guide
Materials Needed:
- Super Finish Max
- Shiplap 6" wide cut to 60" long, 11 pieces
- 2 pieces 1" x 3" pine cut to 60"
- 1 piece 1" x 4" pine cut to 64"
- Varathane Weathered Wood Accelerator
- Saw horses
- Drop cloth
- Miter saw
- Drill
- Sander with 180 grit sand paper
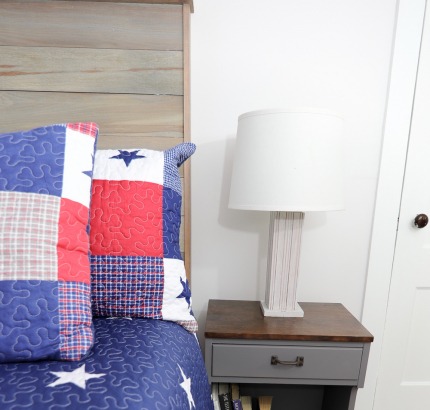
BEFORE:
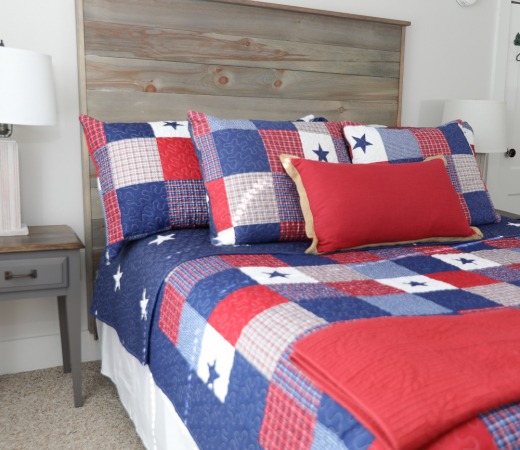
AFTER:
Project Steps:
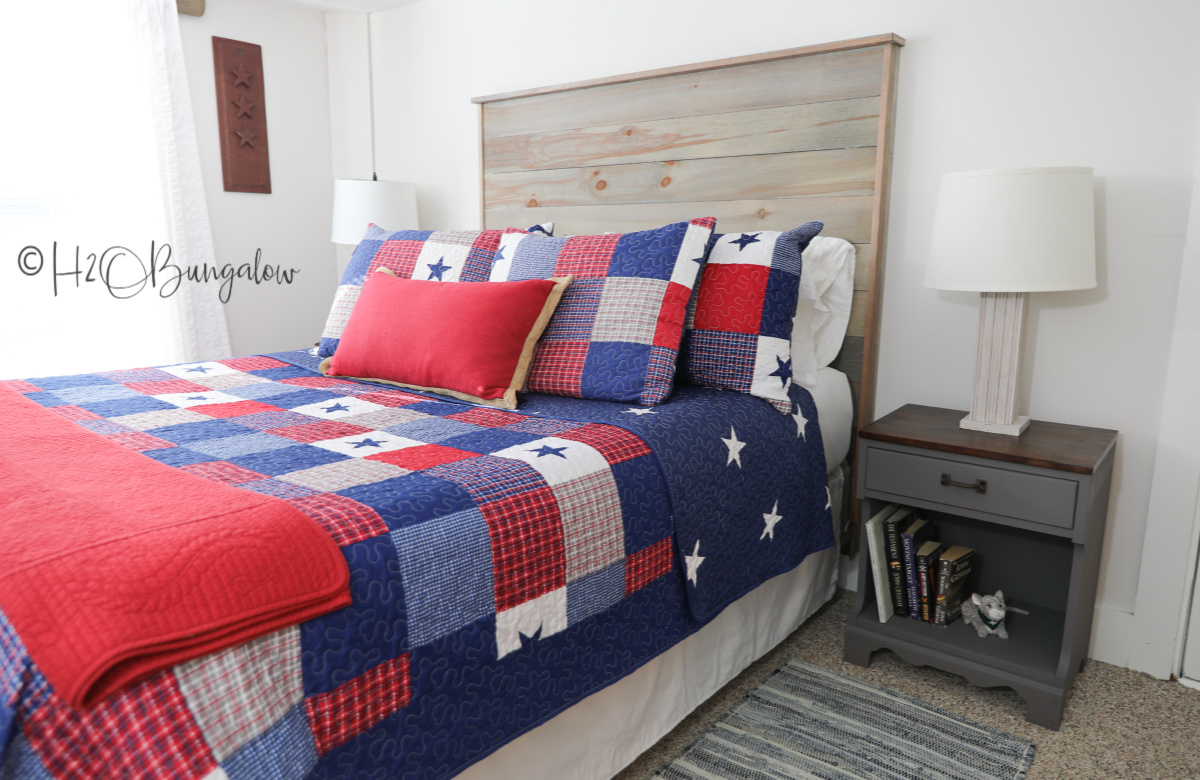
Hi friends, I'm Wendi with H2OBungalow. This month's project made a big impact and I can't wait to share it with you! This is the Americana Room in the North House Lodge, our Vermont guest house. I've been renovating this place for the last 2 years. I'm finally at the point where I can get some decorating done up here! This bed was too plain without a headboard. This month's project was to build a rustic headboard for under $50 and make this room a comfy and inviting place for guests to stay.
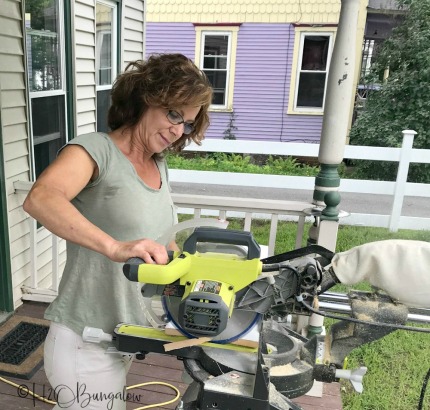
STEP 1:
Cut All the Wood to Size and Sand Take one piece of shiplap and rip the little notch off the top side of it. This will be your top board on the headboard. Lightly sand all the sharp corners with 180 grit sandpaper. If you are using the rough cut side of the shiplap as the front, like I did, lightly sand it to knock off the loose wood pieces.
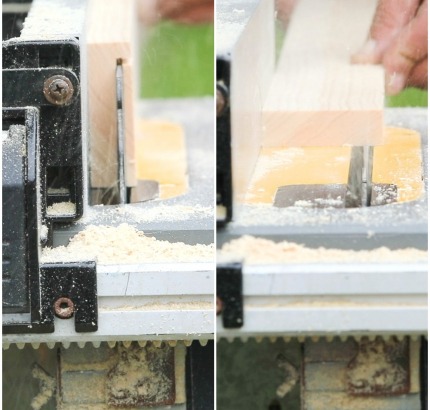
STEP 2:
Notch Wood Notch two side pieces of 1" x 3" out as shown in the picture with a table saw. These will be the sides and will cover the wood cuts and any shrinking the pine will do over time.
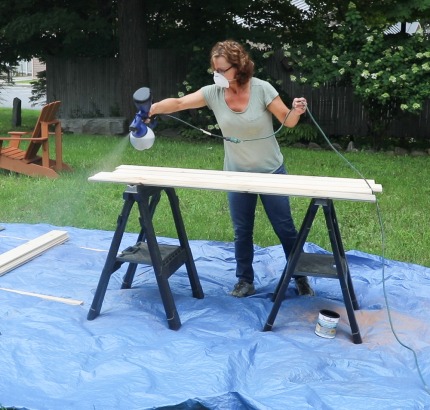
STEP 3:
Paint or Stain Wood Finish the wood with a Super Finish Max Paint Sprayer. Give all the boards an even coating of Weathered Wood Finish. Be sure to get the sides too. The top piece will be finished on three sides.
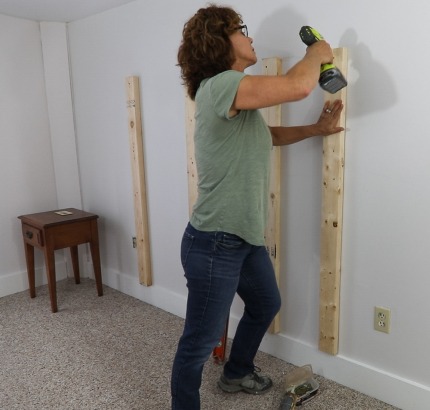
STEP 4:
Assemble Frame
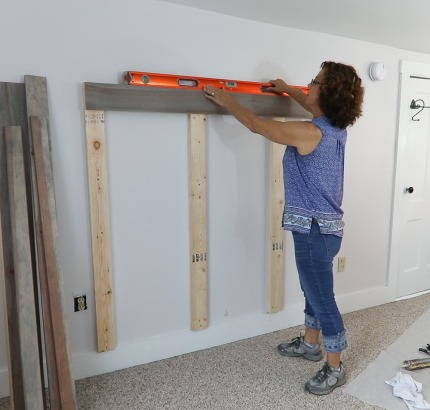
Assemble the frame while the shiplap boards are drying. Use the 2" x 4"'s to make support studs. Line as many of the supports on studs in the wall as possible. Make sure there is a support at each end of the headboard.
Use a level to be sure they are vertically straight and a level to be sure they are straight at the top where the top piece will sit. Attach the 2" x 4" supports with liquid nails and 3” nails.
STEP 5:
Add Shiplap
Add the shiplap when it's dry. Start with the first piece of shiplap with the notch cut off at the top and work down. This will make a flat surface for the top of the headboard to rest on.
Line the cut side of the board up at the top of the wall braces and attach with a brad nailer. Use liquid nails in each shiplap piece and on the wall studs.
STEP 6:
Add Sides Add the sides using liquid nails first and secure with the brad nailer. Last, add the the top piece. Center with a tape measure and attach with liquid nails and a brad nailer.

STEP 7:
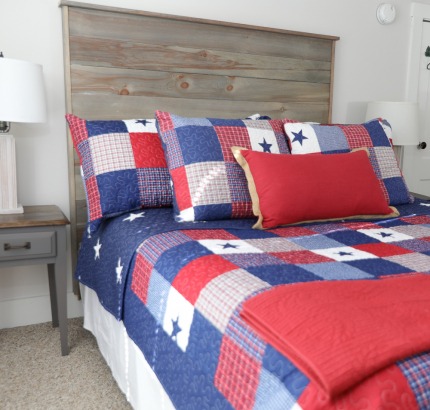
Enjoy the Headboard! I hope you've enjoyed my Rustic Headboard tutorial I shared here today. If you're a visual learner, you can find my DIY Rustic Headboard video tutorial in my bog post. Stop by and while you're there check out the other 450+ DIY tutorials I've got to make a pretty home!
Download project steps & shopping list
We'll never share your email with anyone else.