Closet Update & Upgrade with a Paint Sprayer
Learn how to organize, update and upgrade your closet or pantry using a HomeRight paint sprayer to apply a fresh, new finish on the wood.
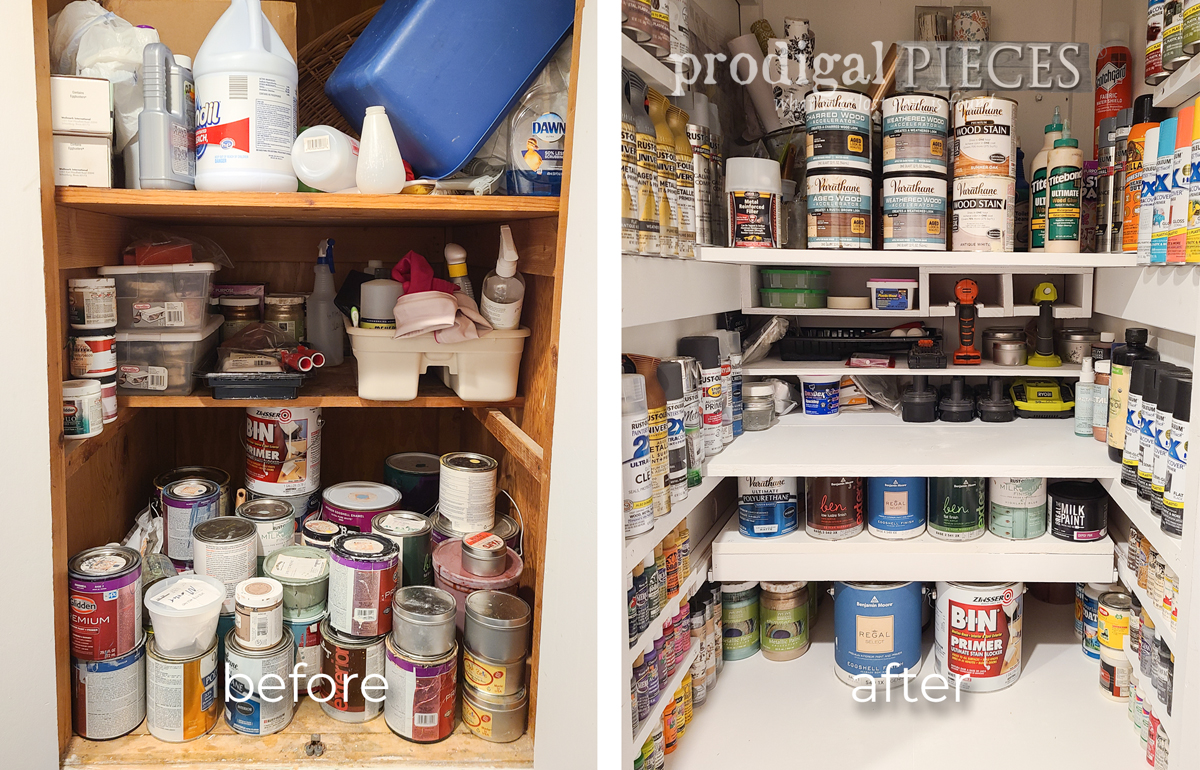
It’s a new year, which means it’s the perfect time to get organized (or so we hope!). I don’t know about you, but sometimes I let projects go that aren’t as important to my daily life, but are definitely in need of TLC. Today, I’m finally tackling my paint closet for an update and upgrade. Let’s get our DIY on.
Before I get started, let me say in my defense, that I am a mama to 6 homeschooled children and a business owner. Needless to say, that makes me a tad busy…like don’t know what it means to sleep in or take a vacation. I am also an organizing nut, so my eye may twitch from time to time when I see my paint closet mess.
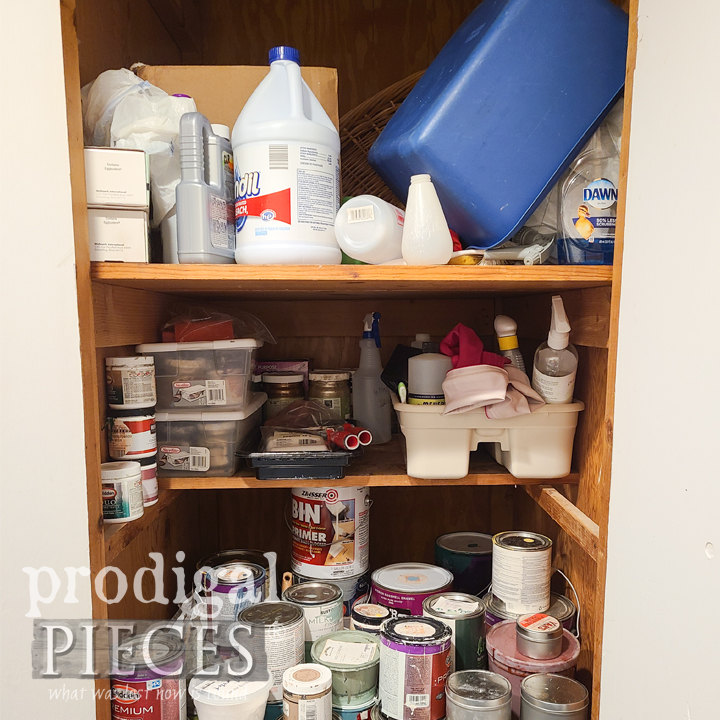
First, I take it all out and set it aside to sort and discard later. I love to purge! Then, I use my vacuum and also a damp rag to wipe it all out. It’s breathing a sigh of relief along with me already, don’t you think? Honestly, I think everyone needs a huge space like this to have for crafts, sewing, etc. In addition, notice that the bottom is made of planks with huge cracks that allow parts and liquids to rain down on my basement steps below. ugh. Ask me how I know. However, I’ll remedy that in bit.
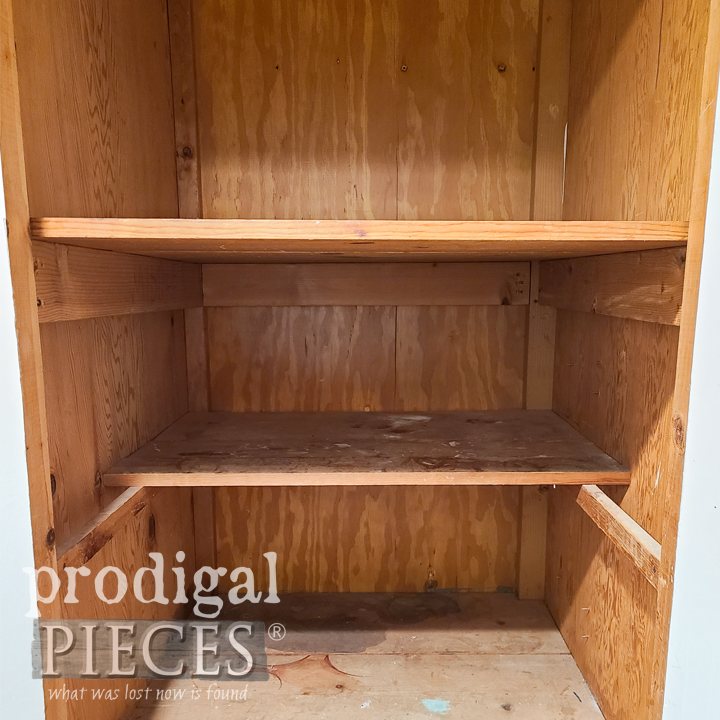
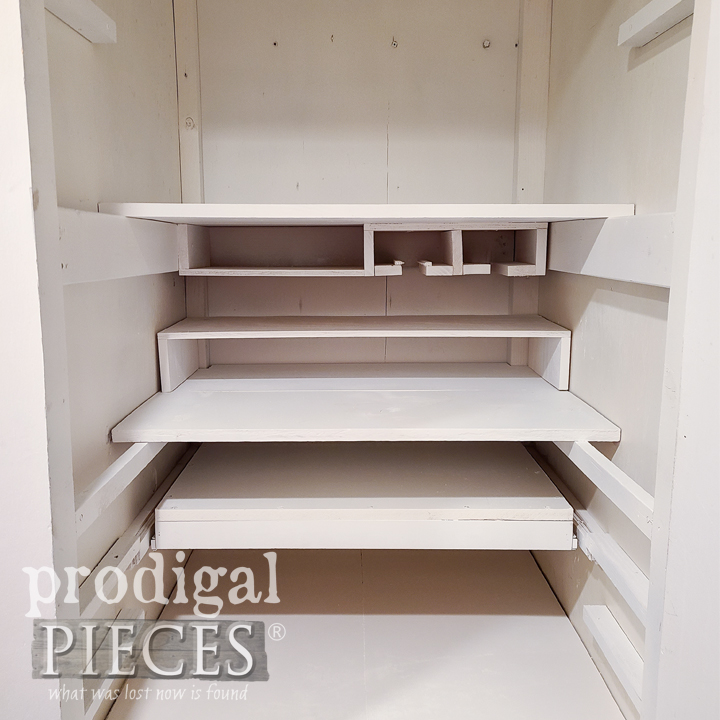
Then, I head out to my workshop and dig deep into my stash to make shelves and oodles of storage options. I am even able make a roll-out, self-closing shelf and feeling proud of it. woot! Let’s just say I may have done a happy dance or two.

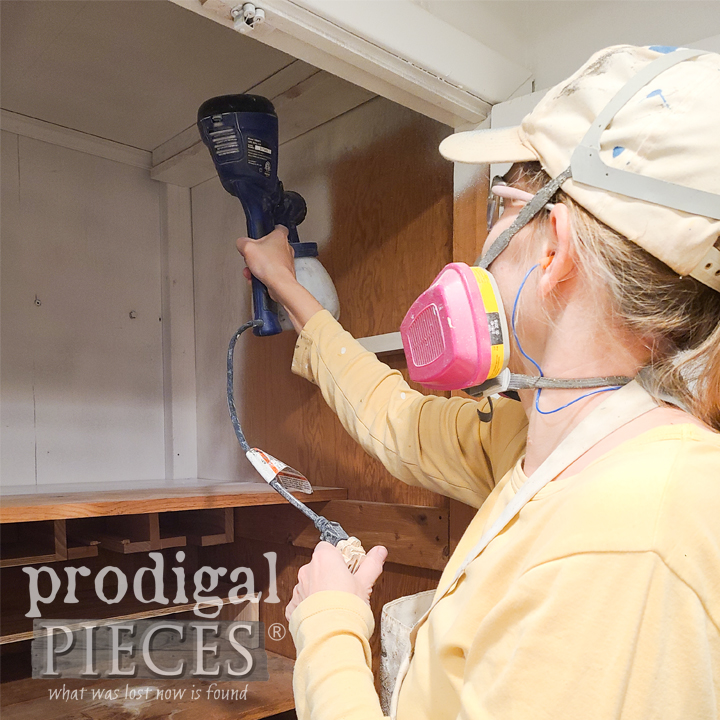
Next, now that my space is ready for my tools and accessories, it still needs a sprucing up. Enter in some paint and my favorite HomeRight Super Finish Max Extra sprayer. If you’ve never used this sprayer before, you’re totally missing out. Not only does it work with paint, but also polys and stains as well. You can see how I’ve used it for countless projects on my blog.
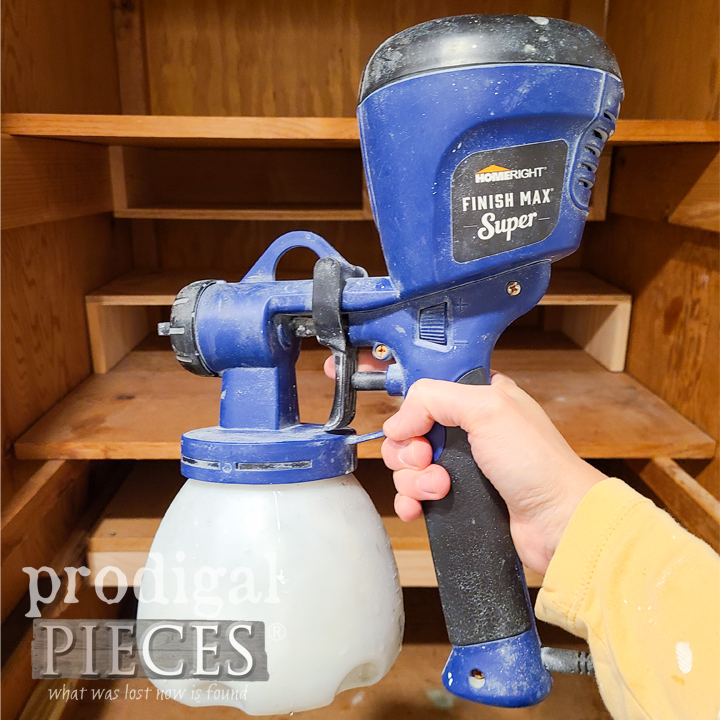
Ready to get started? First, we need to fill the sprayer canister by following the manufacturer directions on the paint can. Then, before you start spraying, practice on a piece of cardboard or scrap wood to make sure the nozzle in good position and the flow is set how you want it. After that, have at it! {{yippee}} In less than 15 minutes I have the first coat on, and clean-up only takes about the same. What more can a busy mama ask for?
Finally, here is my paint closet refreshed, updated, and upgraded. It looks a thousand times better and even the appearance of bigger. Now I just need to fill it up.
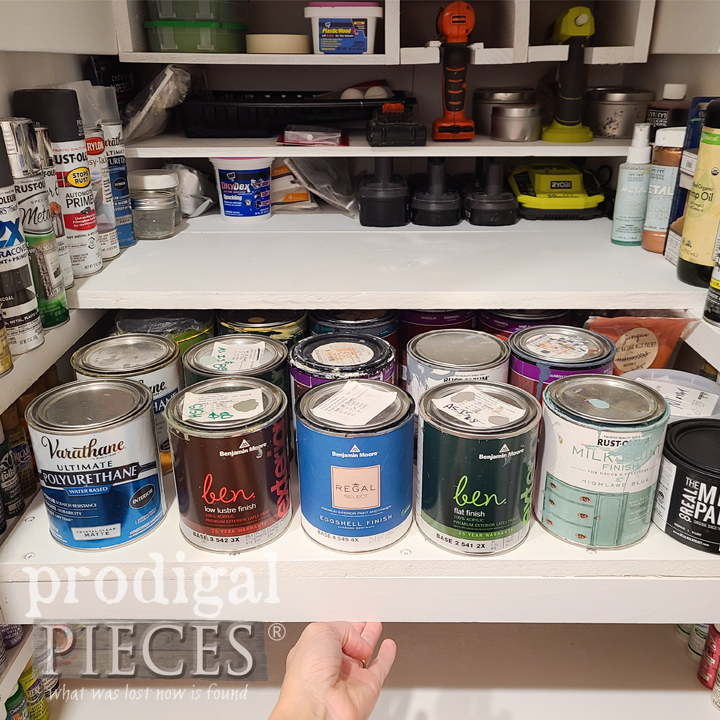
The funny thing is, I have the original vintage metal kitchen cabinets in my laundry area and as time went on I filled them as I needed. That led to a conglomeration of stuff packed here and there. At long last I can have it all in one easy-to-reach spot. I’m elated to have this complete.
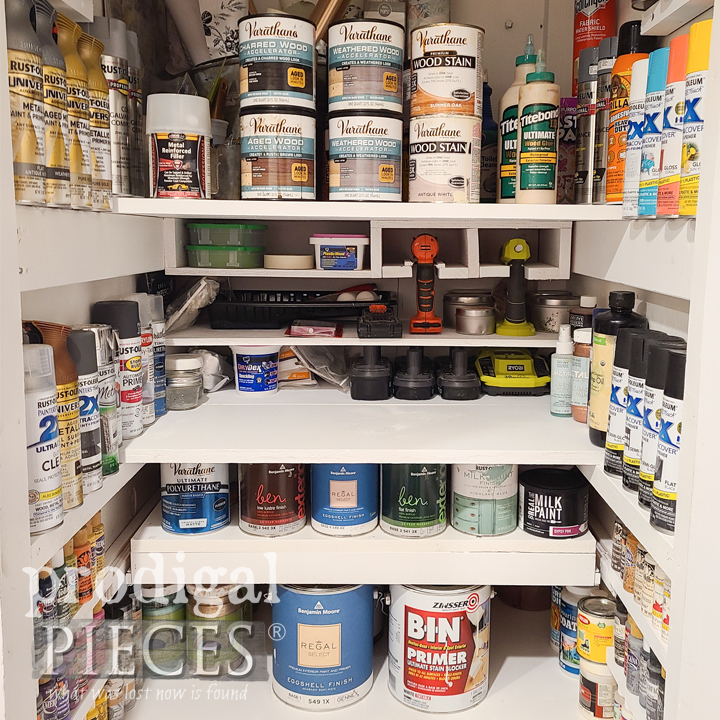
Also, even my paint drawer opens and closes as it should allowing me the luxury of getting what I need easily instead of having to dig and stack. Now all I need to do is keep my kids on track to keep it this way. {{laughs nervously}}
In any event, another eye-sore spot is resolved in my home allowing me to enjoy the more important things in life. My goal is to inspire you to make your house your home and have fun with it! In addition, I’d love for you to come visit me on my blog, Prodigal Pieces, to see what else I’m up to each week. Until next time!
This sponsored post was created by Prodigal Pieces.
Download project steps & shopping list
We'll never share your email with anyone else.