DIY Christmas Stocking Hanging
Create a DIY stocking hanging this holiday season to display your Christmas stockings! This is a great alternative to a regular fireplace mantel.
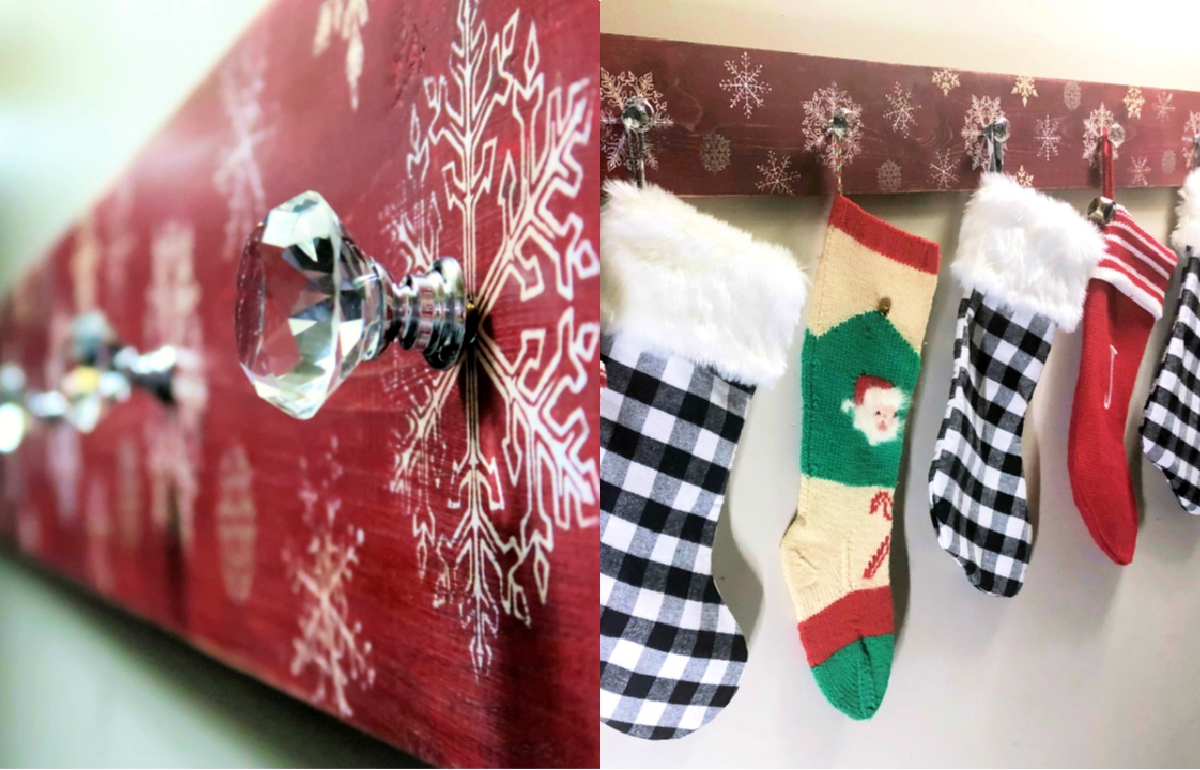
Do you have a fireplace with a mantel where you hang your Christmas stockings? If you answered yes, I'm a little jealous. I do not. So I've had to get a little creative in this house for Christmas stocking hanging. Here is what I'm doing this year. I made a DIY stocking holder and I absolutely love it! Maybe not quite as much as I would love to have a fireplace and mantel but it's a close second!
In years past I have hung the stockings on the staircase bannister, on an old ladder, and from a shelf. This DIY stocking holder has those beat. Take a look:

And it was so so simple to make. I promise. No woodworking skills required. Let me show you how.
Materials Needed:
- 1" x 6" plywood board (length that fits your needs)
- Red paint
- Sanding sponge (optional)
- Antiquing wax (optional)
- Snowflake transfer from Chalk Couture
- Chalkology pastes in colors of your choice (I used white and grays)
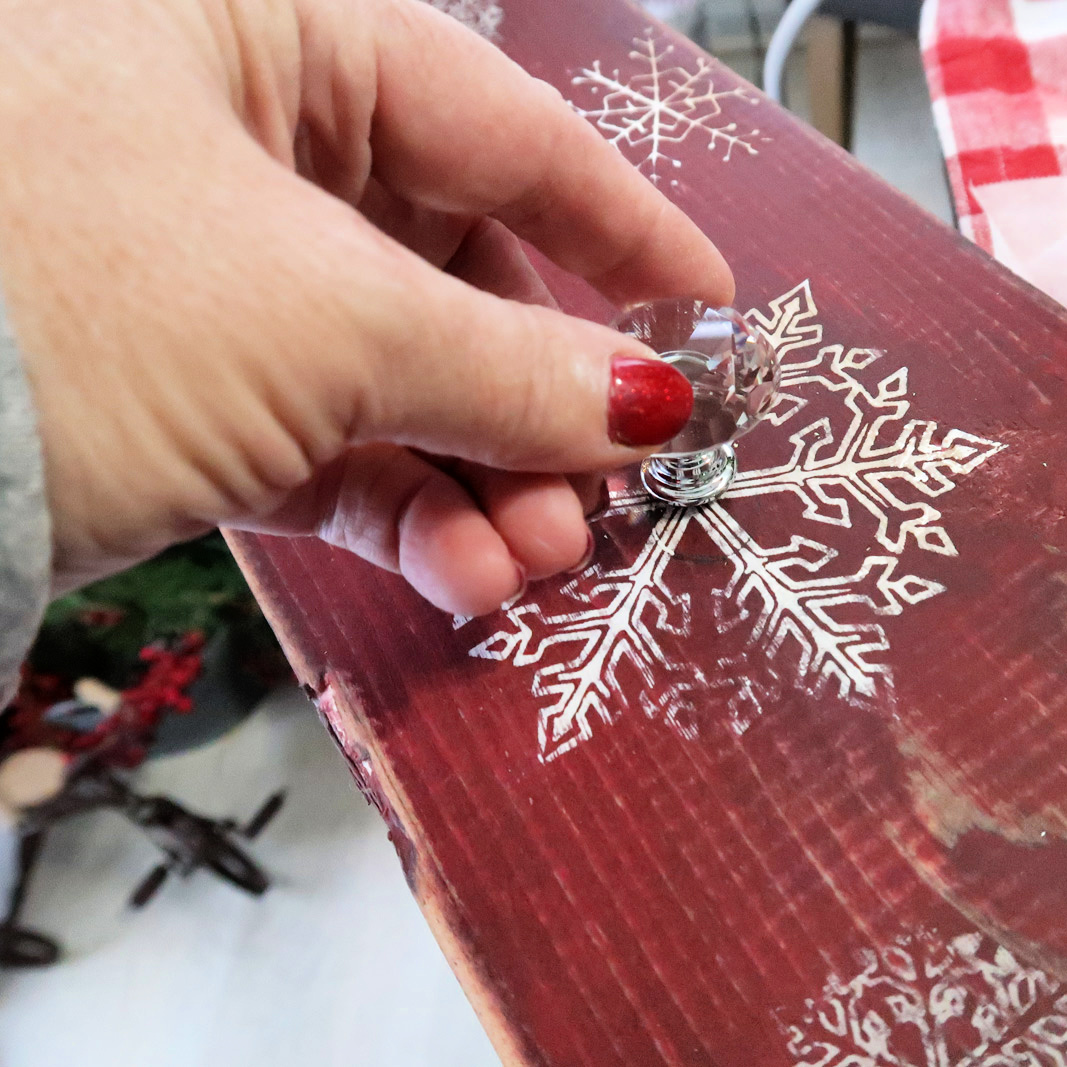
- Glass knobs
Tools:
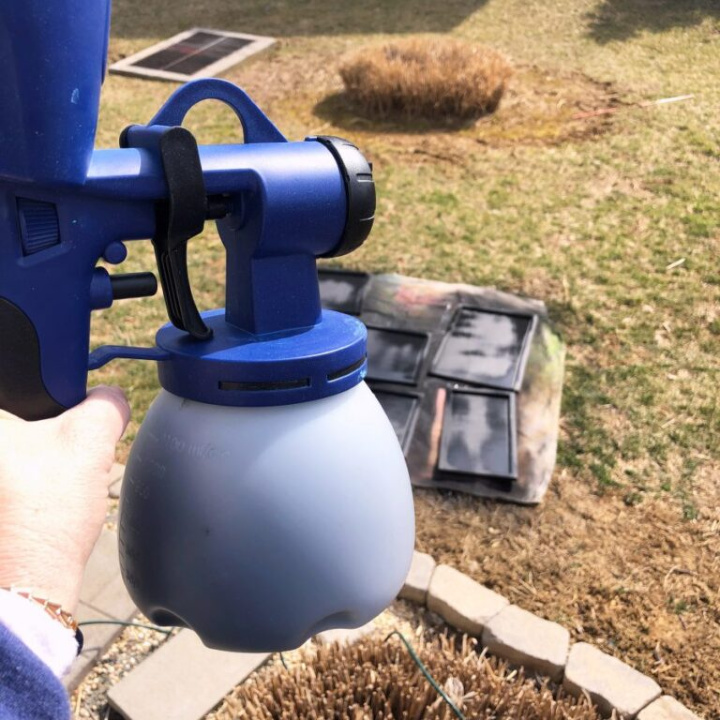
- HomeRight Super Finish Max Paint Sprayer
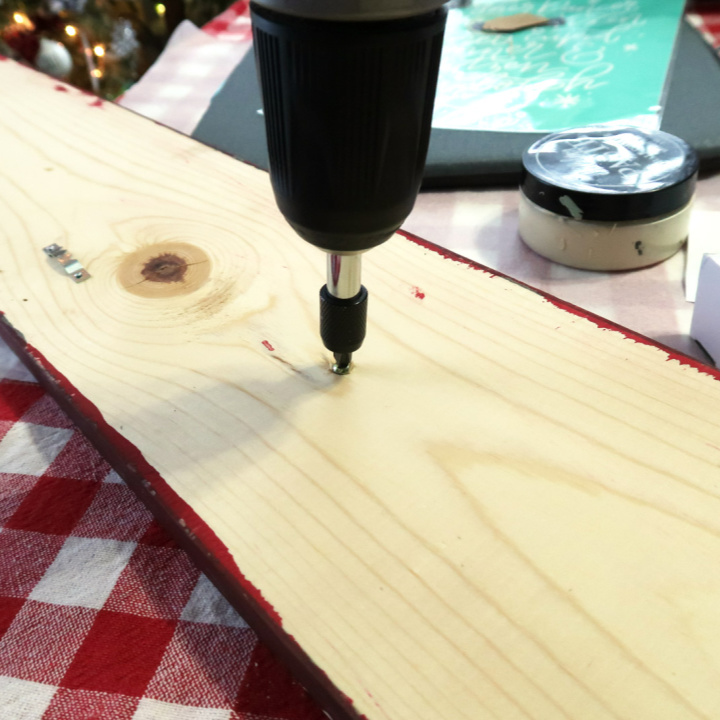
- Drill/driver (for attaching glass knobs)
Step One
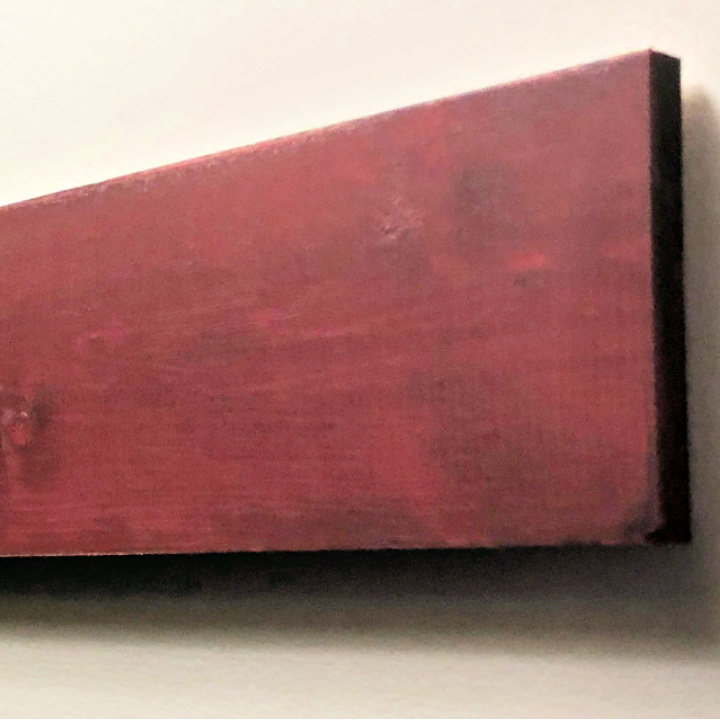
Using a HomeRight Super Finish Max paint sprayer (no brushes and rollers for me!) paint the board. A HomeRight paint sprayer is one of my most favorite tools and I believe it is a must-have in every DIYers workshop. I don't like painting. In fact, I kind of really detest it. So if there is a way for me to get out of that mess, I'm all in. Which is why I save up all of my DIY projects for nice weather day. I line up my wood on a tarp outside, and get the painting done quickly and easily.
Step Two
Once the paint is dry, you can age or distress the edges using dark wax and/or a sanding sponge.
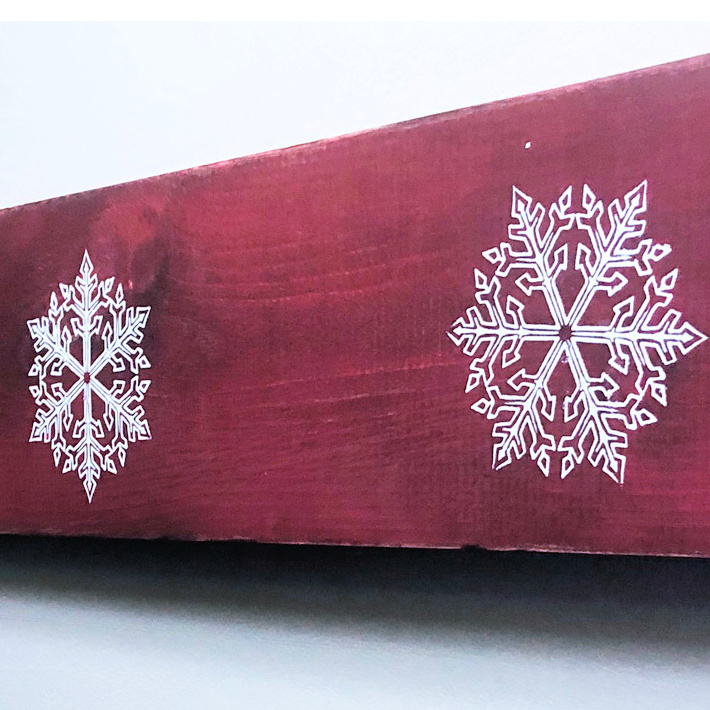
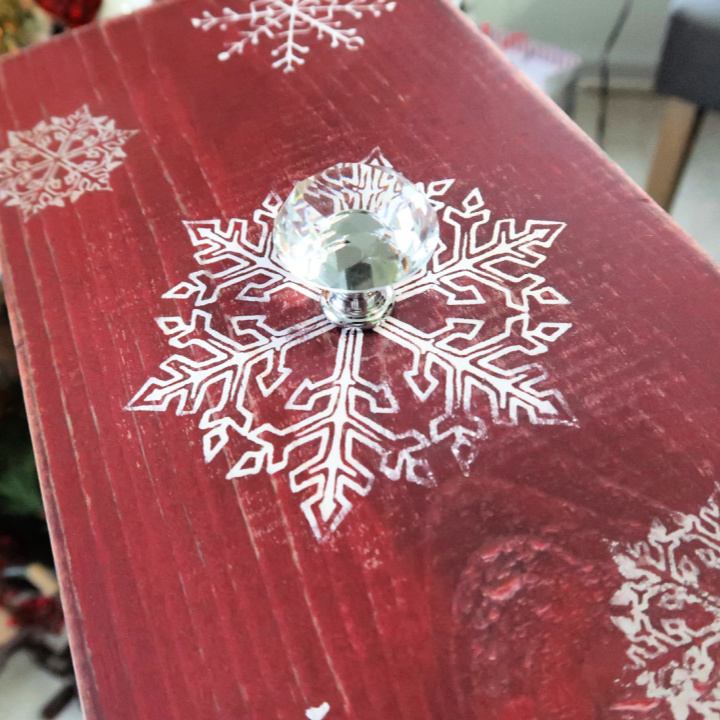
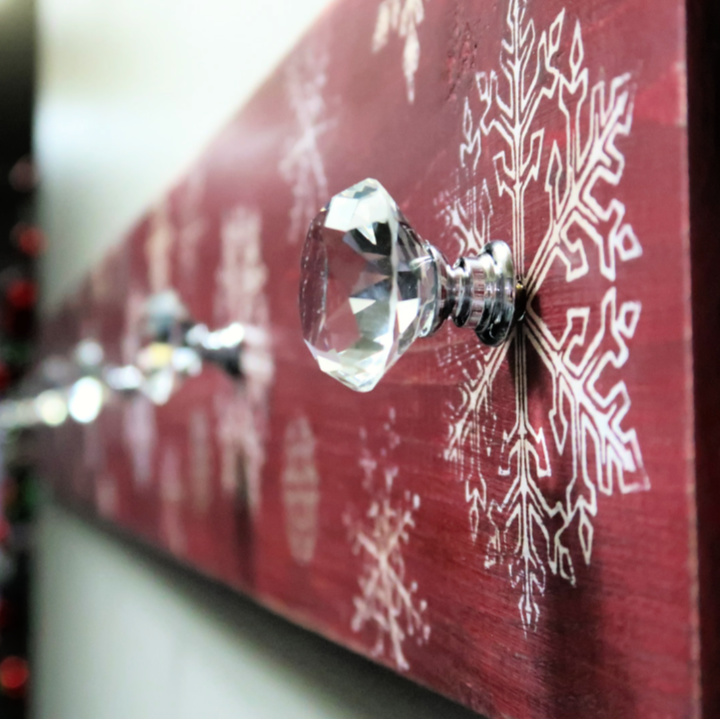
Now it's time to decorate your board however you like! Of course I chose to add snowflakes using the Chalk Couture Snowflakes transfer and white Chalkology pastes. You could use vinyl stickers instead or if you're more talented than I am, you may add snowflakes using white craft paints and free-hand paint the snowflakes. I don't have that kind of time or talent so I'll stick with Chalk Couture products.
Step Four
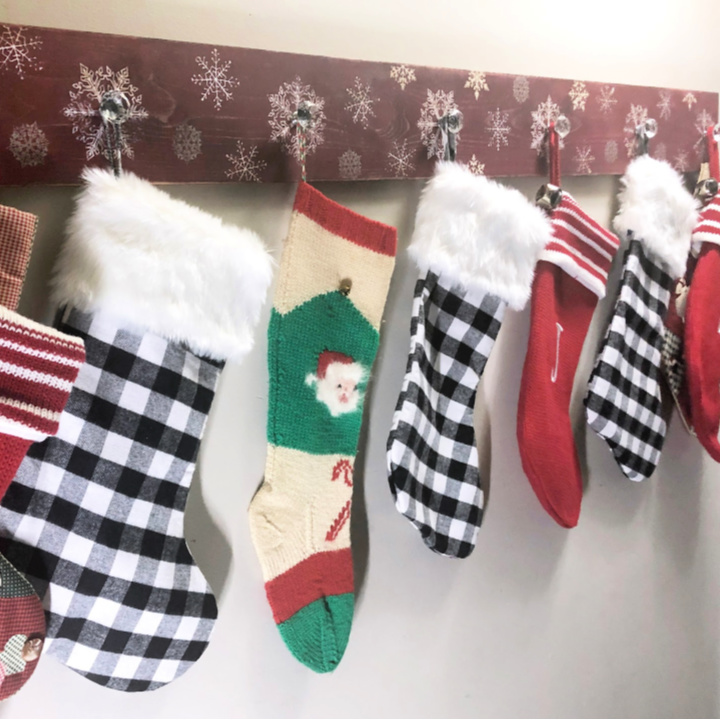
Add the glass knobs. I placed a knob in the center of each large snowflake.
I also lightly sanded over the entire painted board to distress the snowflakes. I love the aged look. Do you?
Step Five
All that is left to do is hang the stocking holder board on the wall. I attached picture hangers on the back and then hung on my wall.

Lastly add the Christmas stockings! I had to double up - looks like I need to make a bigger board!!! How many stockings will you fill this year?
This sponsored post was created by Create and Babble. Head to the blog for the full post and details.
Download project steps & shopping list
We'll never share your email with anyone else.