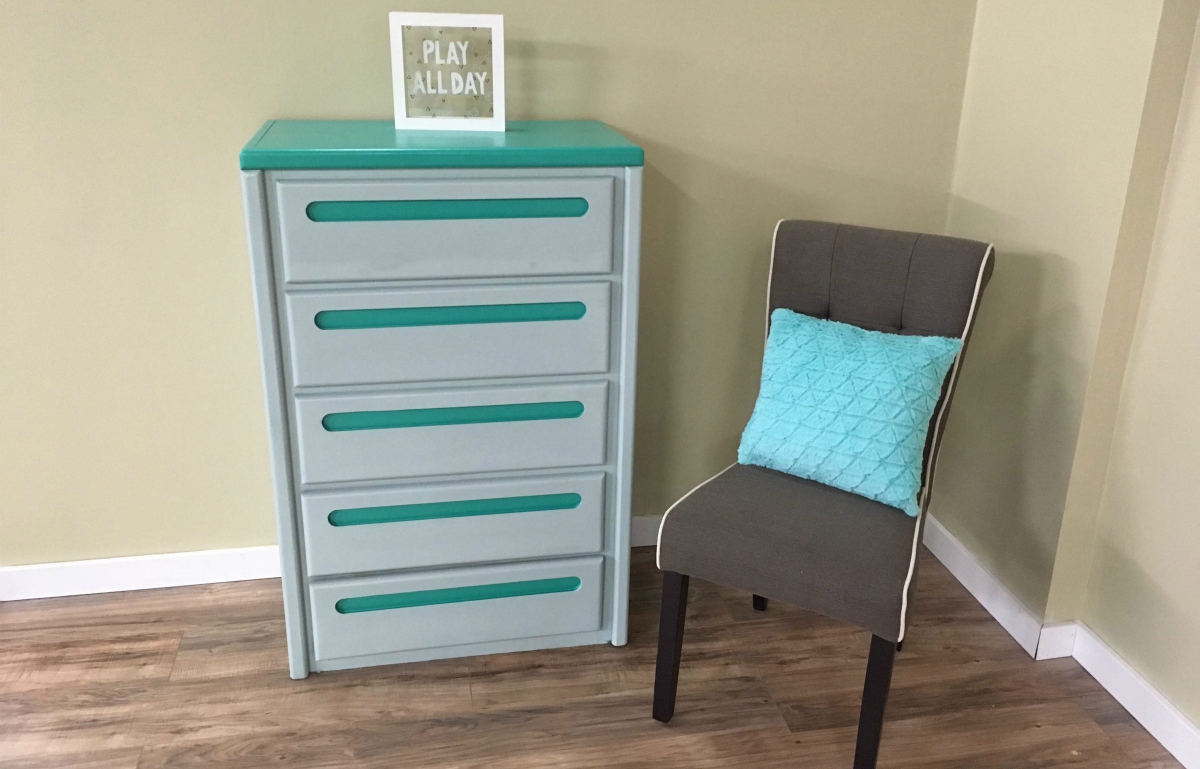
DIY Mint Dresser Makeover For Child’s Bedroom
This two-toned dresser makeover is perfect for a child's room.
We love seeing creative furniture makeovers! So when we saw this shambled dresser on the side of the road, we jumped into action. We didn't have a solid plan in mind for what we wanted to do with the dresser, but we are so happy with how it turned out! Read on to see how we transformed it to fit perfectly in a child's bedroom.
If you want to see another creative child dresser makeover, come and see how we painted a dresser...with glitter!
Clean the Dresser
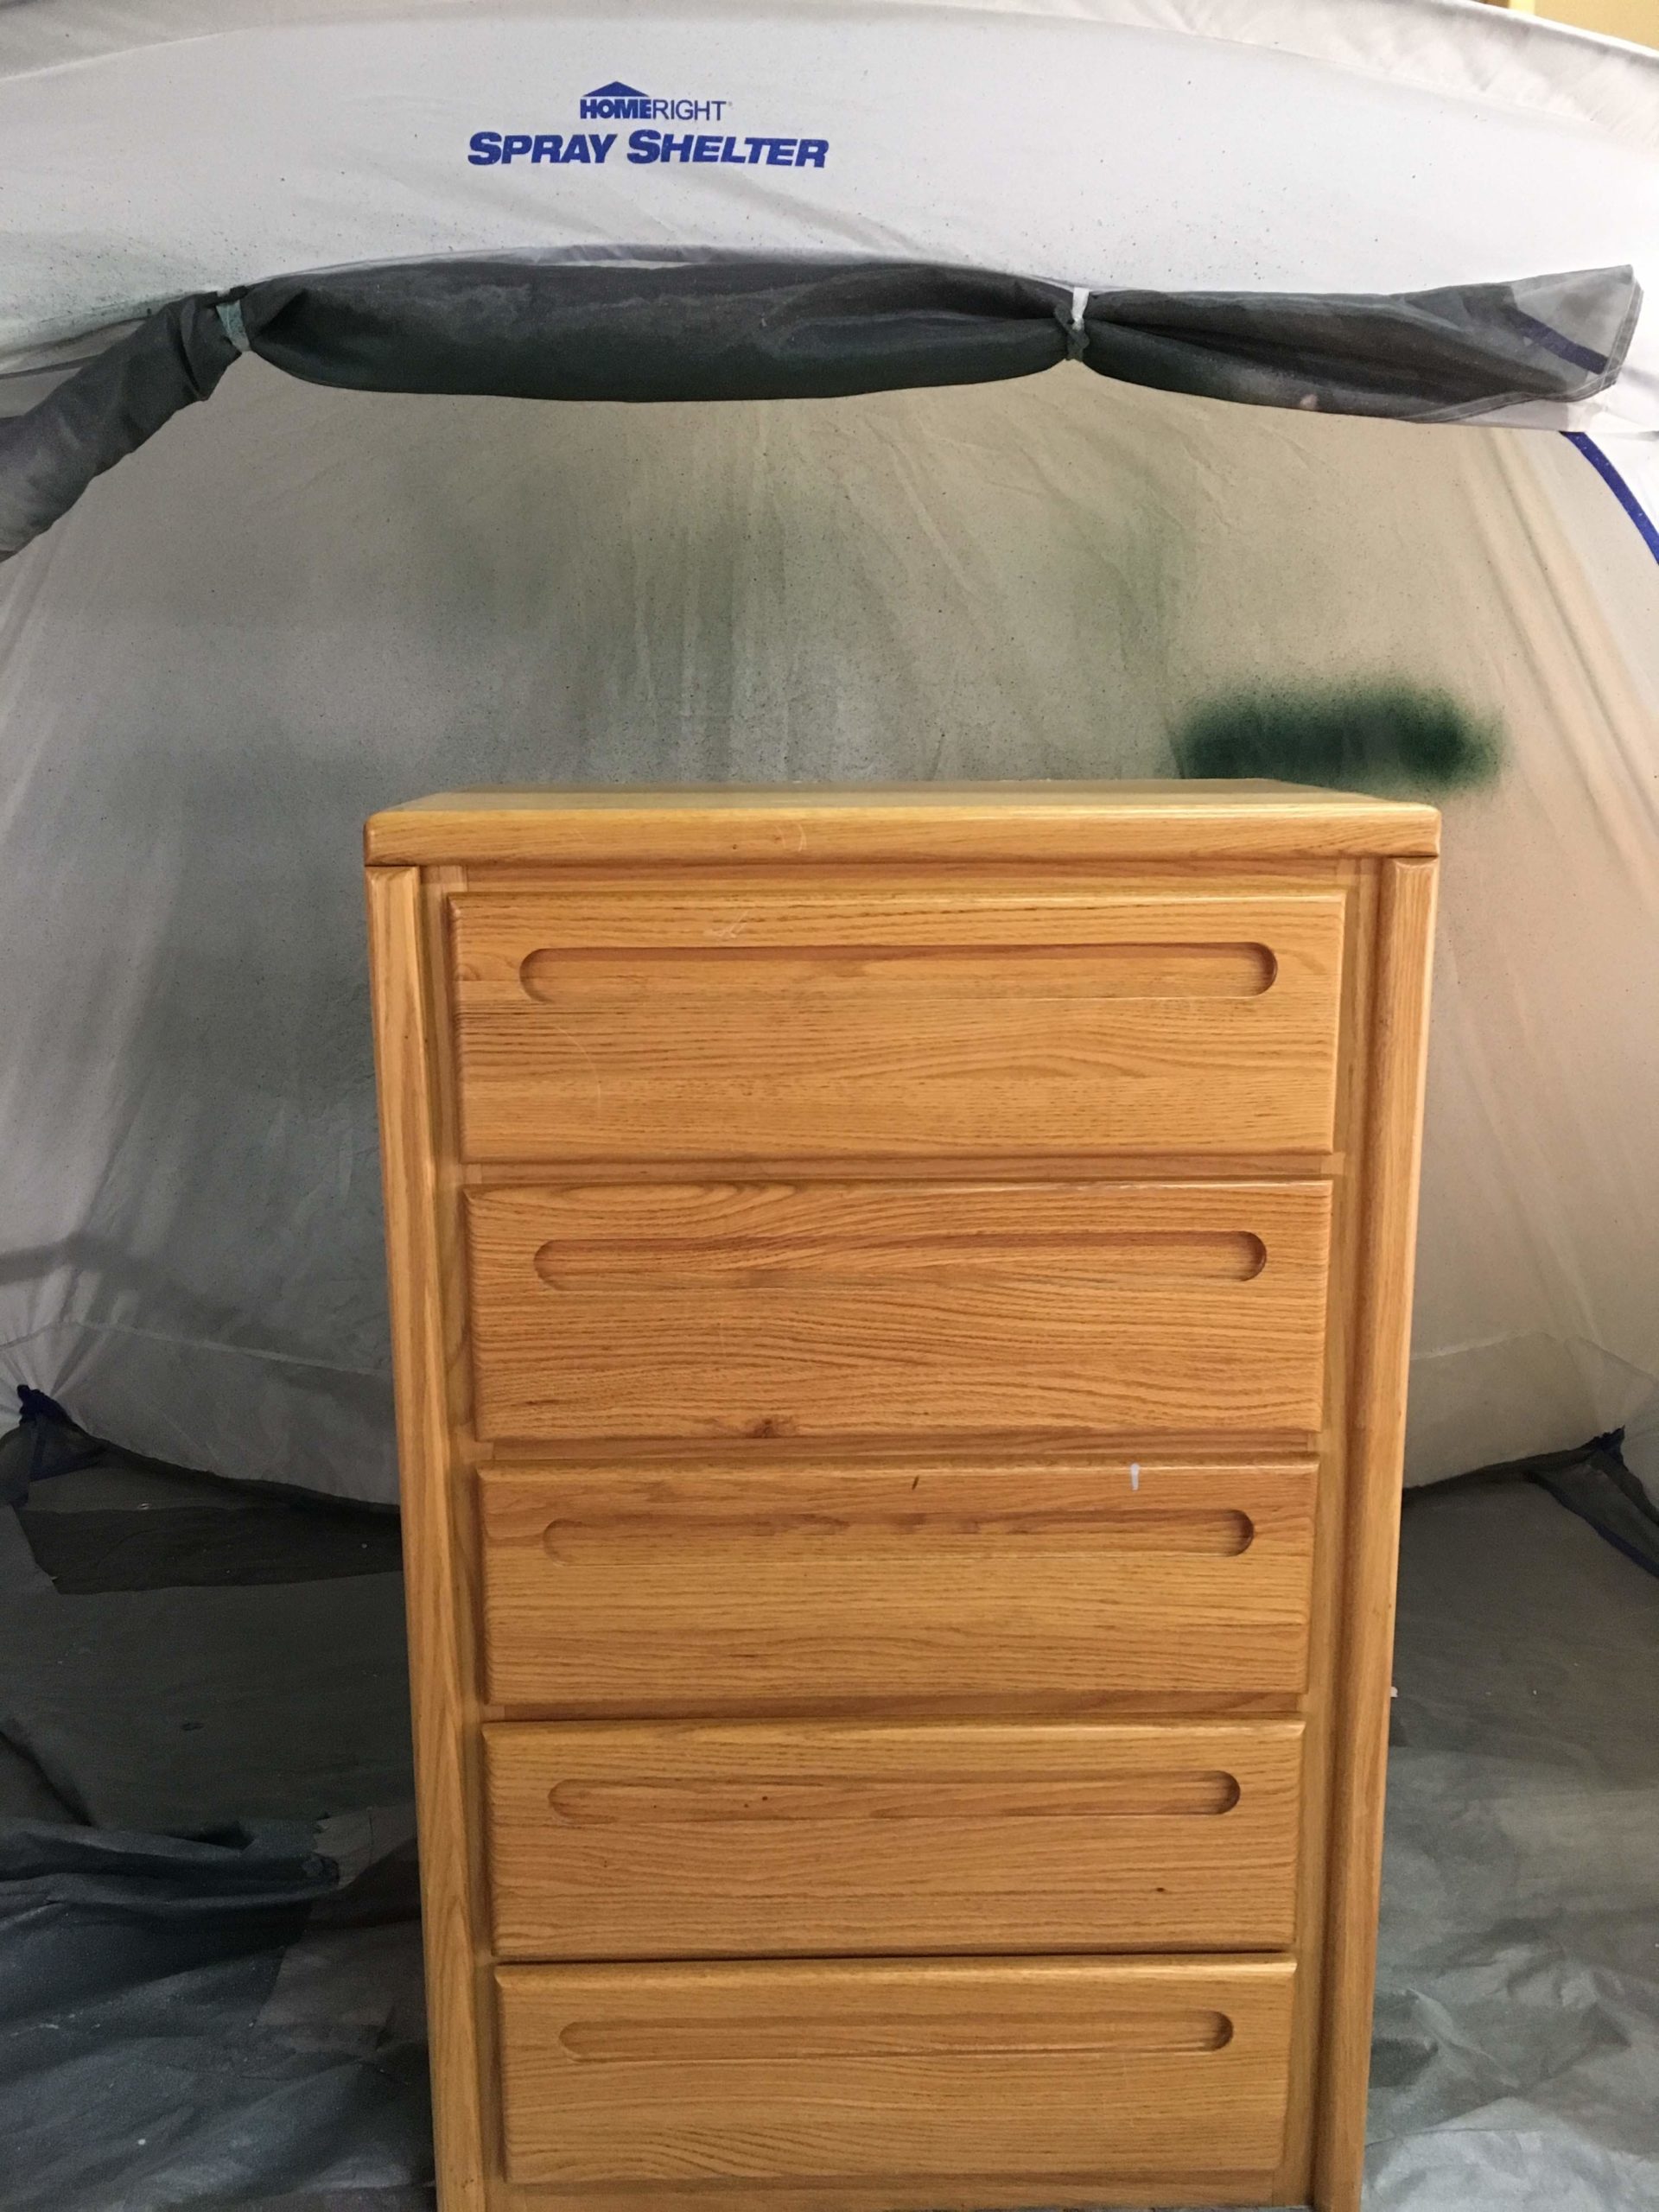
This dresser must have been on the curb for a long time because it was very dirty! It didn't help that we picked it up when it was pouring rain outside! Due to this, we cleaned the entire dresser thoroughly with Simple Green.

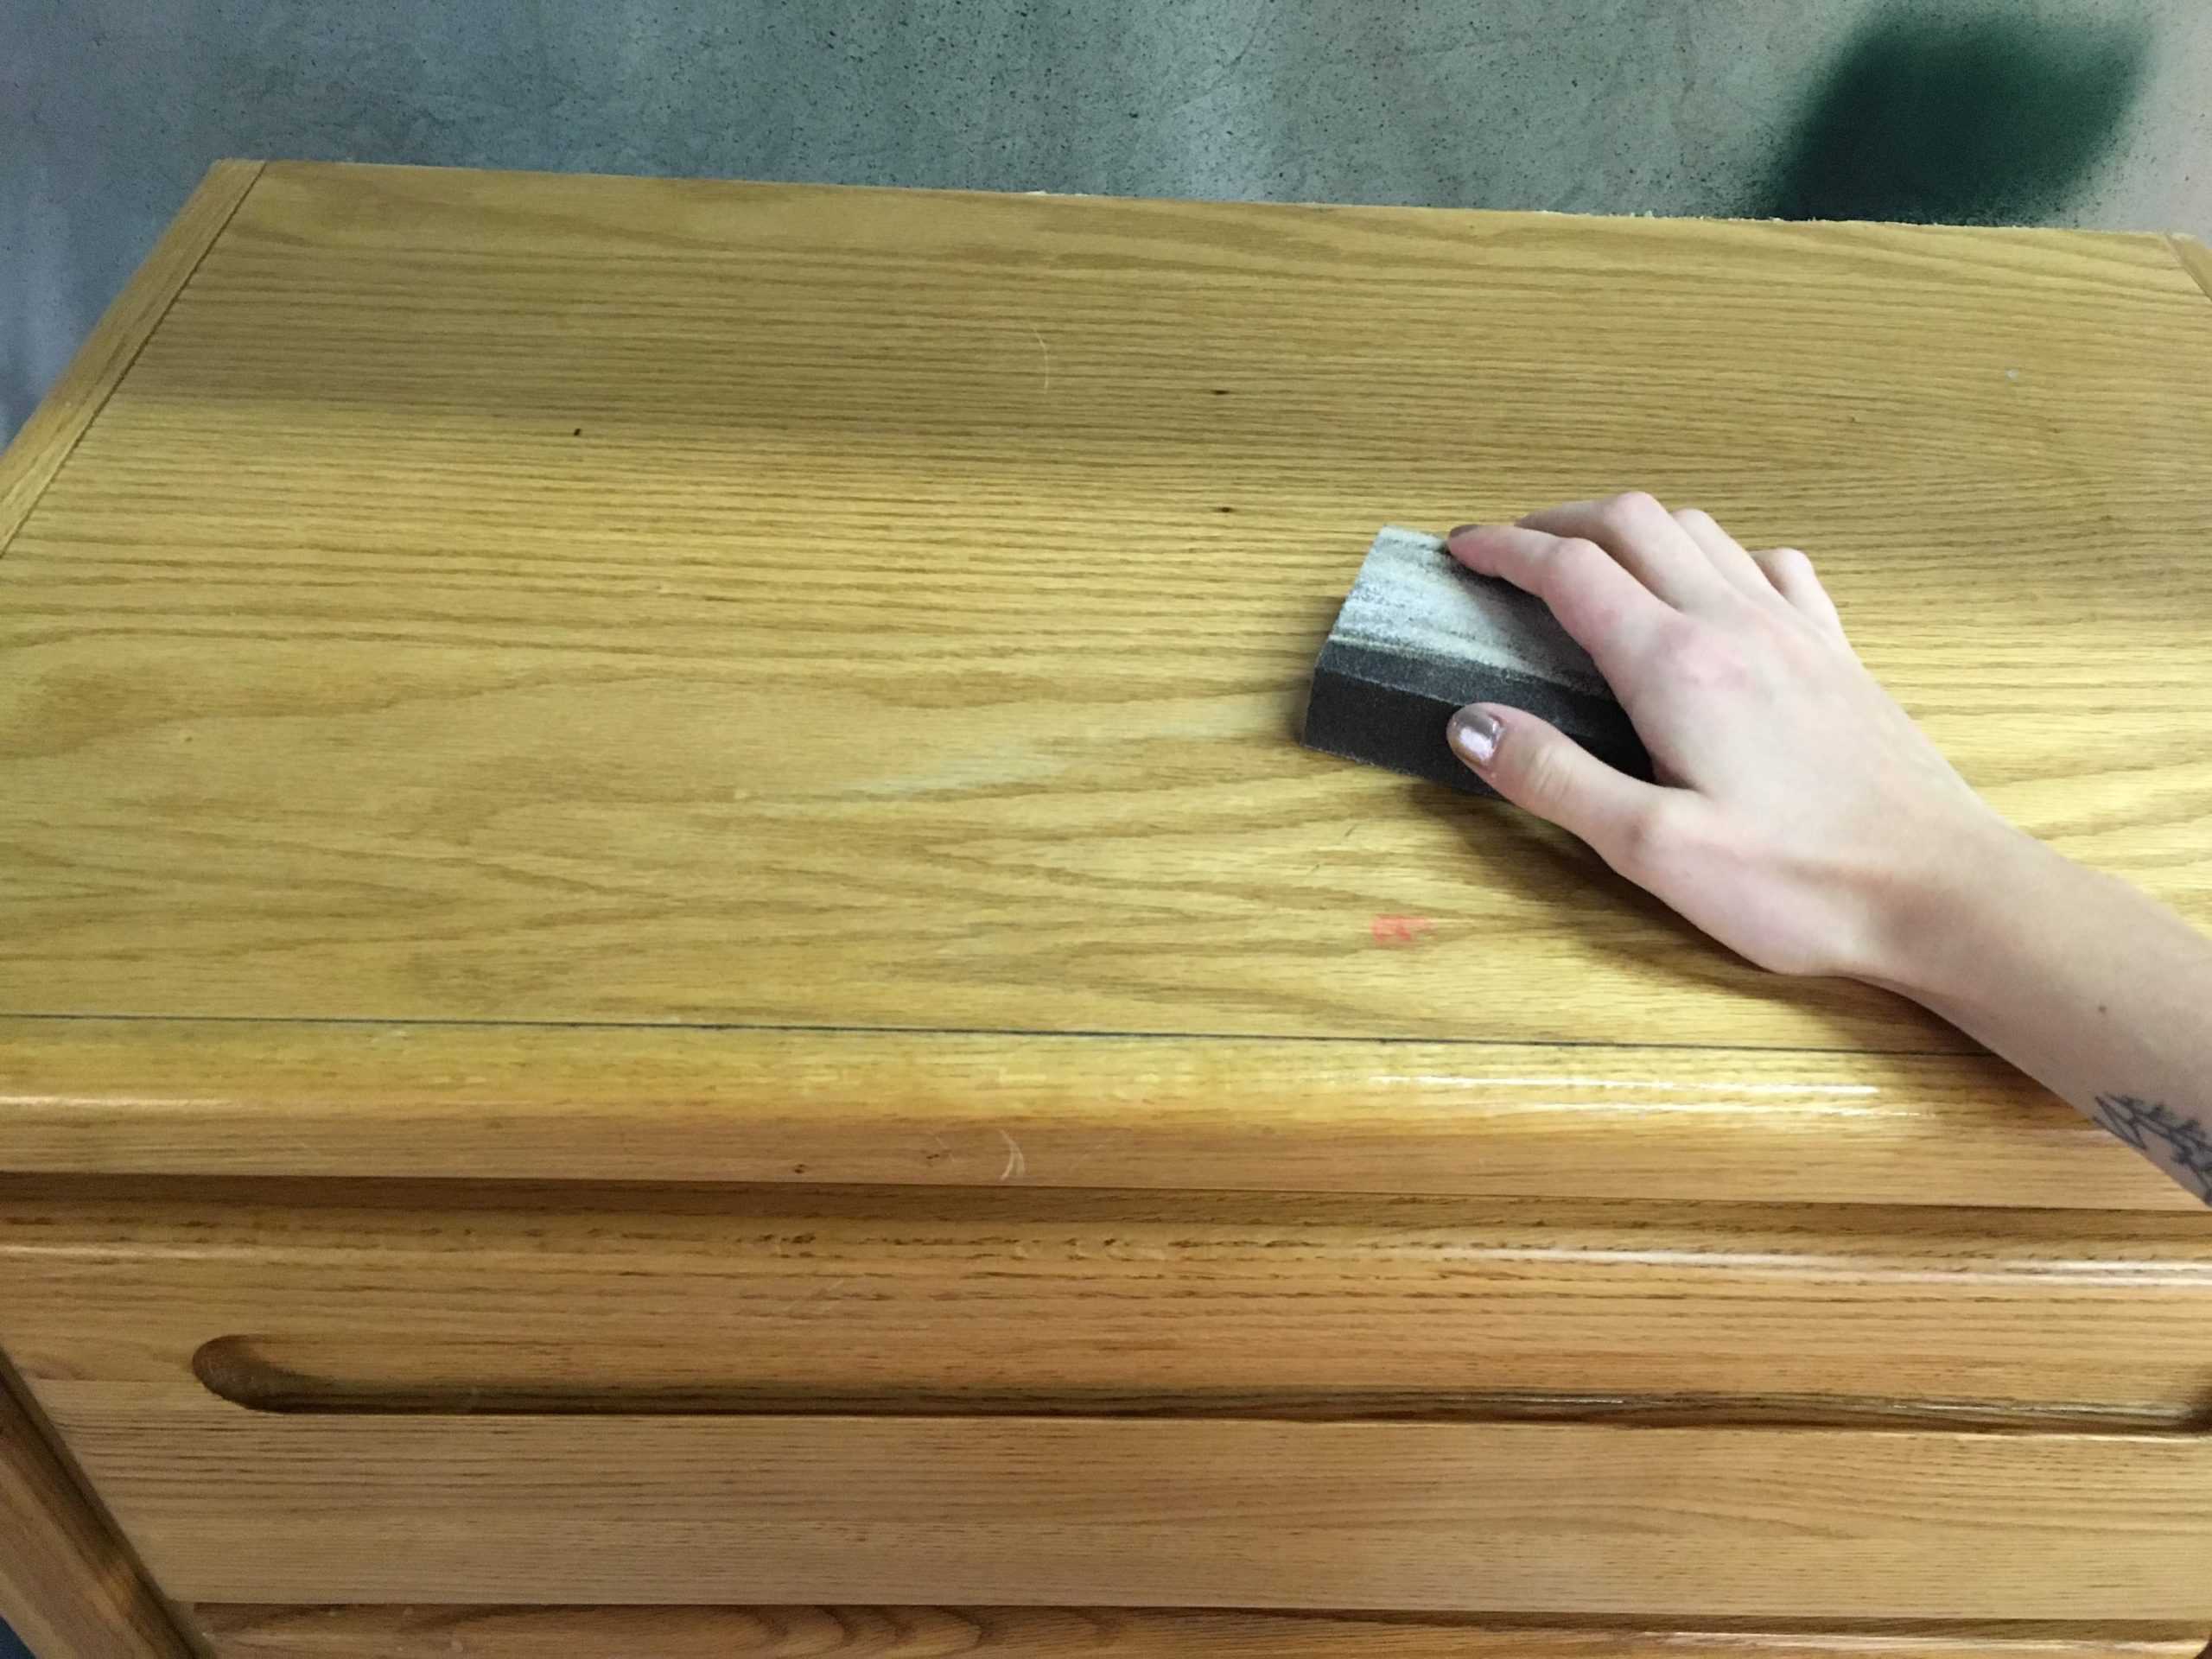
Sand the Dresser and Clean
When it was clean, we sanded the dresser with a sanding block so that the new layer of paint would have something to adhere to. When it was all sanded, we cleaned the entire surface again with Simple Green.
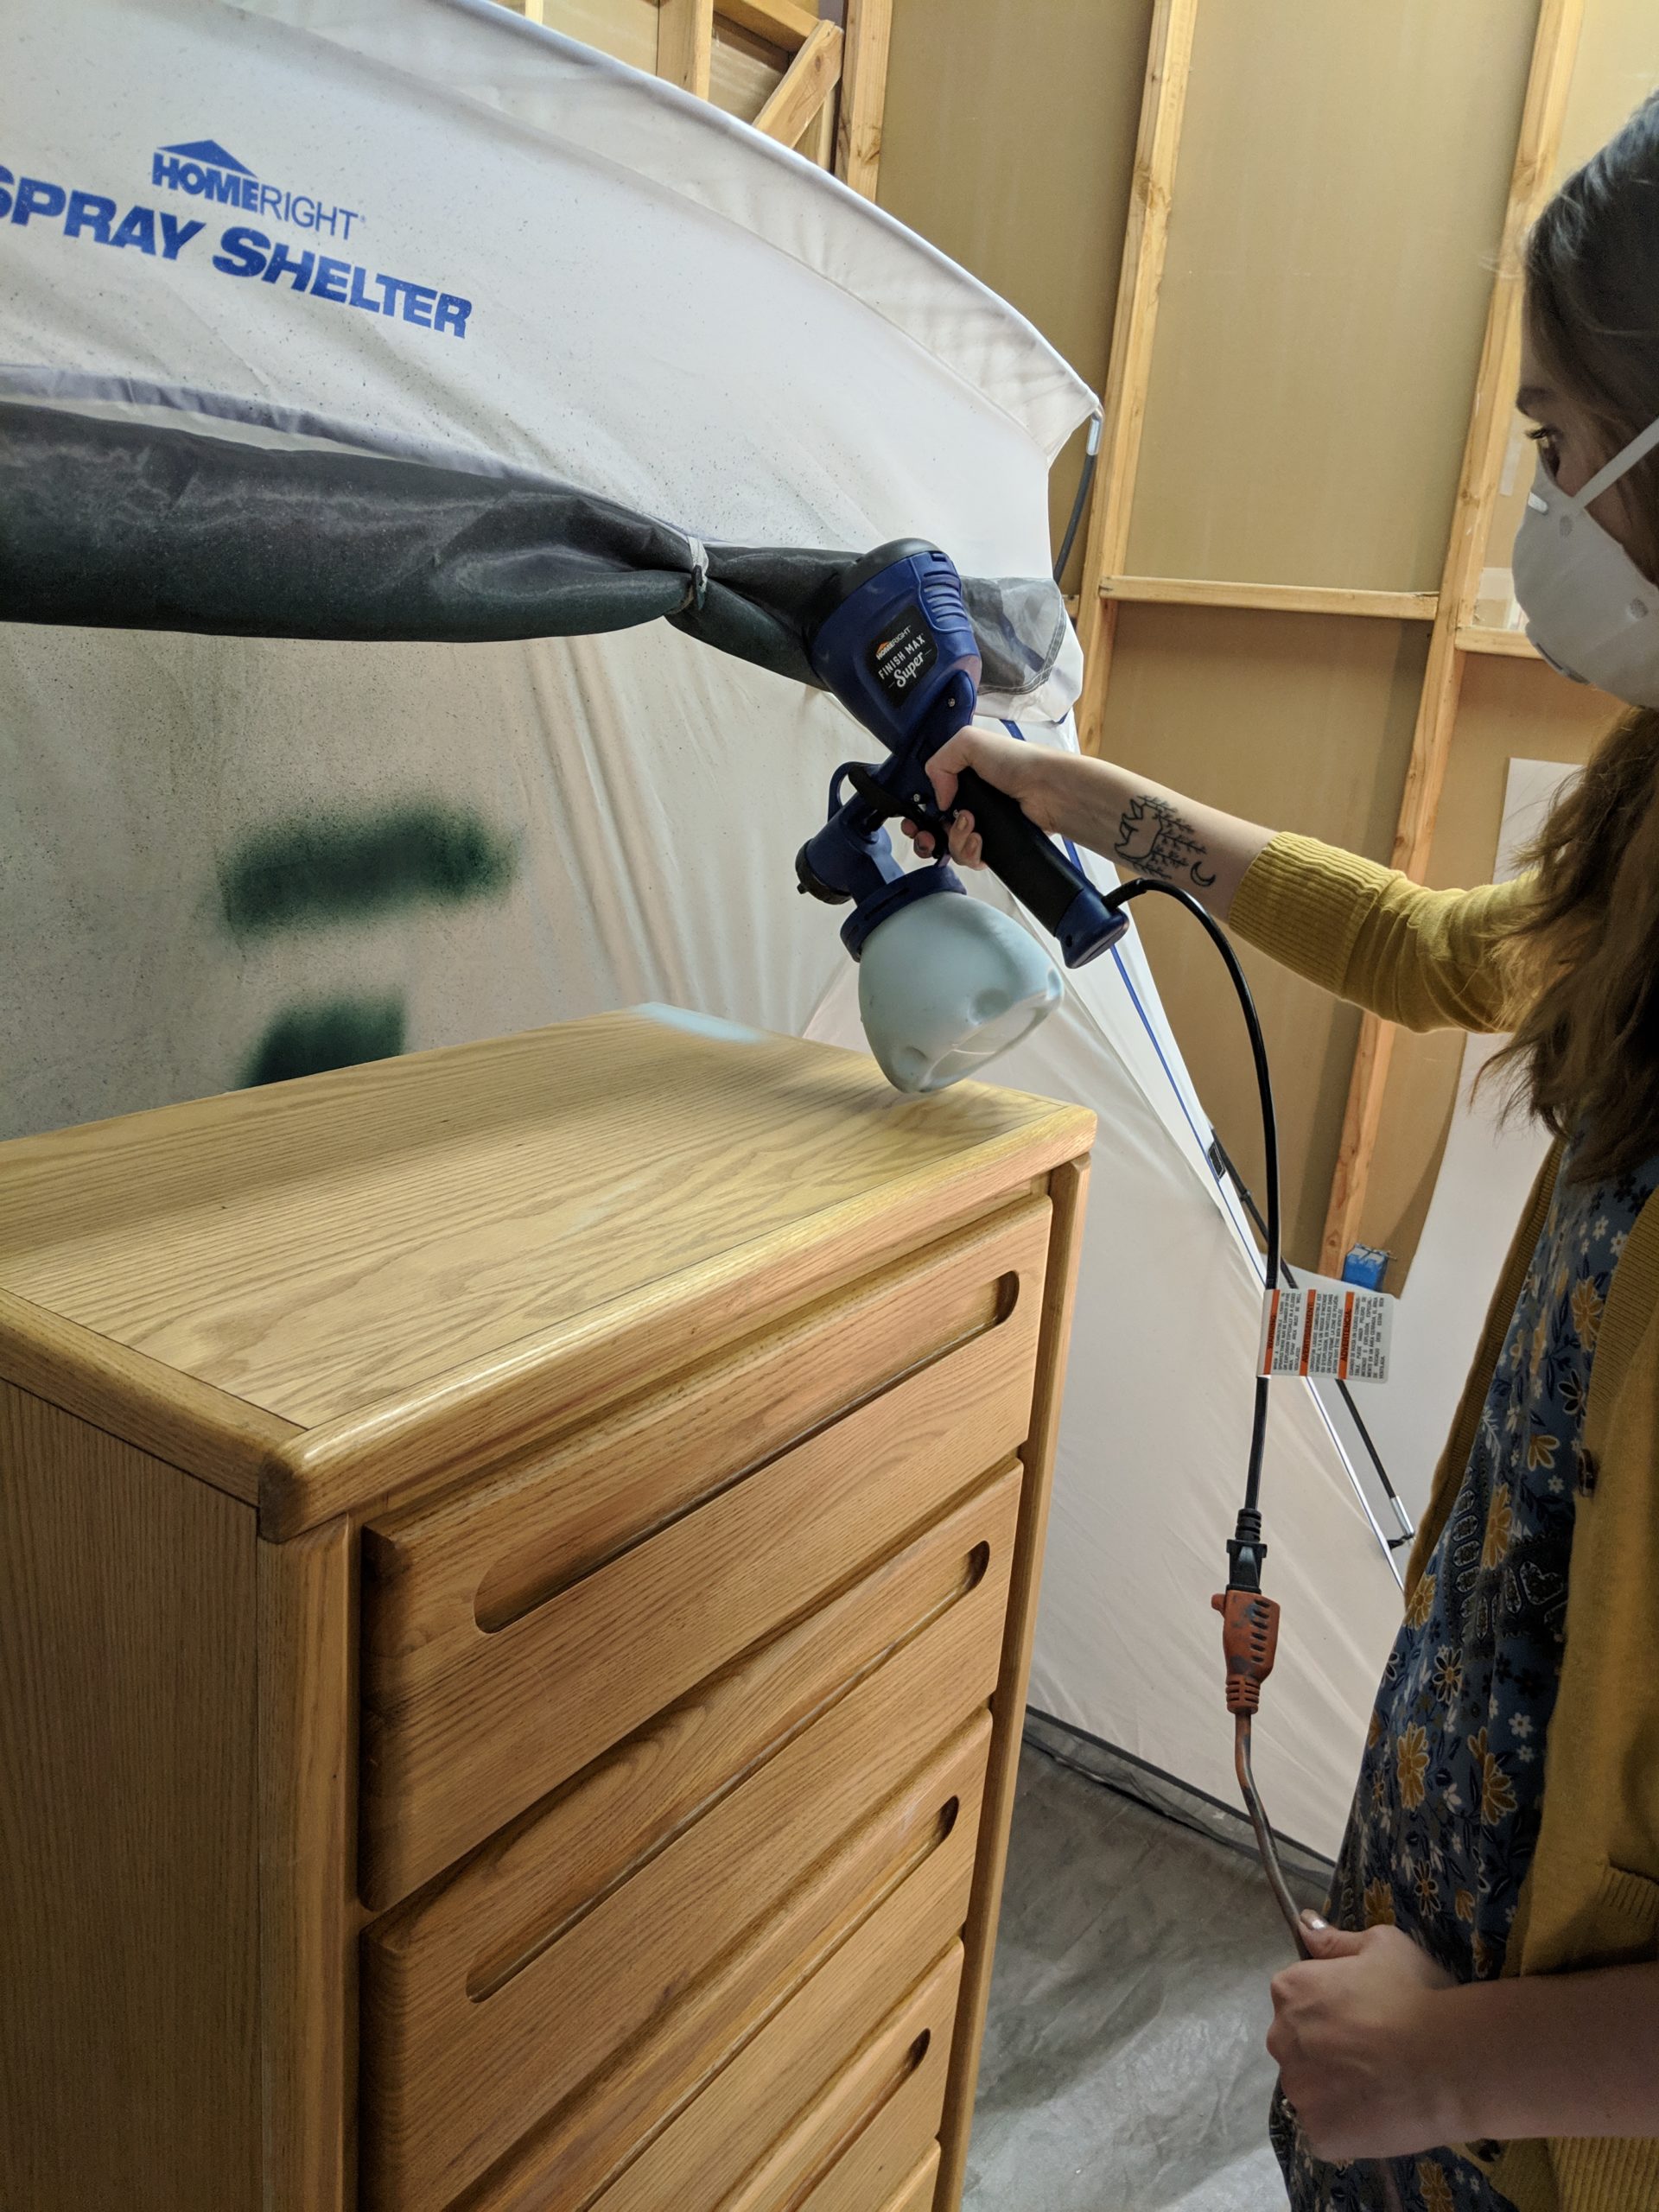
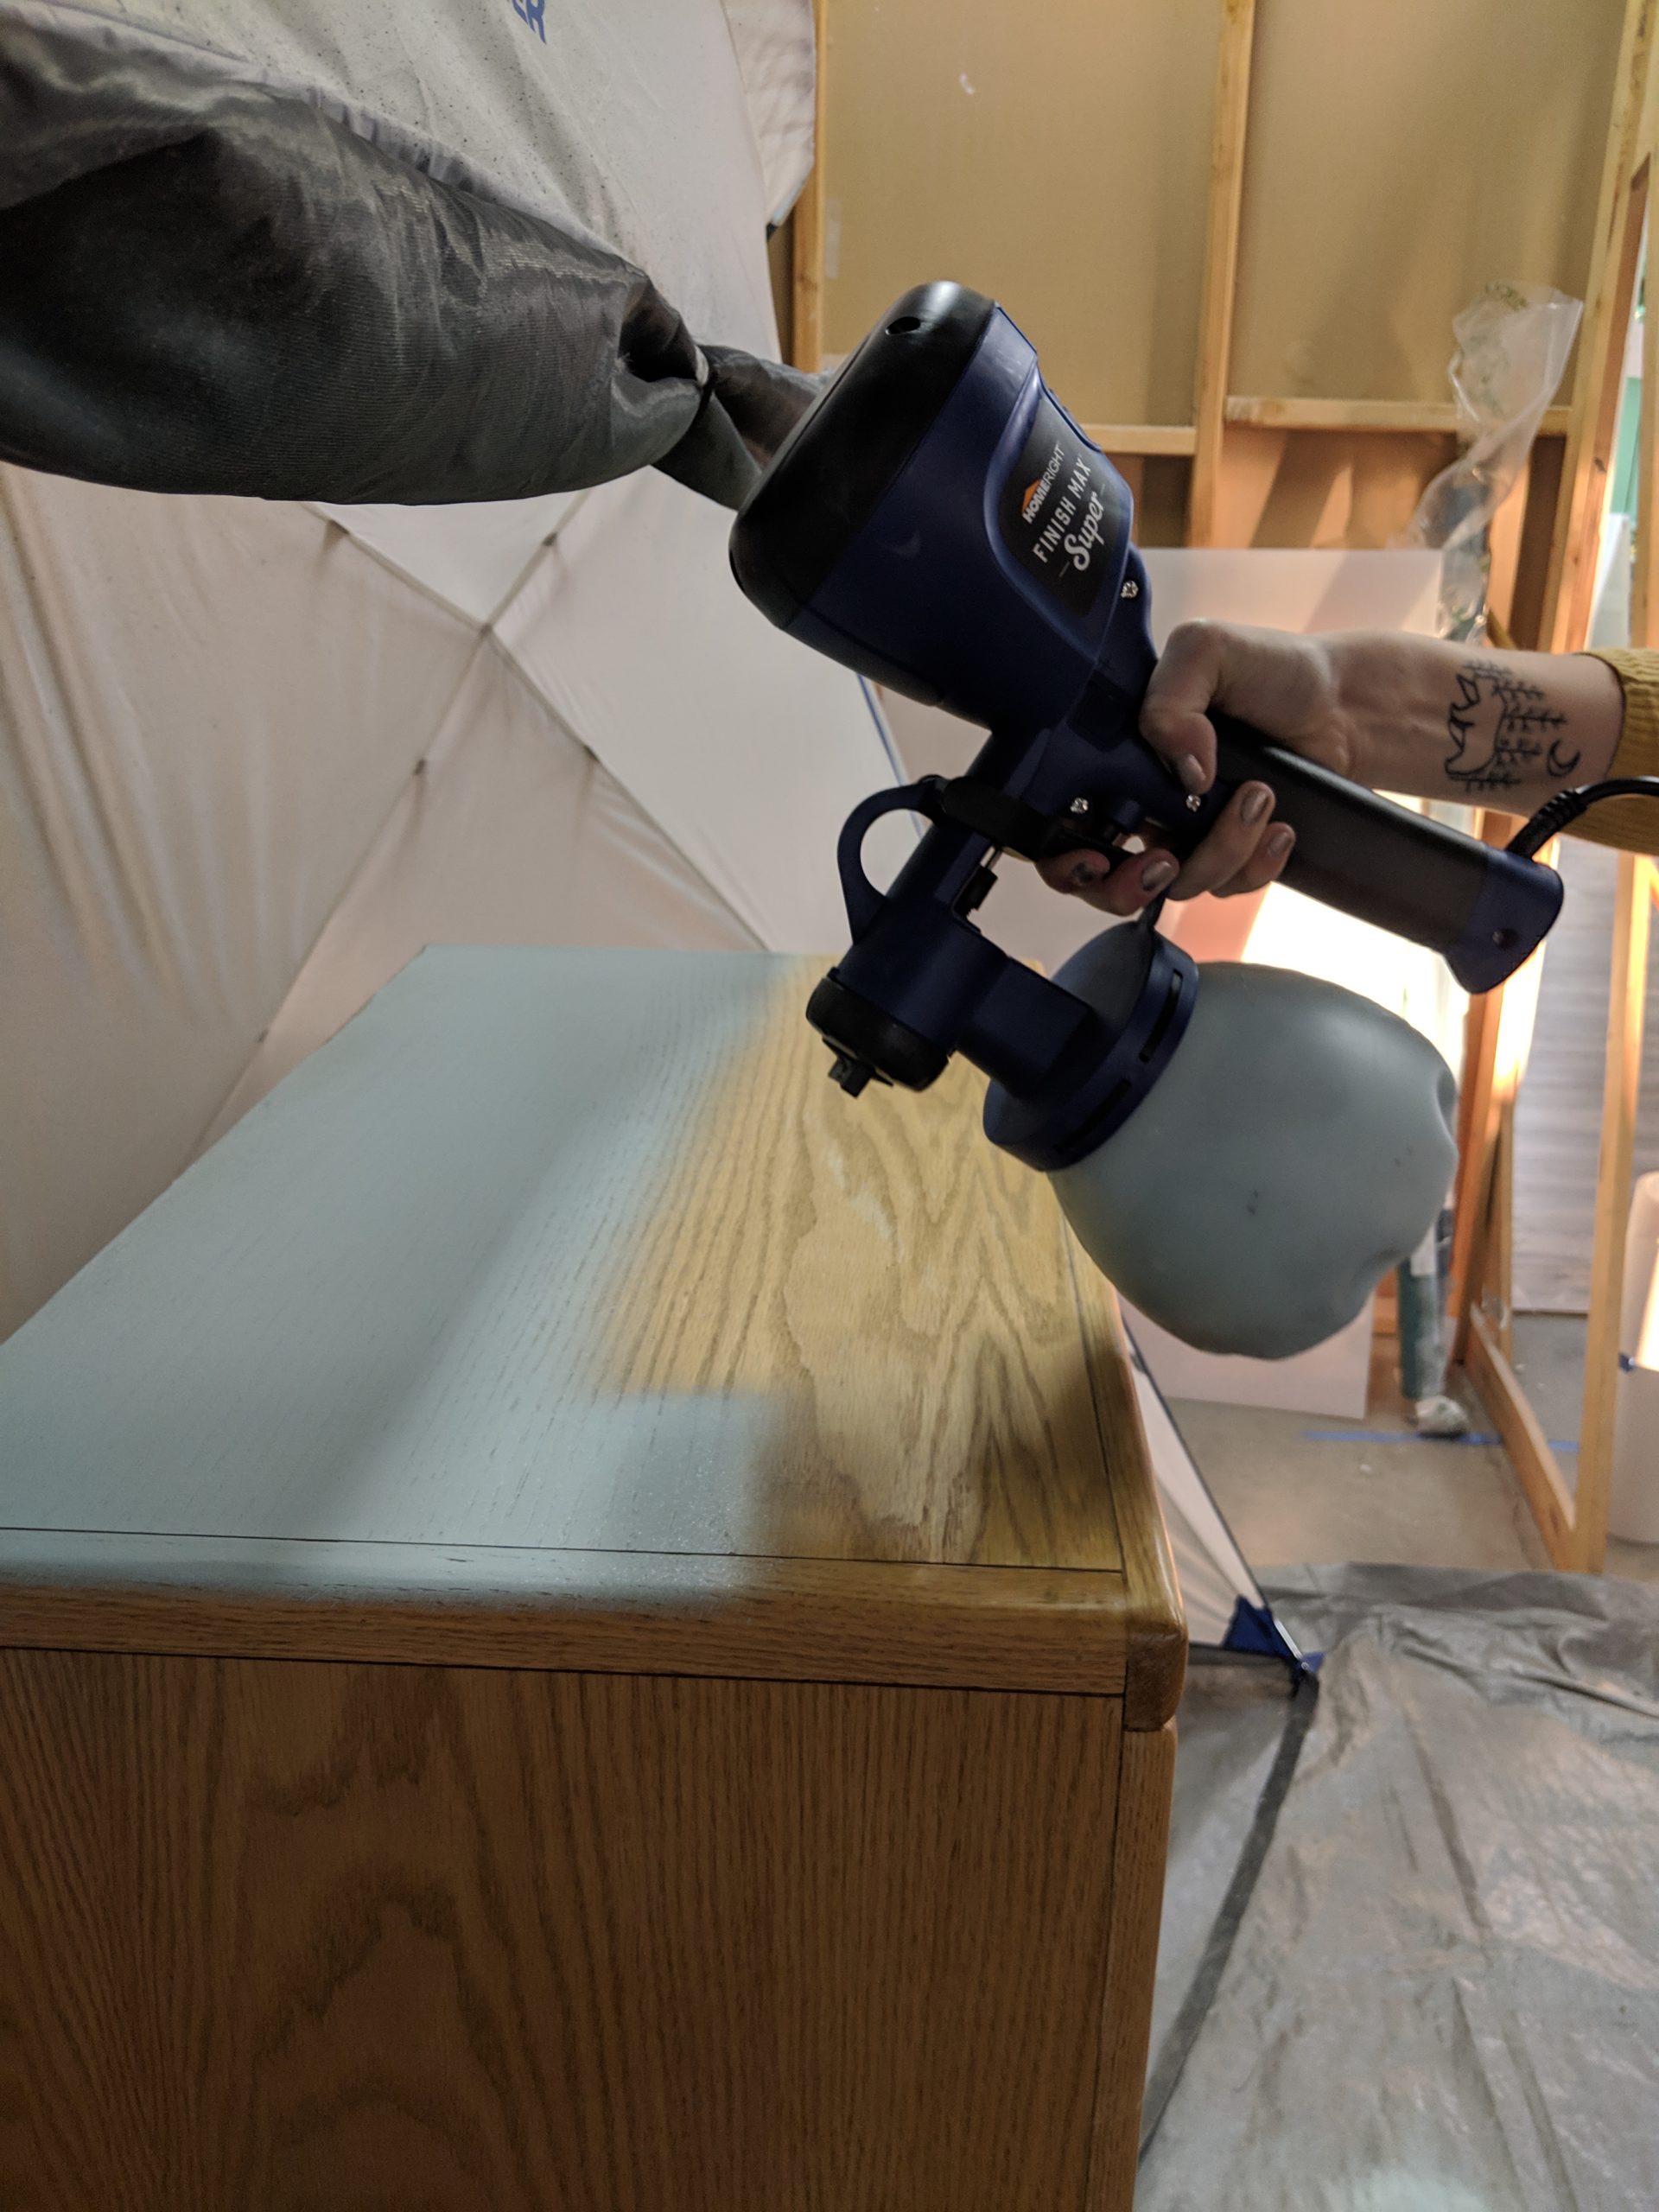
Spray Paint 2-3 Coats of Chalk Paint
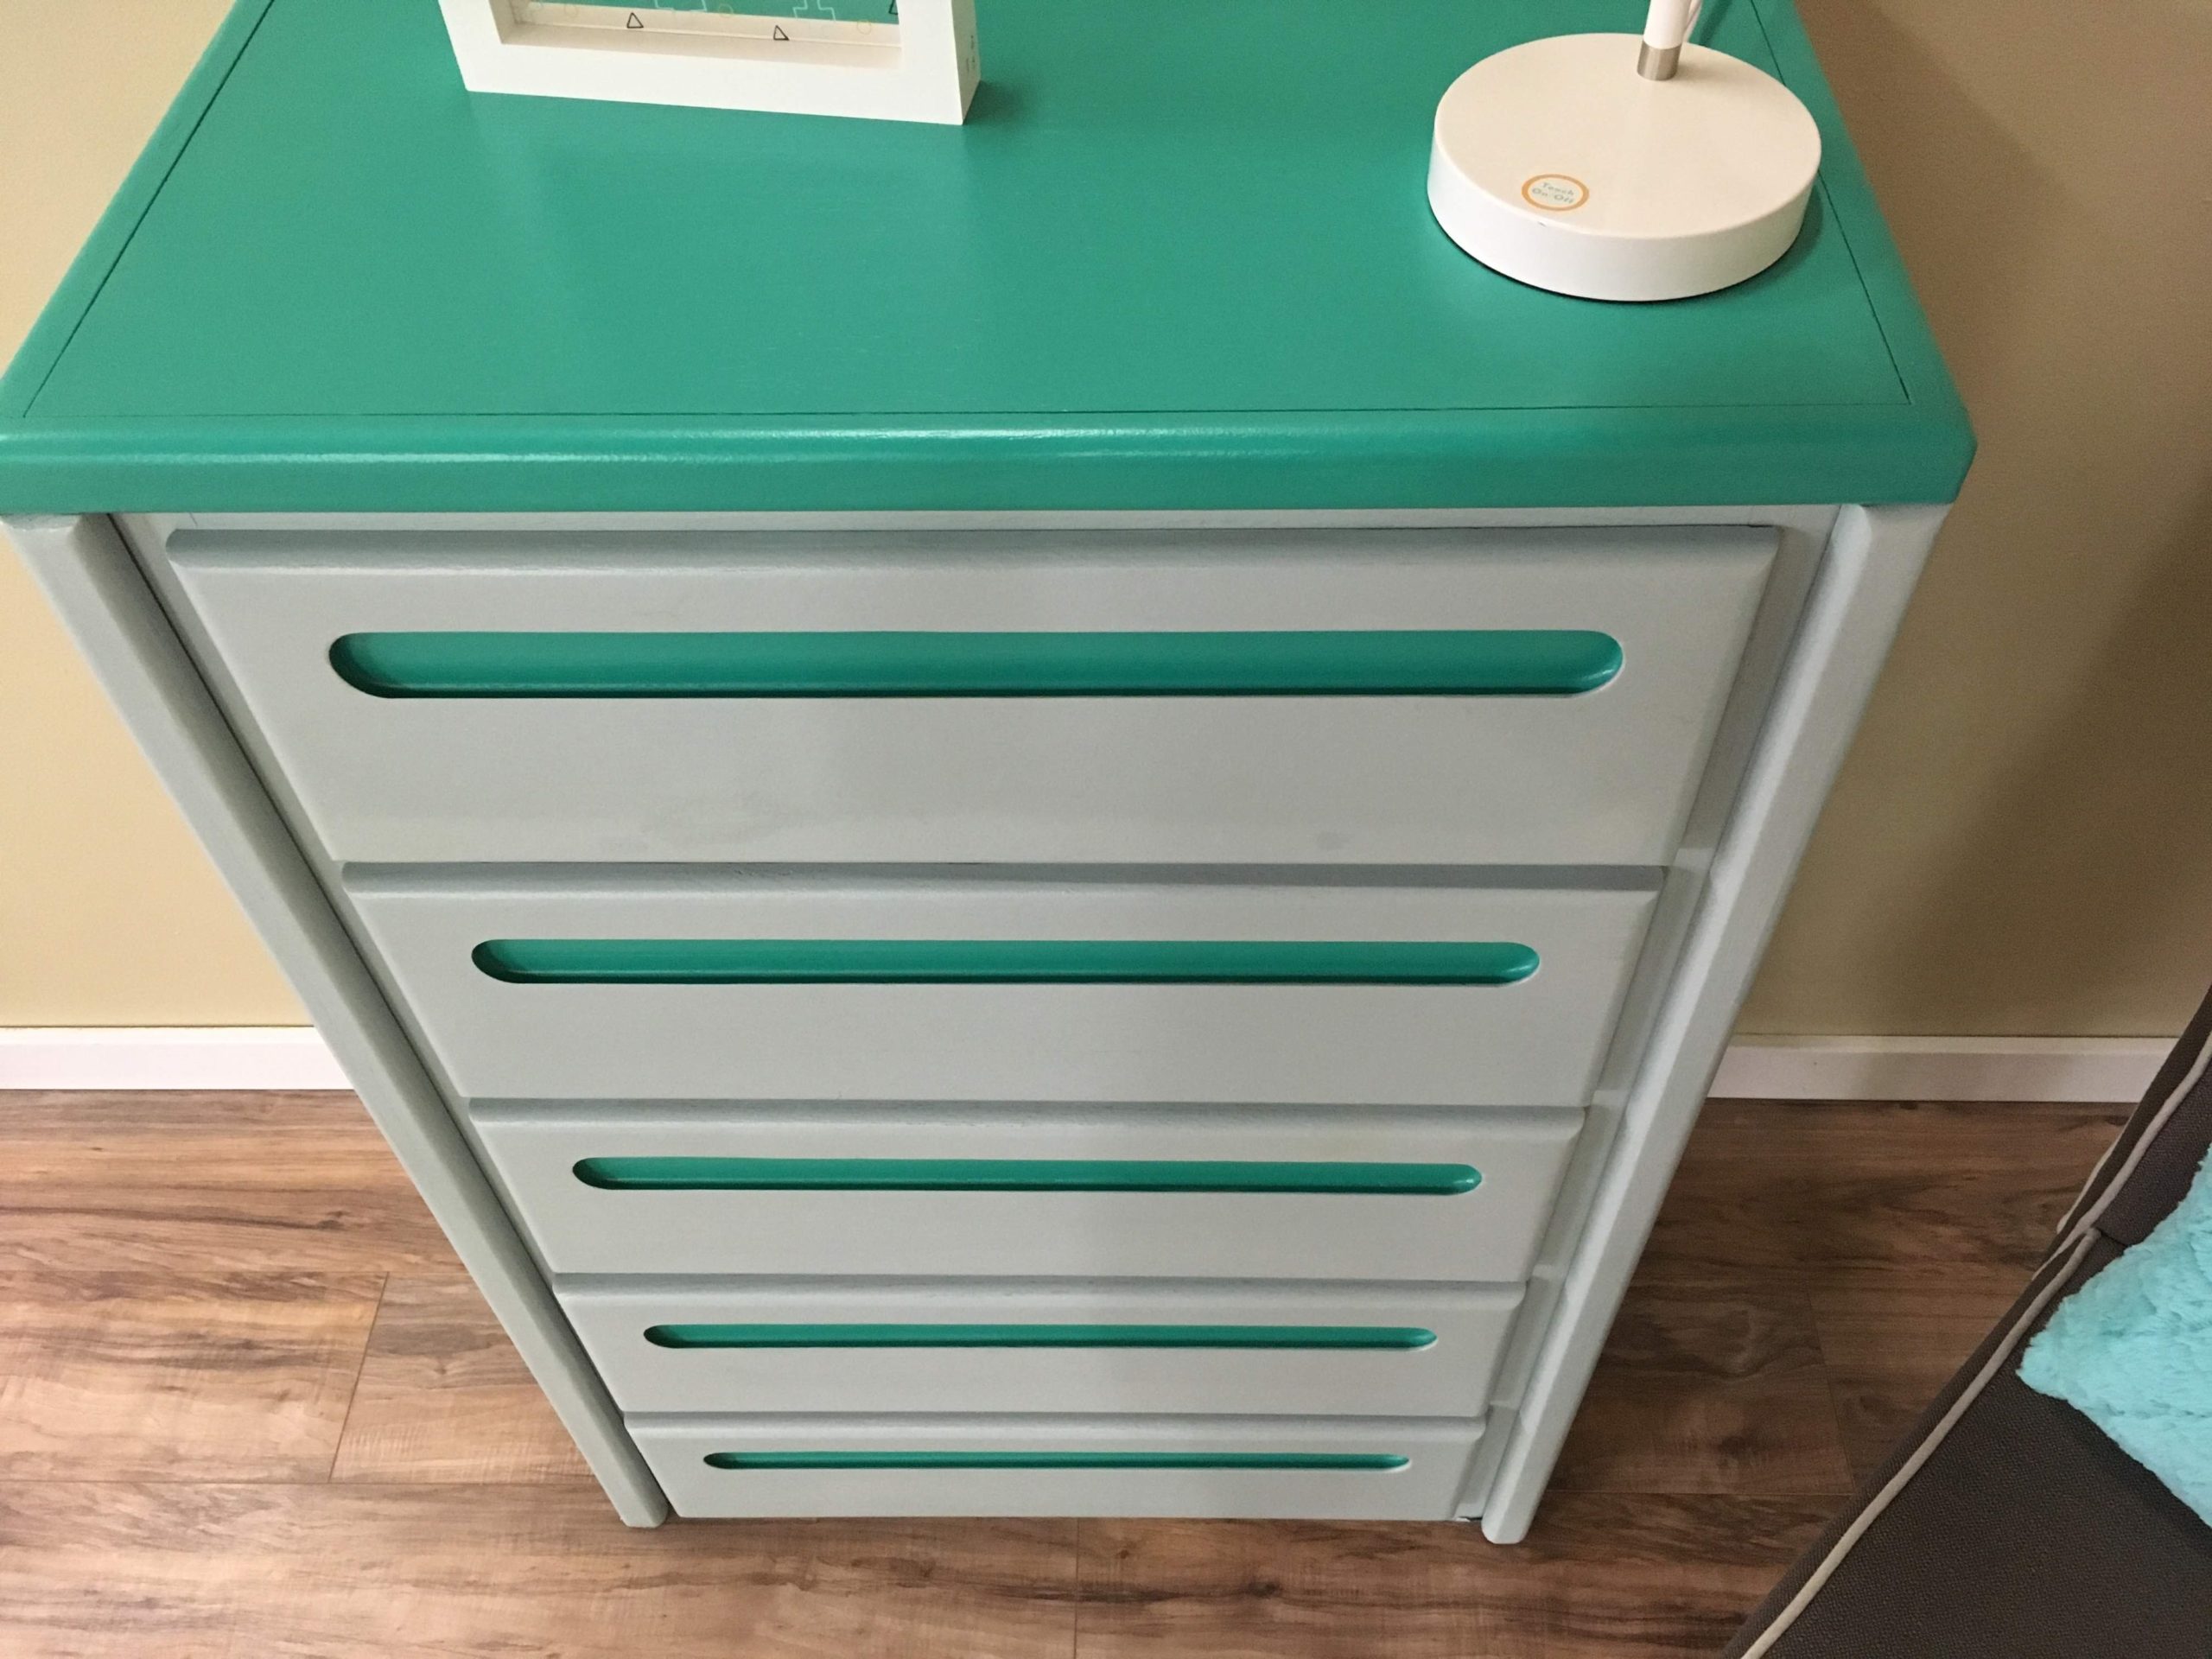
As we were cleaning, we realized that it would be fun if we painted the dresser and then painted the little inserts a different color. We decided to paint the main dresser a gorgeous serenity blue color with Rustoleum Chalk Paint. Then, to add a pop of color, we used DecoArt Outdoor Living Paint for the inserts.

Since we live in Minnesota and it's freezing outside, we decided to paint indoors in our Large Spray Shelter. We also used the Super Finish Max paint sprayer (you can find the classic version HERE) so that we could receive a smooth, fine finish on the dresser. This would have taken hours to paint with a brush, but we managed to have the entire dresser done in one day thanks to the sprayer!
The spray shelter also managed to protect our surrounding area from any overspray, which was great since we were painting indoors.
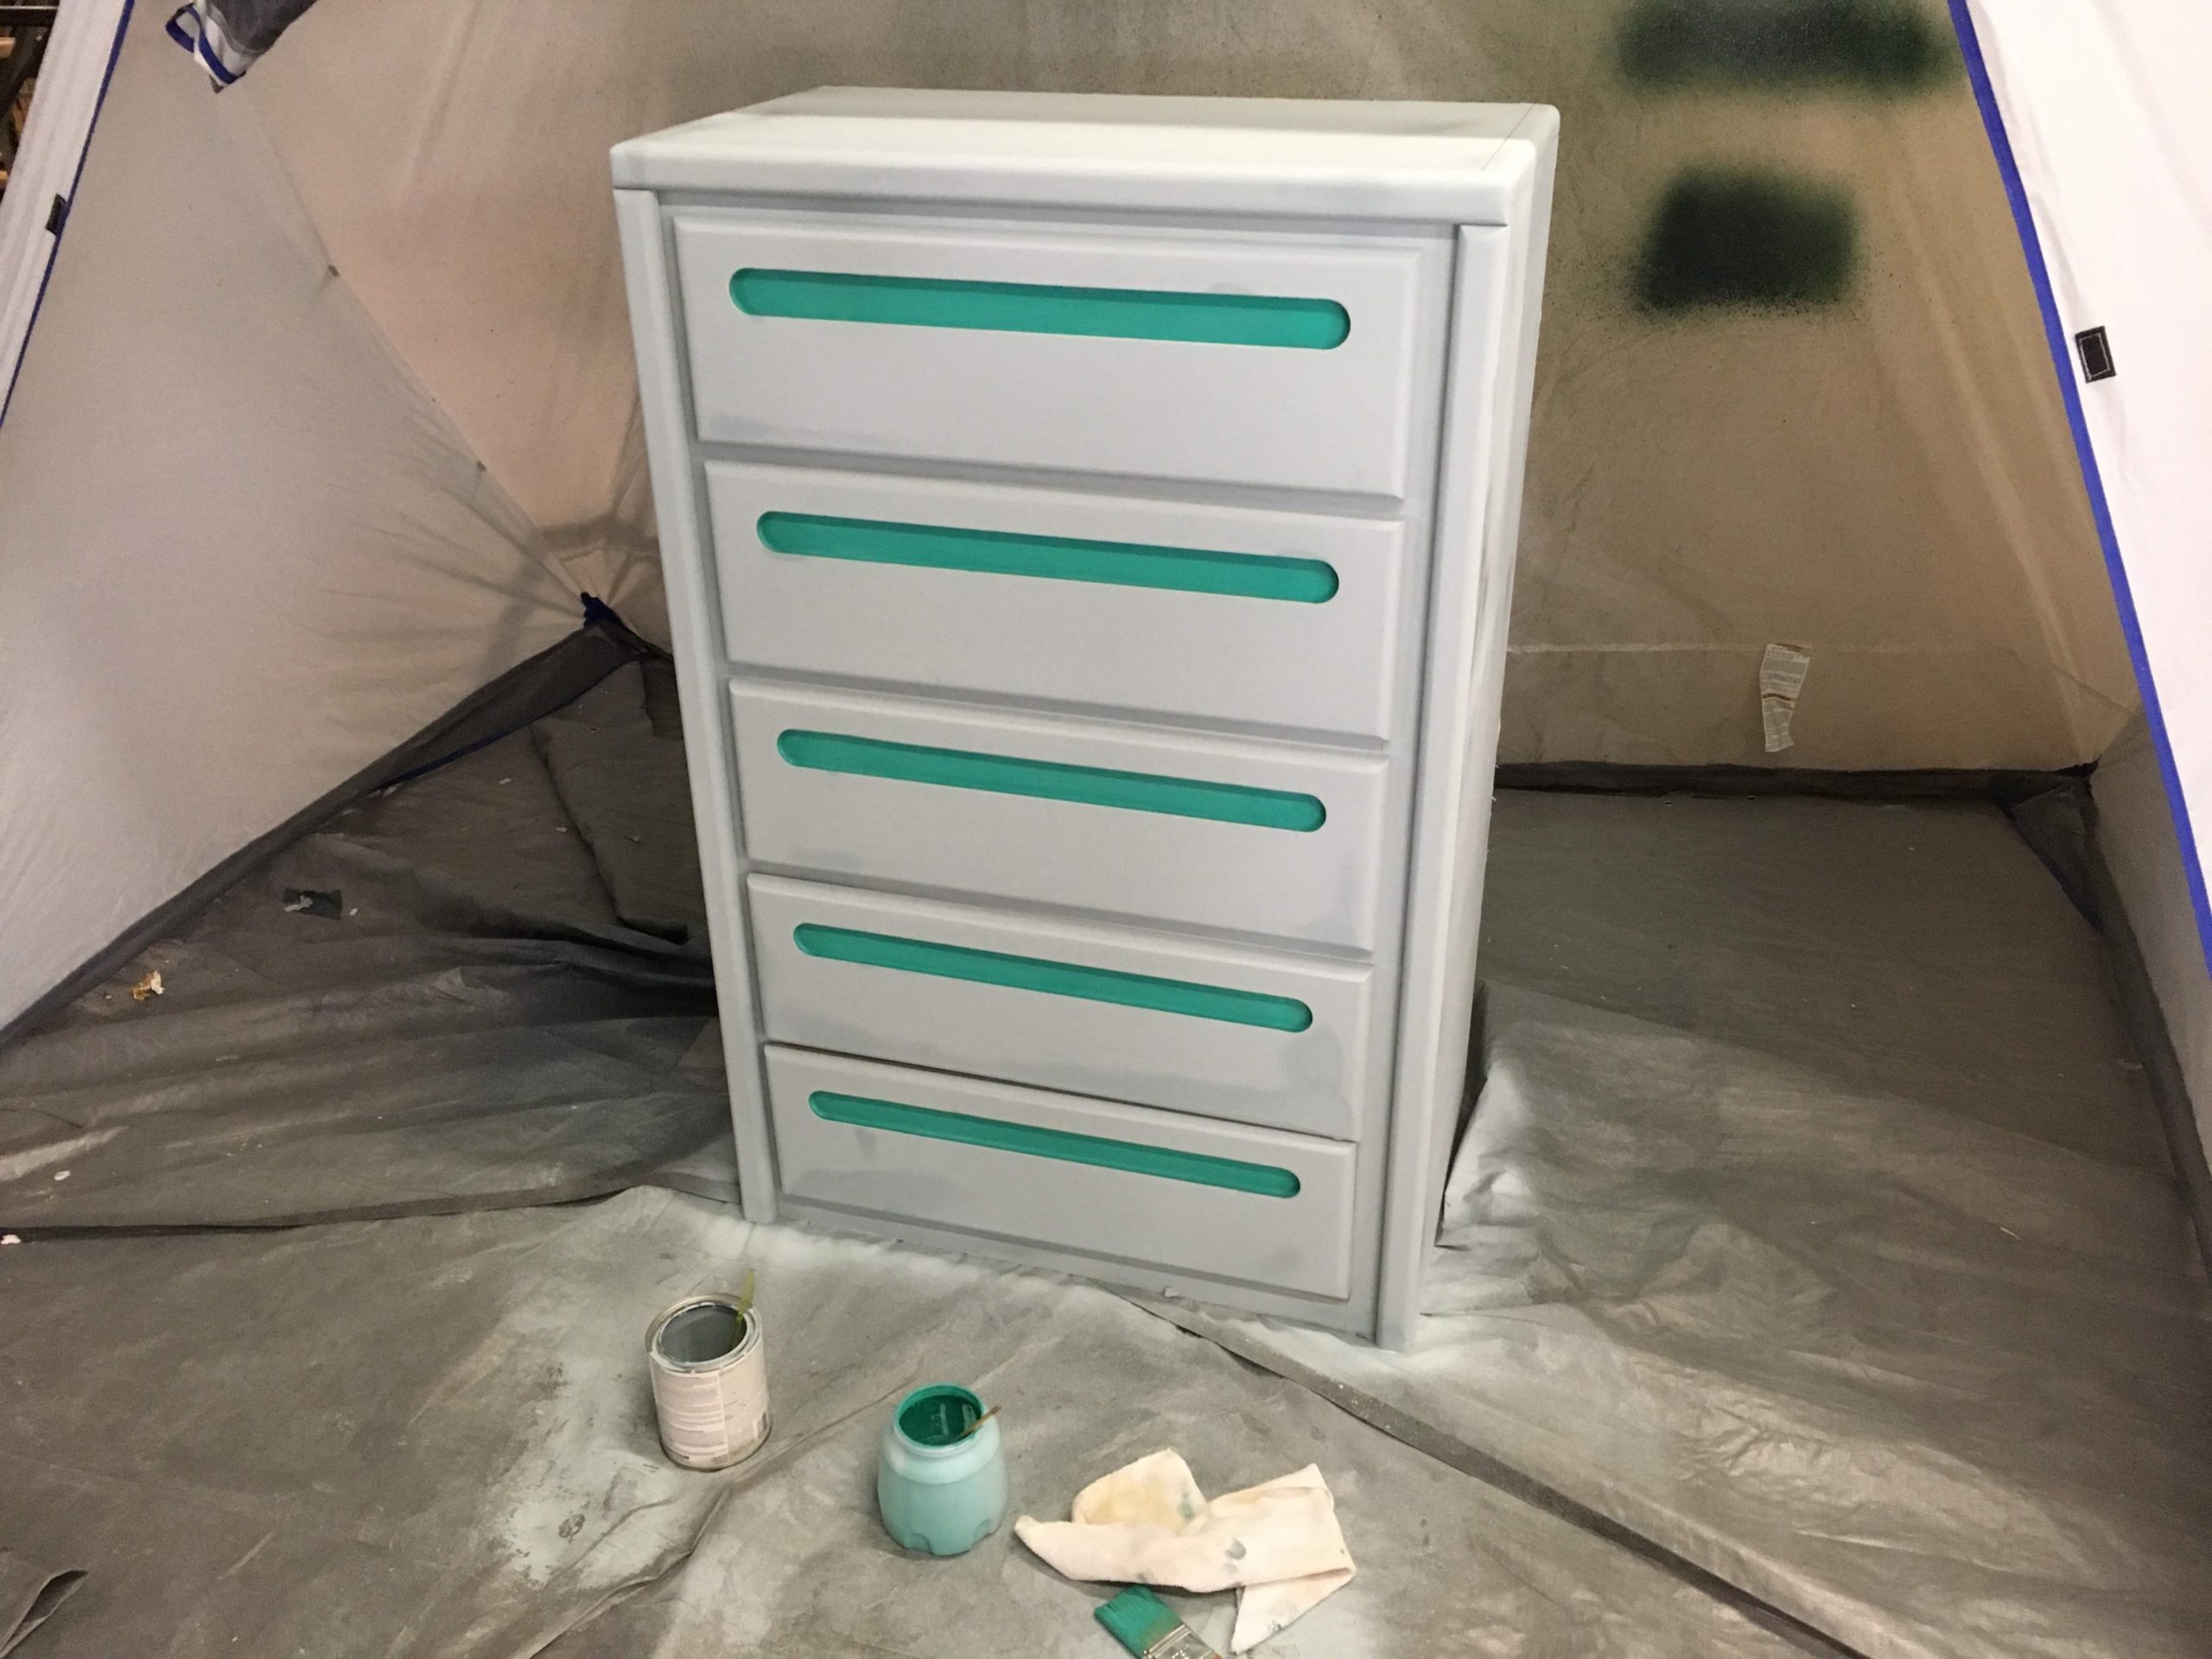
Paint the Inserts
We allowed the dresser to dry between coats and then painted the inserts! You can do this with a paint sprayer by taping off the rest of the dresser or you can use a brush.
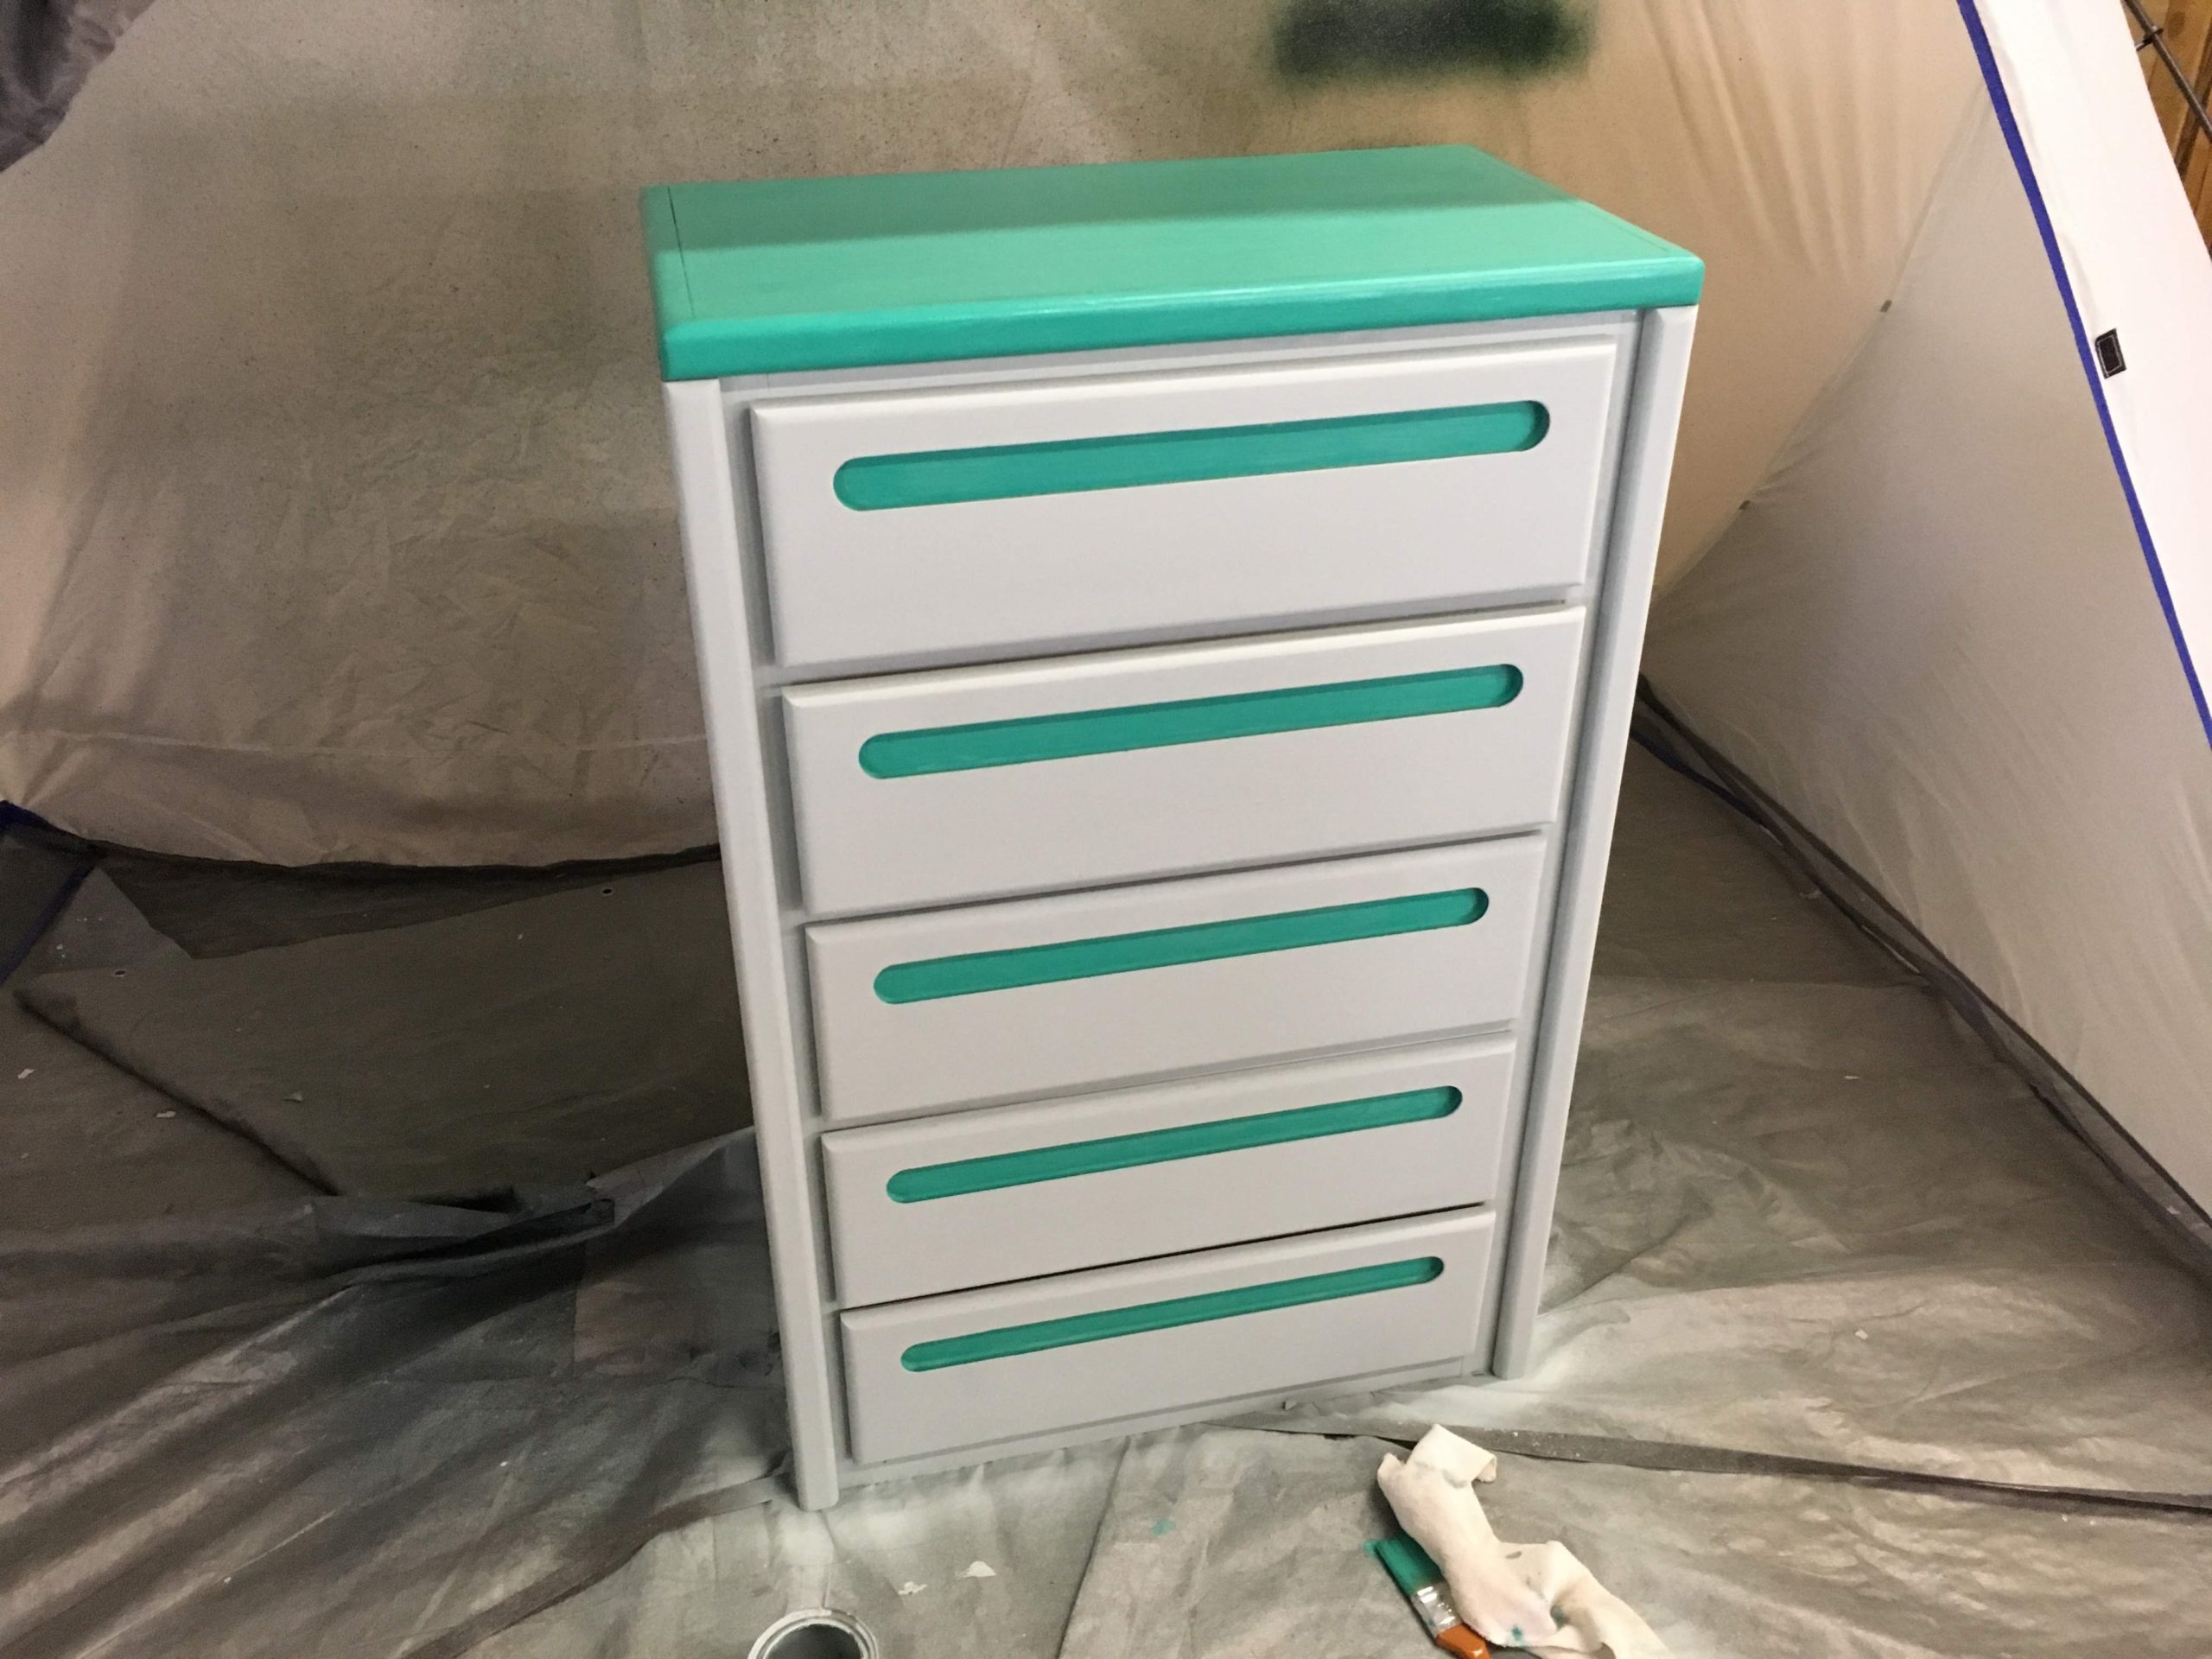
Paint the Top
We weren't super thrilled with how the dresser was turning out. One of our coworkers suggested that we paint the top with the Outdoor Living paint to make the dresser look less futuristic and more child-like! We loved that idea!
Seal the Dresser
When the paint was dry, we sealed the dresser with polyacrylic. This step is very important, especially if you used chalk paint like we did! The poly creates a sealing layer over the paint which will protect the painted dresser from scratches and wear.
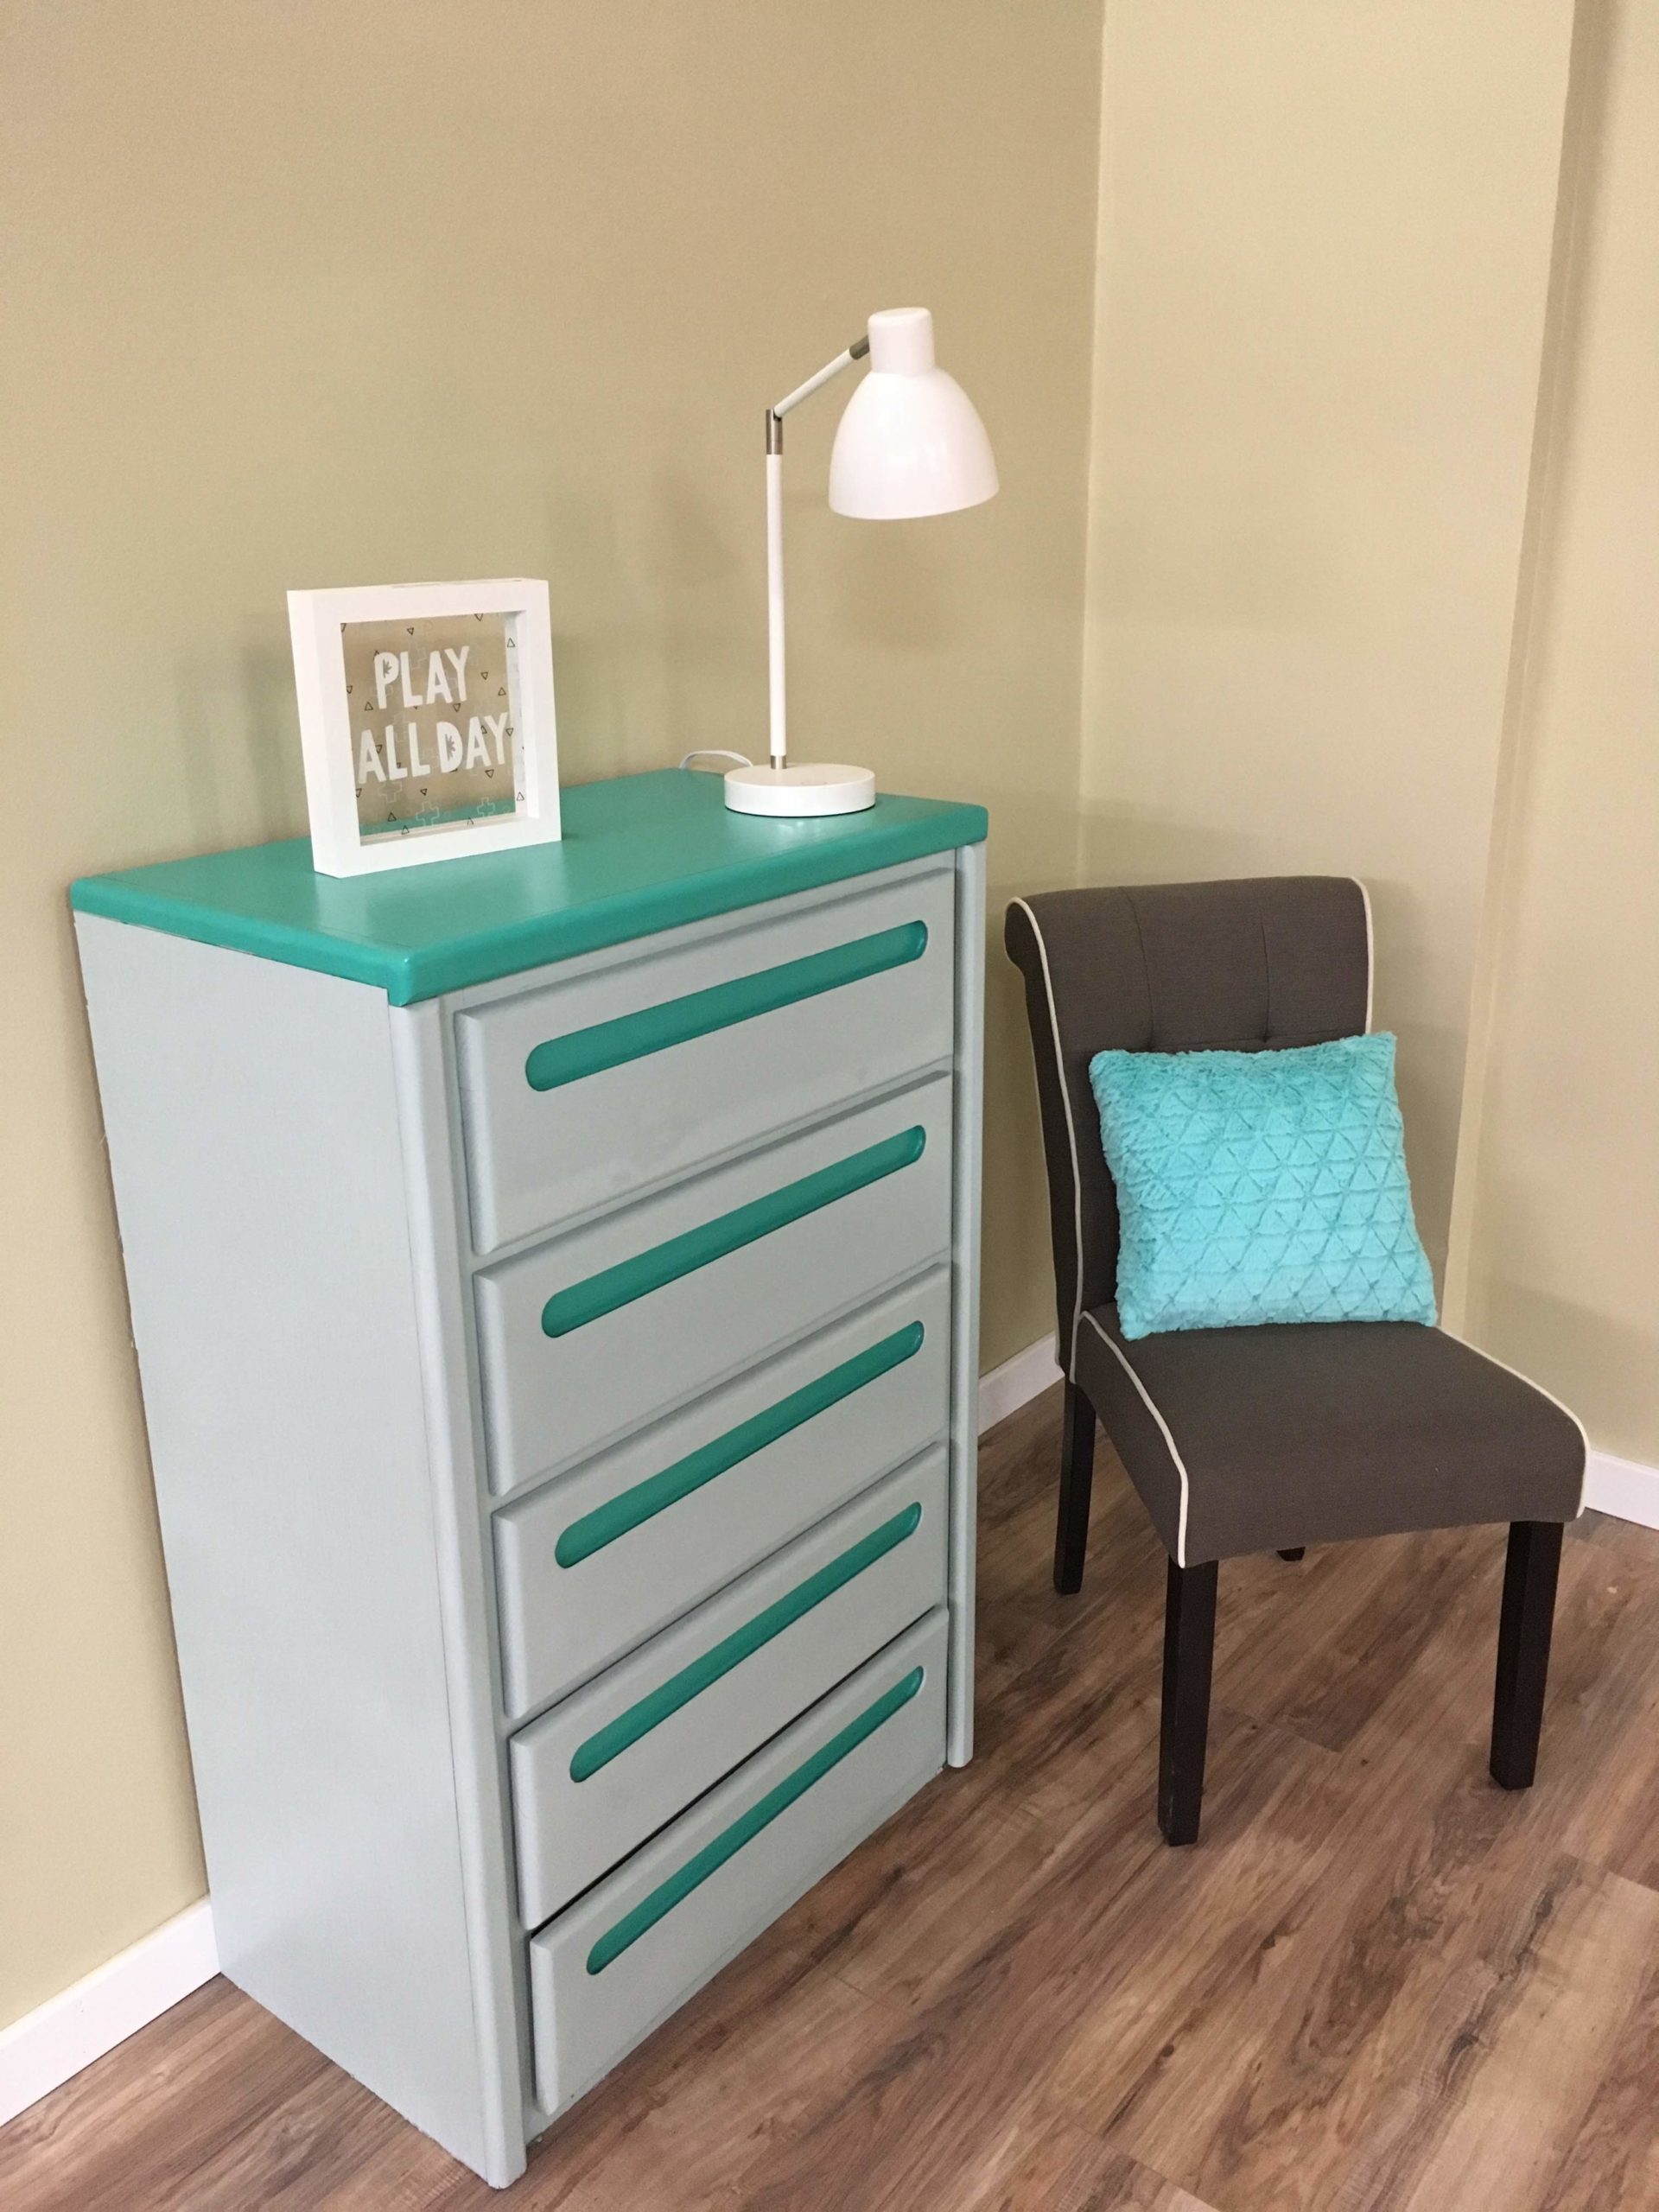
Enjoy the Dresser
We are so happy with how this turned out! It used to be super simple and boring, but we managed to put a creative spin on it. One of our coworkers gave this to her young niece to use in her bedroom. The fun colors make it perfect for a child's room!
Download project steps & shopping list
We'll never share your email with anyone else.