DIY Sparkly Glitter Dresser
We used Rust-Oleum glitter paint for the first time to remodel this dresser for a fun, glitzy look! The glitter paint sprayed perfectly in our HVLP Super Finish Max paint sprayer so we had this project done in no time.
Project Steps
We love playing around with new paints, styles, and textures when we're working with furniture. Our latest accomplishment? We used Rustoleum Glitter paint to remodel a dresser and nightstand! We think this unique, sparkly look would be great in a child's bedroom...or any room that you're brave enough to decorate with this glitzy style! (Head to the bottom of this post for the full how-to video!)
Materials Needed:
- Rustoleum Glitter
- Rustoleum Blush Pink Chalk Paint
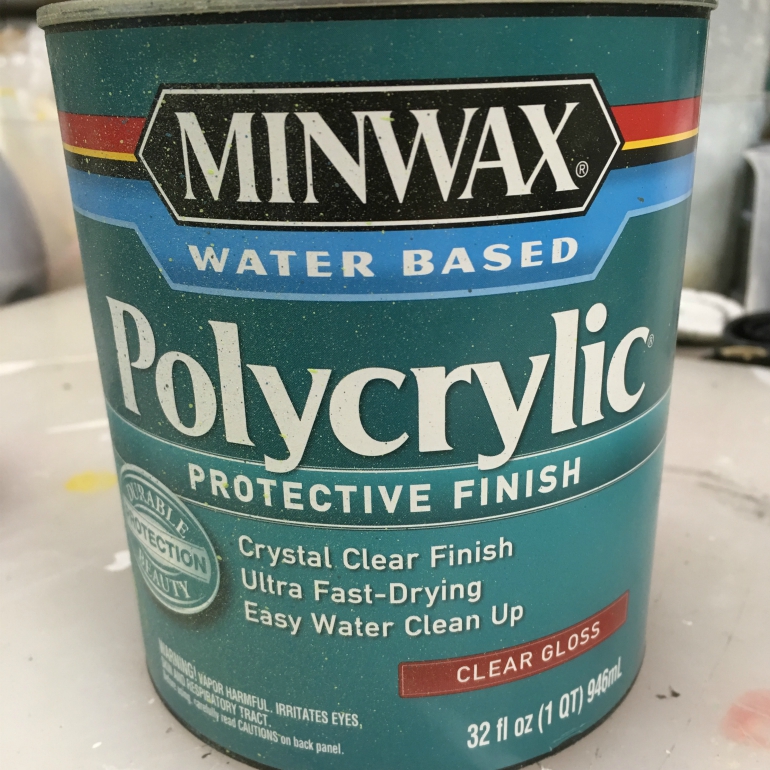
- Minwax Polycrylic Clear Finish
- Super Finish Max
- Large Spray Shelter
- Breathing mask
Grab Your Furniture Piece and Materials
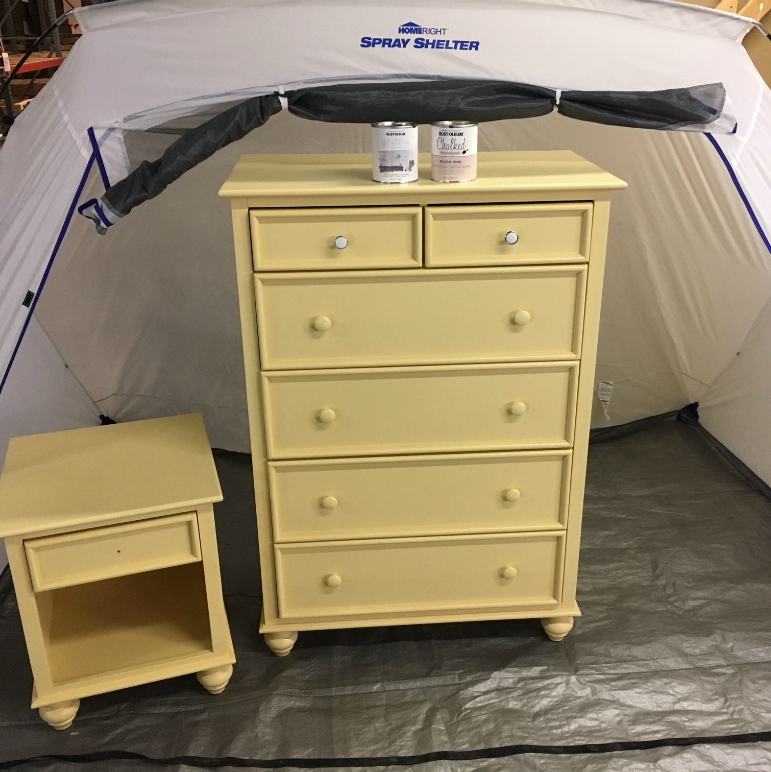
We started off with this old, yellow dresser and nightstand set that had been collecting dust in our warehouse. It was cute as it was, but we knew we would do better!
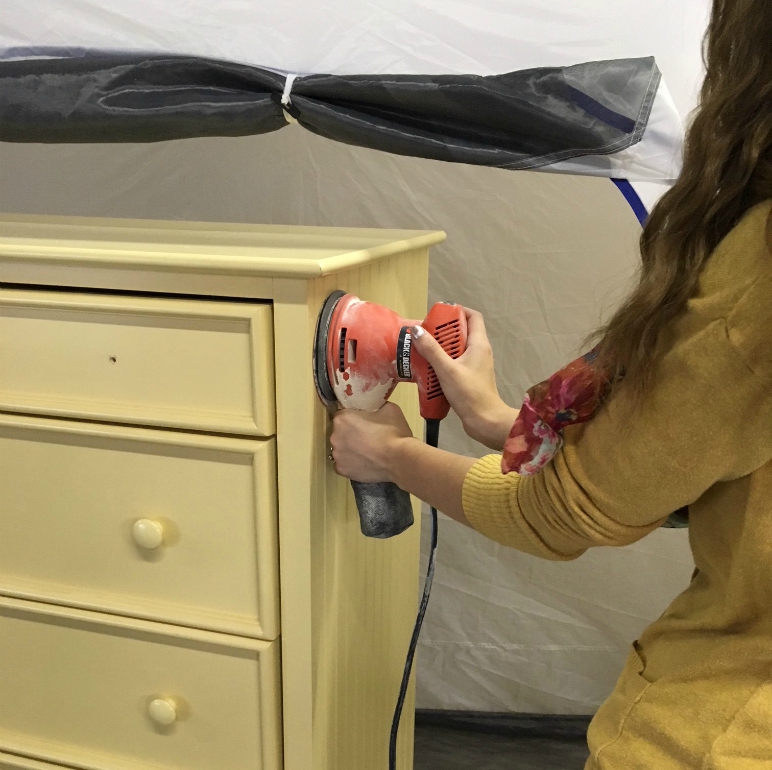
Sand the Surface
In order for the new paint to adhere better, we had to sand the yellow painted surface. We used an electric sander with medium grit sandpaper for this step and had the job done easily! Afterwards, we sanded it again with fine grit.
We didn't have to remove all of the yellow paint for this step, just enough so that the new layer of paint will have something to stick to.
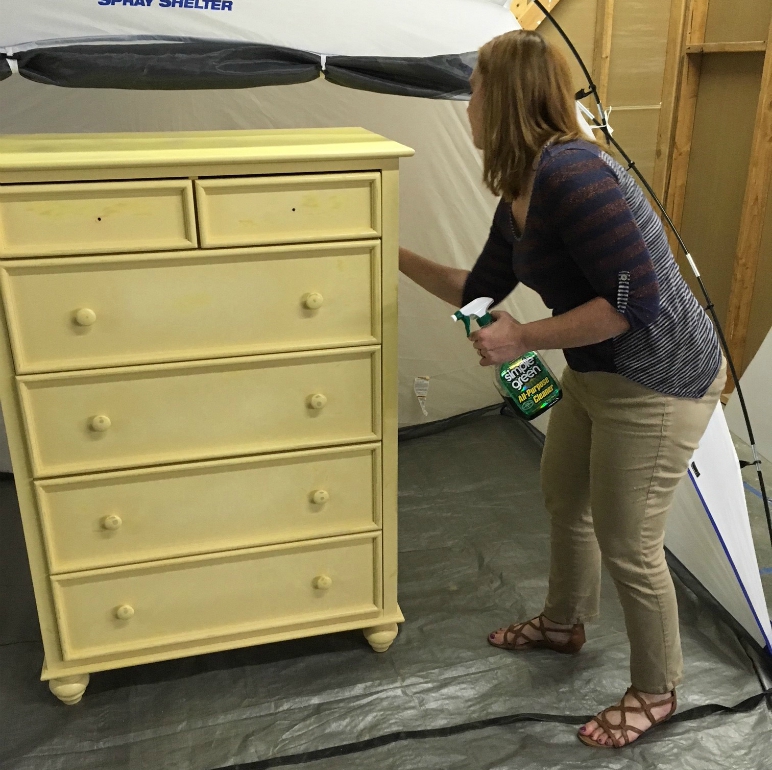
Clean the Surface
Next, we thoroughly cleaned the surface of the dresser and the nightstand with some Simple Green to remove any leftover dirt, dust, or grime! This is a step that you don't want to skip. Cleaning the surface will ensure nothing becomes trapped underneath your fresh coat of paint.
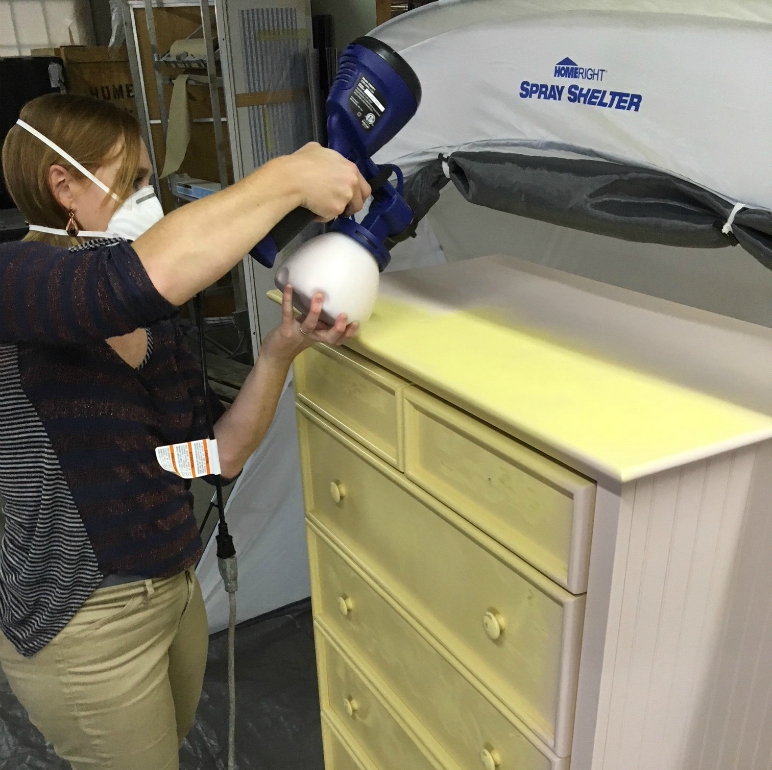
Paint with the Base Color
Now for the fun part...painting! We filled our Super Finish Max paint sprayer with Blush Pink chalk paint. It's perfect for a little girl's room! The glitter paint is almost transparent so make sure you pick a base color that you like.
We sprayed the dresser in the Large Spray Shelter and the nightstand in the Medium Shelter. These portable paint booths are perfect for capturing any extra overspray, which protects our surrounding work space!
Spray an Extra Coat
We sprayed 2-3 coats of chalk paint just to make sure the yellow paint was completely covered! The Super Finish Max worked like a champ and laid down a nice finish on the dresser and nightstand.
Prepare the Glitter Paint
While the chalk paint was drying, we prepared our paint sprayer for the glitter paint. We cleaned the sprayer, poured the leftover blush paint back into the can, and washed all the nozzles and tips on the sprayer.
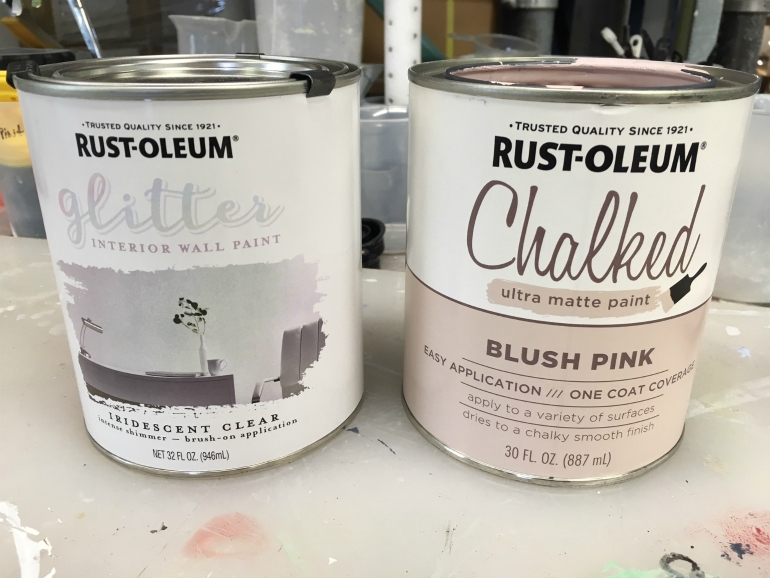
When we opened the can of glitter paint, we felt like kids in a candy store! Look at how gorgeous this stuff is! We mixed the glitter with a stir stick and poured it right into the Super Finish Max.

Spray the Glitter
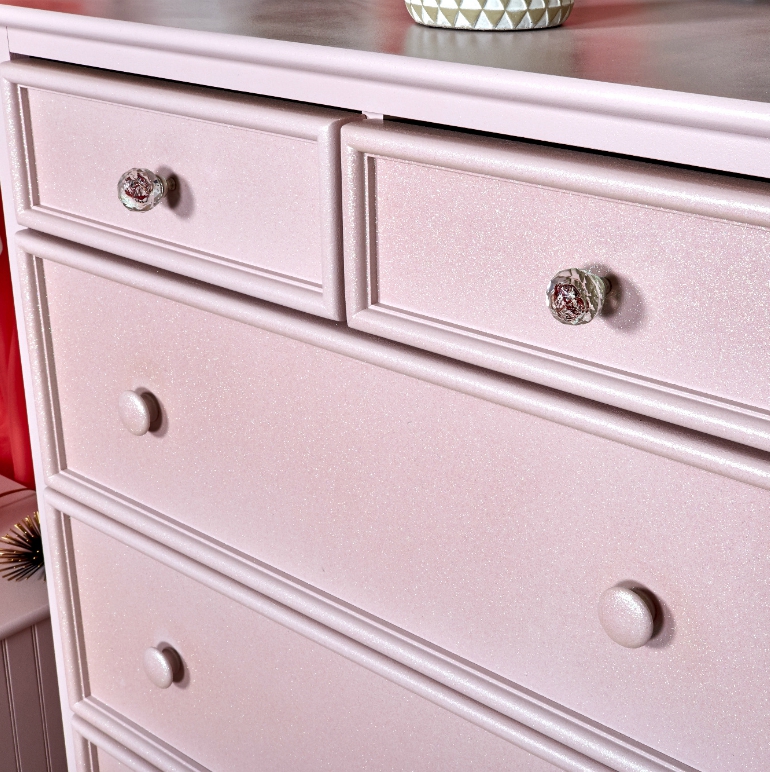
When the chalk paint was fully dry, we sprayed the glitter paint. We didn't want the entire dresser and nightstand to be overwhelmed with glitter so instead we decided to only paint the drawers. We removed all of the drawers and sprayed the glitter right over the chalk paint.
We could instantly see results! Pictures can hardly capture just how beautiful and sparkly the drawers became!
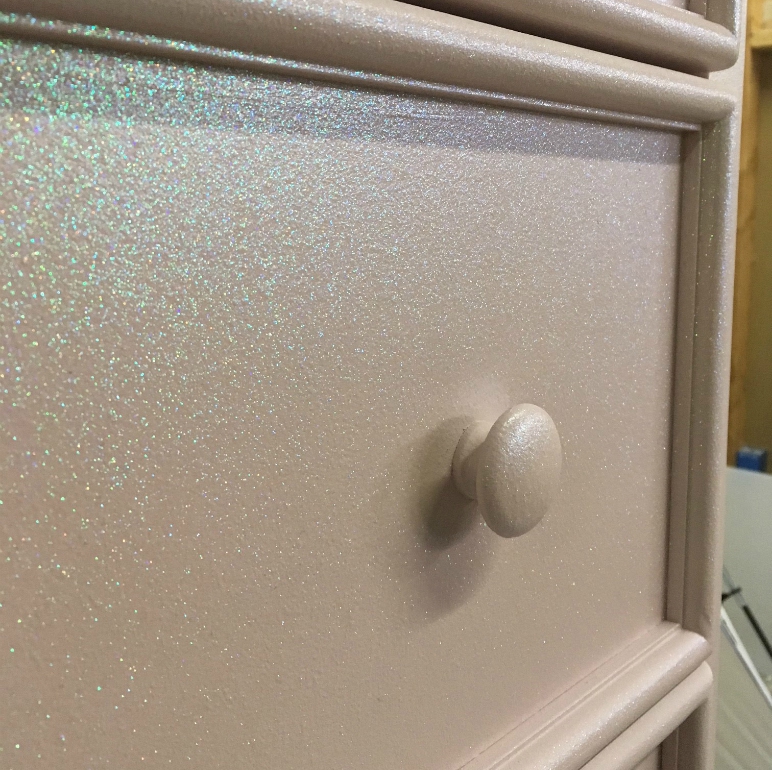
Our biggest tip to you: Be sure to spray multiple coats of glitter. To acheive this look, we had to spray at least 4-5 coats of glitter on all of the drawers. Luckily, the glitter dries super quickly so we still managed to have all of the drawers done in one afternoon!

Allow to Dry, then Seal with Poly
We let the drawers dry overnight and then sealed the dresser with polycrylic. You definitely don't want to skip this step! Chalk paint needs to be sealed or else it will start to scuff off. Plus, you want to make sure the glitter is 100% adhered to your surface.
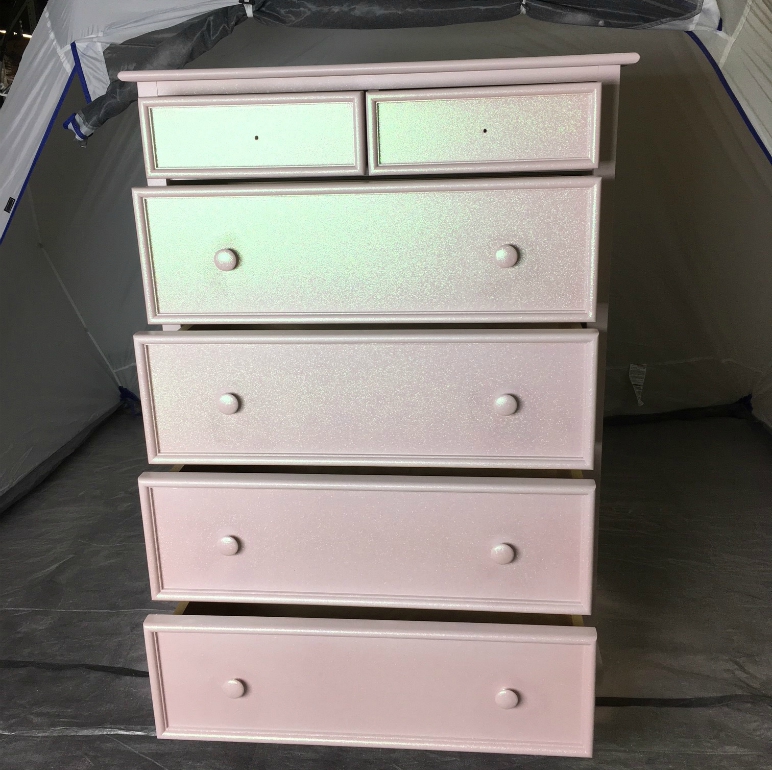
Let Dry and Enjoy!
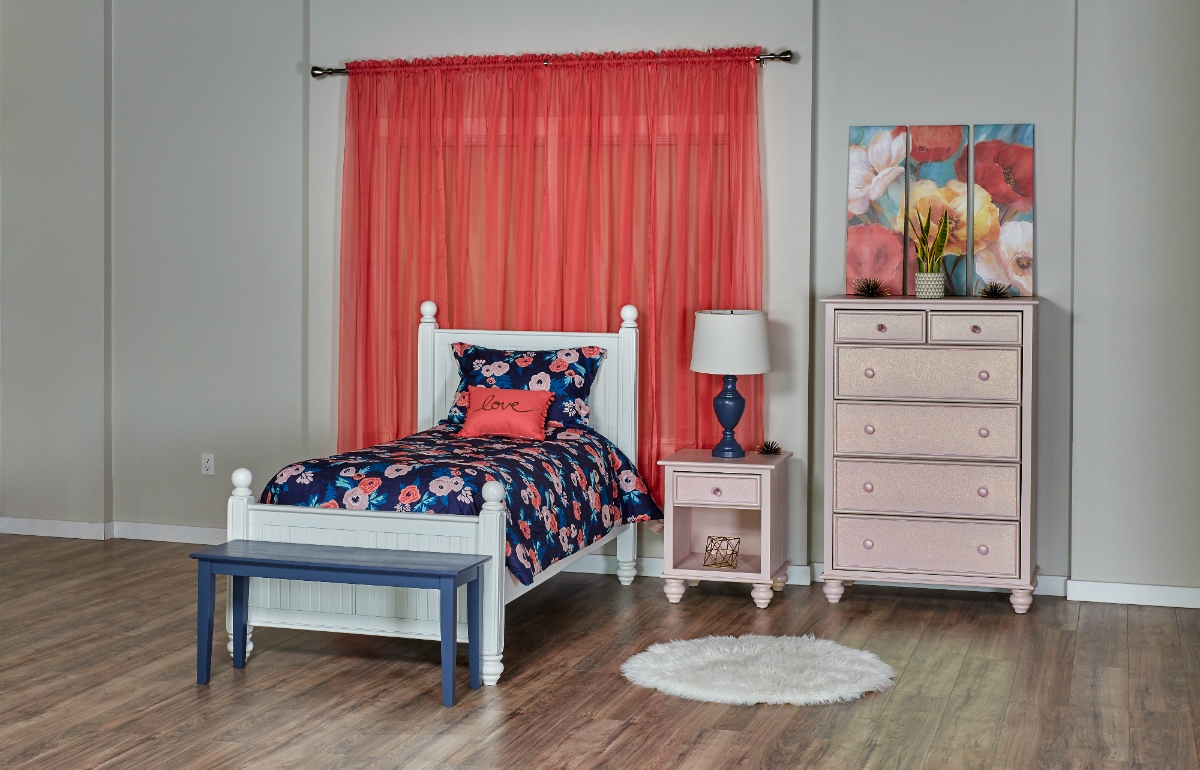
When we were all done, we cleaned out our sprayer and let everything dry overnight. In the morning, we had a gorgeous nightstand and dresser to admire! We can't believe how nice this turned out.
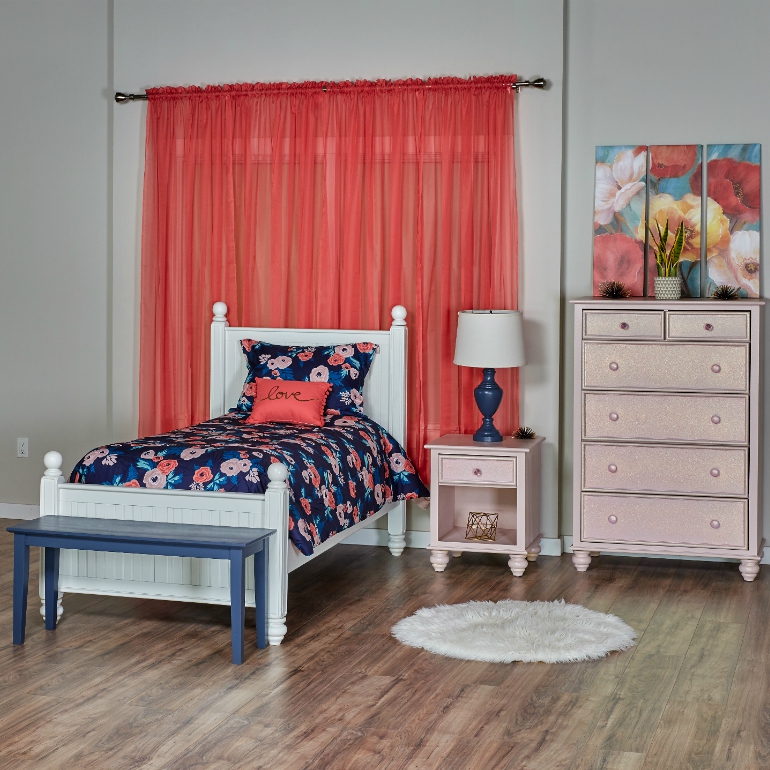
As a final touch, we replaced the top knobs on the dresser and the single knob on the nightstand. It adds so much personality!
Another big tip: allow your furniture pieces to fully cure for 2-3 weeks before placing them in your room. This will allow the paint layers to fully dry and adhere to the wood surface. Finally, when cleaning your furniture down the road, only use mild soap and water.
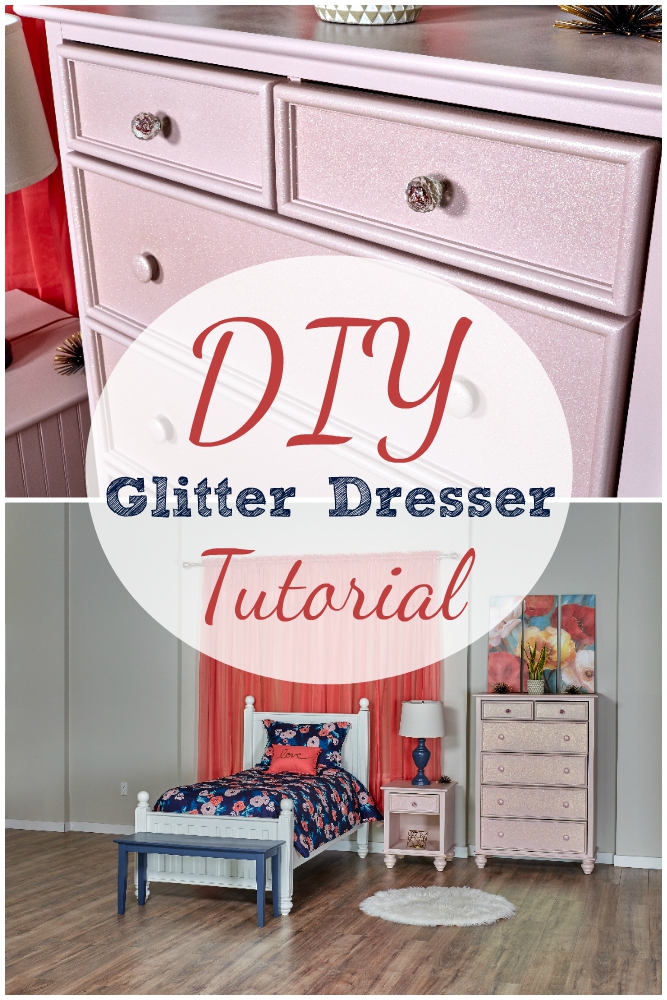
We hope you enjoyed this DIY! Don't forget to pin and share! For more fun tutorials, be sure to browse the other projects on our blog.
Download project steps & shopping list
We'll never share your email with anyone else.