DIY Upcycled Carrots From Table Legs
Learn how to take leftover or discarded table legs and spindles and transform them into adorable carrots to use for spring or Easter decor!
Spring is almost here and it means we get to be creative with our décor. I don’t know about you, but I like to skip the big box store stuff and make my own. Best part is that it is fun because you can use most anything. Plus, it’s affordable and easy to do too when you have the right steps and tools. Let’s get started!
Step 1
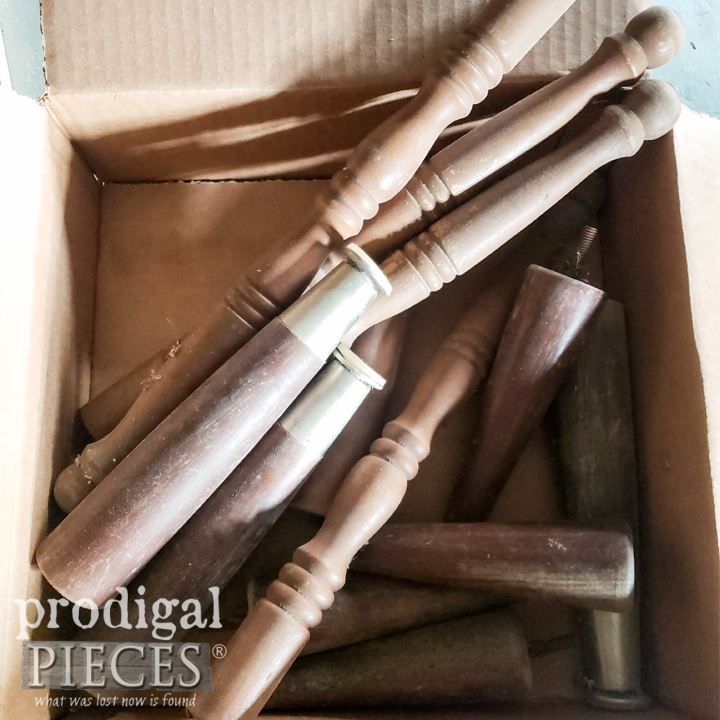
Now, before you think I’m crazy. I want to show you a box of wooden loot that a friend bestowed on me. It may not look like much to the average eye. To me, however, I see potential.
Step 2
First, I will say that instantly I saw carrots. haha. Yep, a garden goodie that reminds me of spring. I’ve had fun making use of furniture legs in the past in my past posts as in this one HERE.
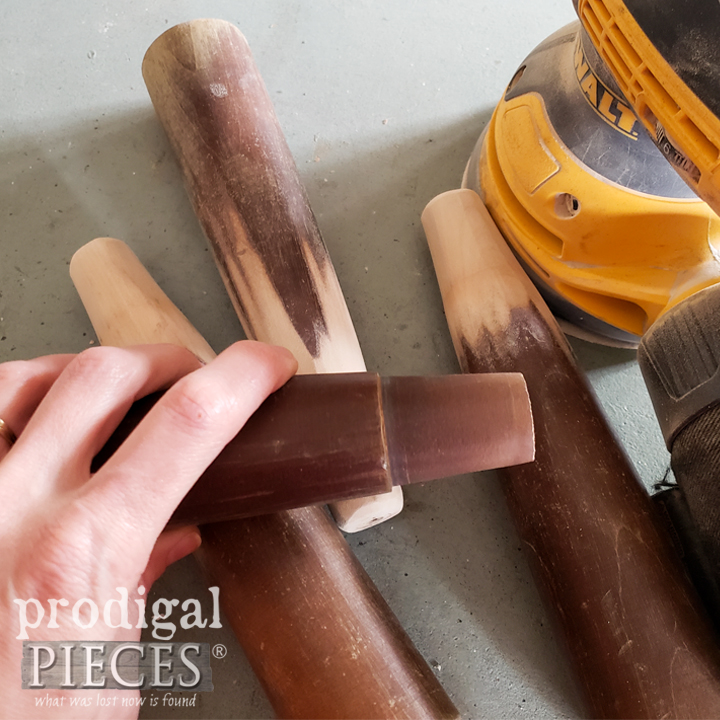
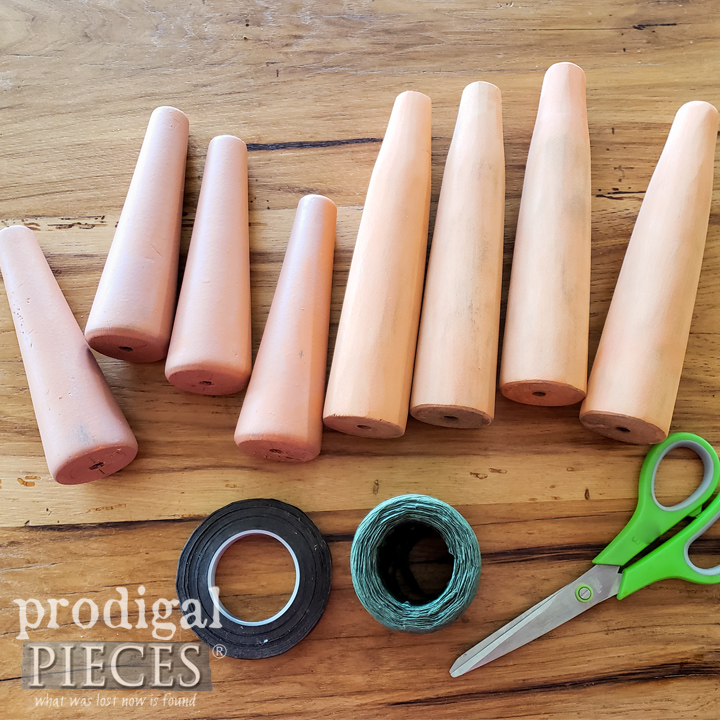
In this box, there are four smaller wooden legs, and a set of four larger ones. The larger ones had metal feet that needed to come off for me to work my fun. I yanked those off and then sanded down the edge and the finish to get a fresh start and symmetrical shape.
Step 3
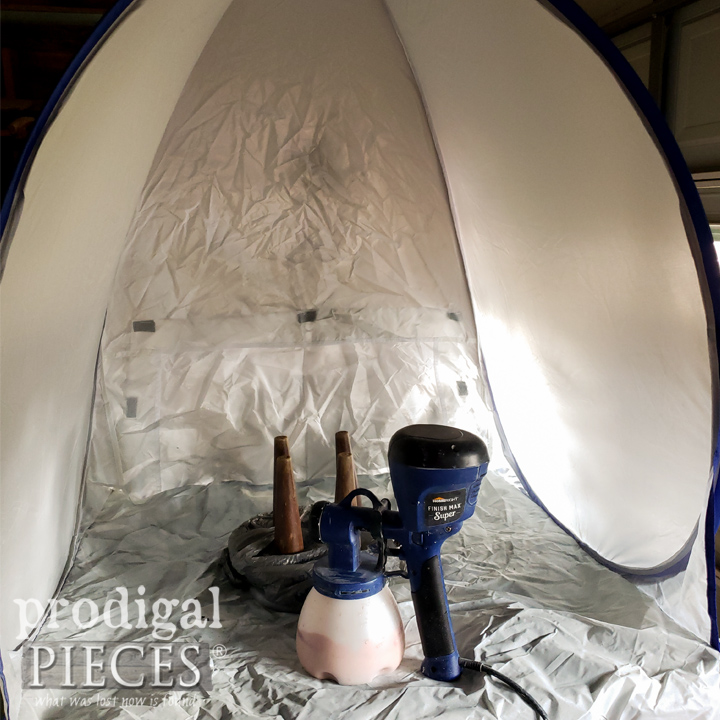
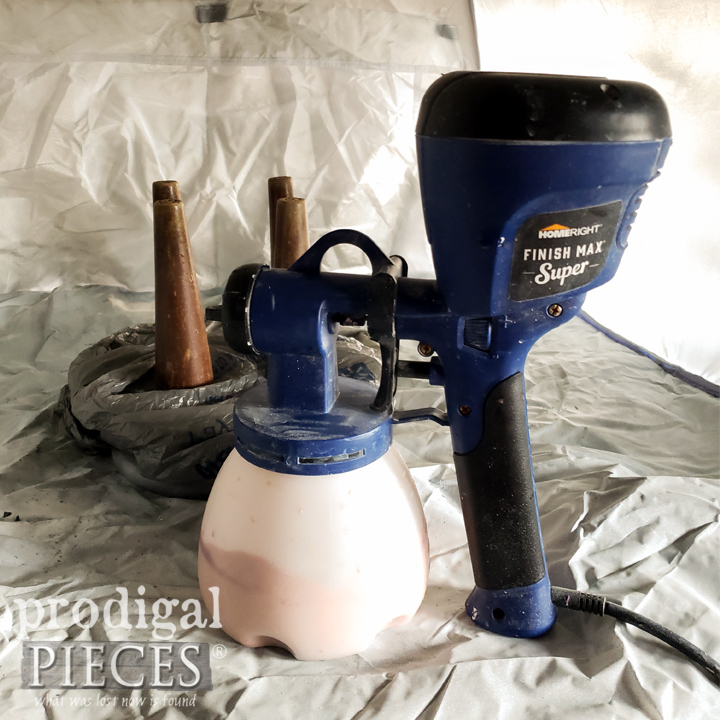
Then, after all my prep-work is complete, it’s now time to paint. I mentioned having the right tools can make the job fun and easy. I wasn’t joking. Check out my setup utilizing HomeRight tools: (1) Small Spray Shelter, (2) Turn Table, and (3) the Super Finish Max Extra Sprayer. Isn’t that a sweet sight to see everything contained and simple?
Step 4
Next, it’s time for paint. {{happy dance!!}} I’ve filled my Super Finish Max Extra Sprayer with a custom-mixed carrot color and attached my blue spray tip. The sprayer comes with 3 tips that allow you to switch from one medium to the next depending on your job at hand. See my past projects using it as well as my video demo HERE
Step 5
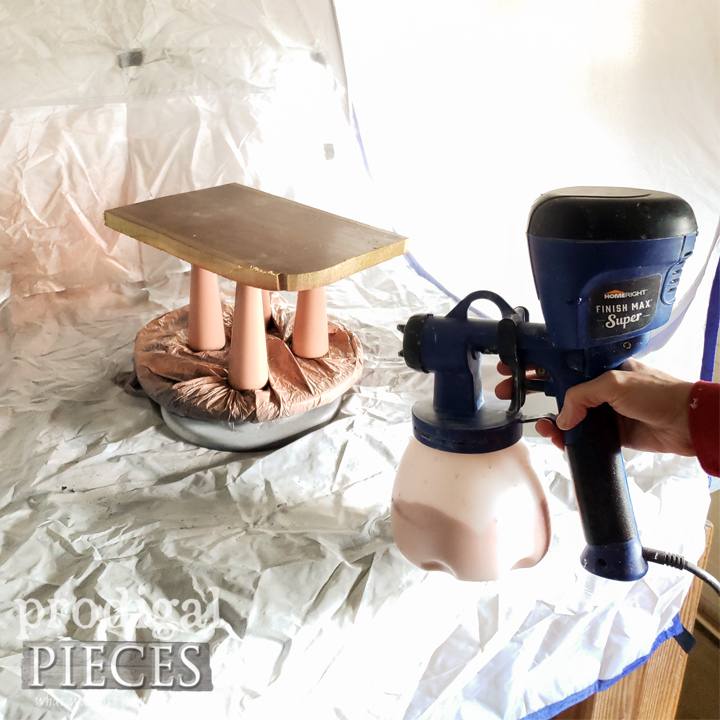
Next, I set up the furniture legs with a piece of scrap wood on top to keep them steady while I spray. Before you begin using the sprayer you can practice with the sprayer nozzle positions and spray intensity on cardboard or scrap wood. Focus on using your elbow and shoulder as opposed to just your wrist. Begin by spraying before you hit your surface and continue off of it. This process will help you get the pristine finish you’re after.
Within 5 minutes of spraying I have one coat of paint on. woot! The best part, surprisingly, is cleanup is easy and done in a flash as well so that I’m ready for the second coat in an hour or so.
Step 6
Last, but not least, we get to add whimsy to our DIY spring carrots. I have here my painted furniture legs, floral tape, and ¼” green raffia. Also, I have my hot glue gun and glue sticks waiting on side too.
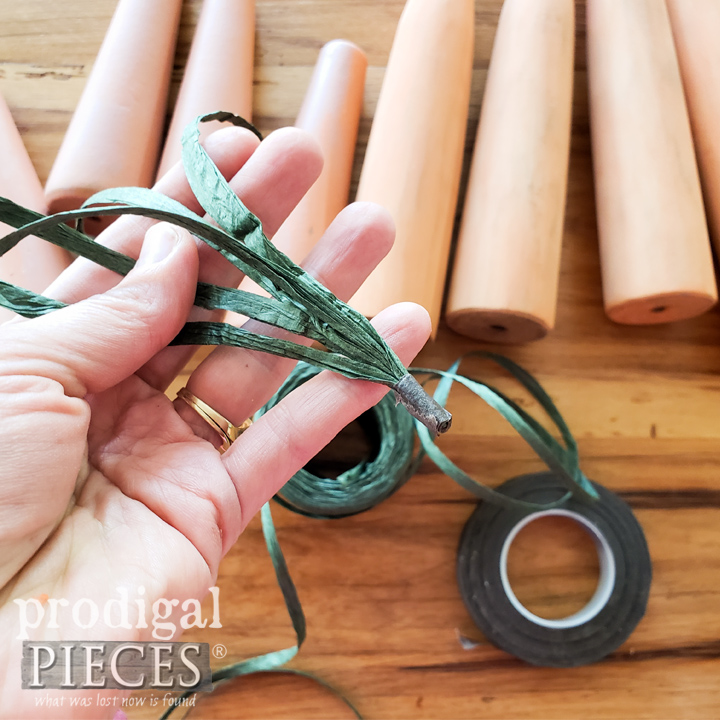
Step 7
First, cut 6 lengths of the raffia and gather them at one end. Next, wrap them in a strip of the floral tape to hold them together while you glue them in. Then, add a bead of hot glue to your center and pop the carrot top in. After that, I apply a light coating of a gray wax… viola! You’ve got a carrot perfect for spring-time, garden-time décor.
Step 8
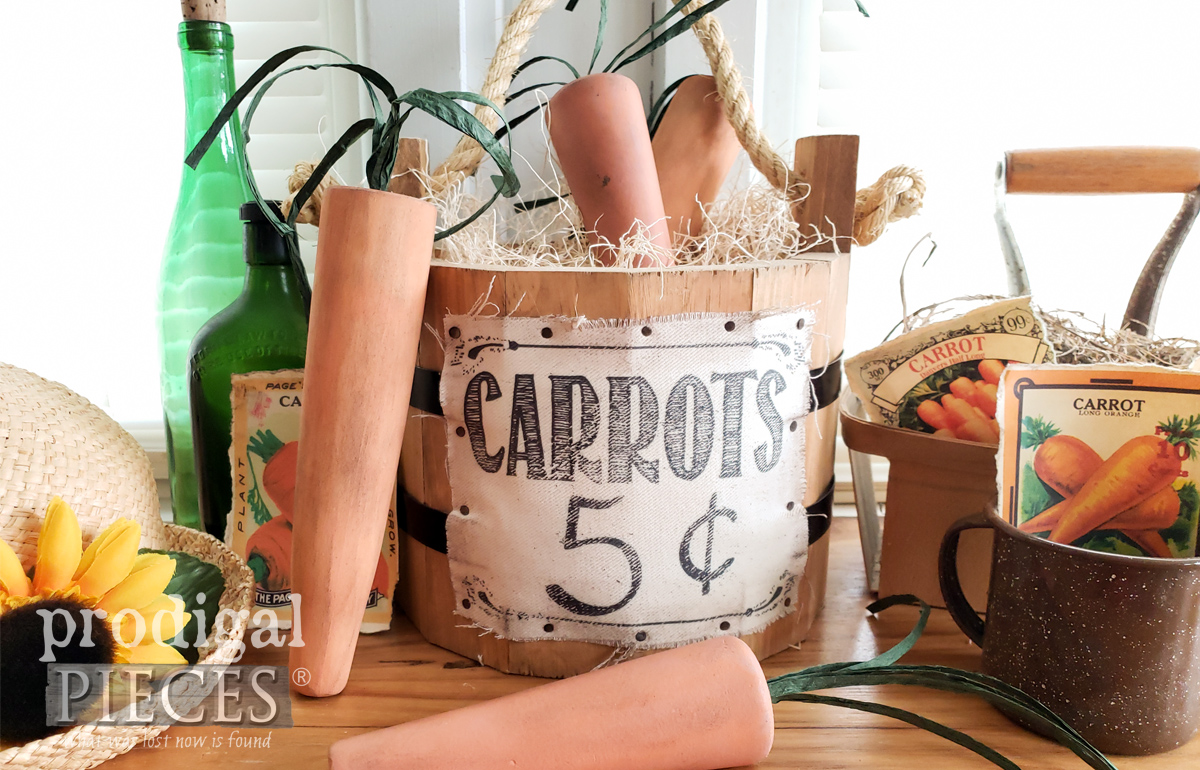
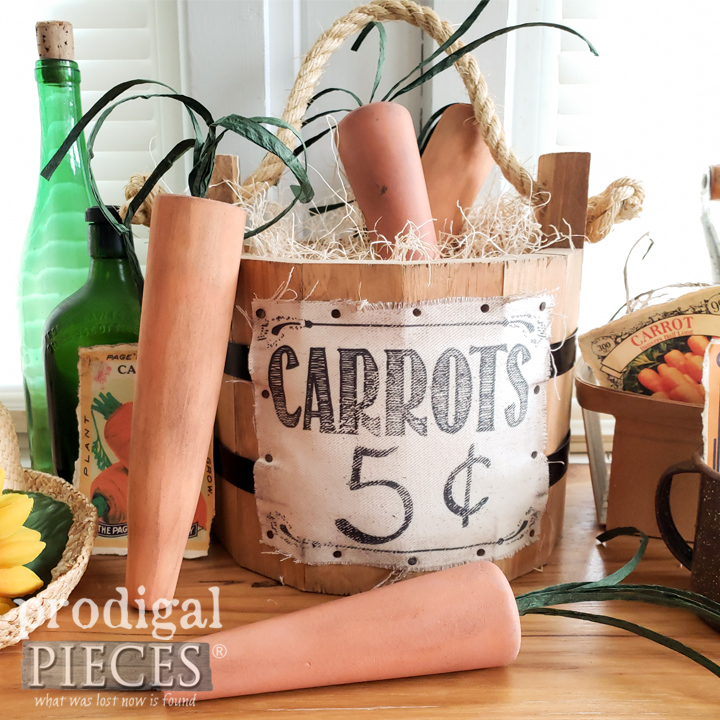
As you can see I’ve added them to an Amish made bucket I had on hand that is filled with dried grass. Around it are thrifted finds and a few carrot seed pack printable you can find for free online. In addition, I’ve created a typography label for the front using a simple graphic I created and then printed on fabric using an iron-on fabric transfer.
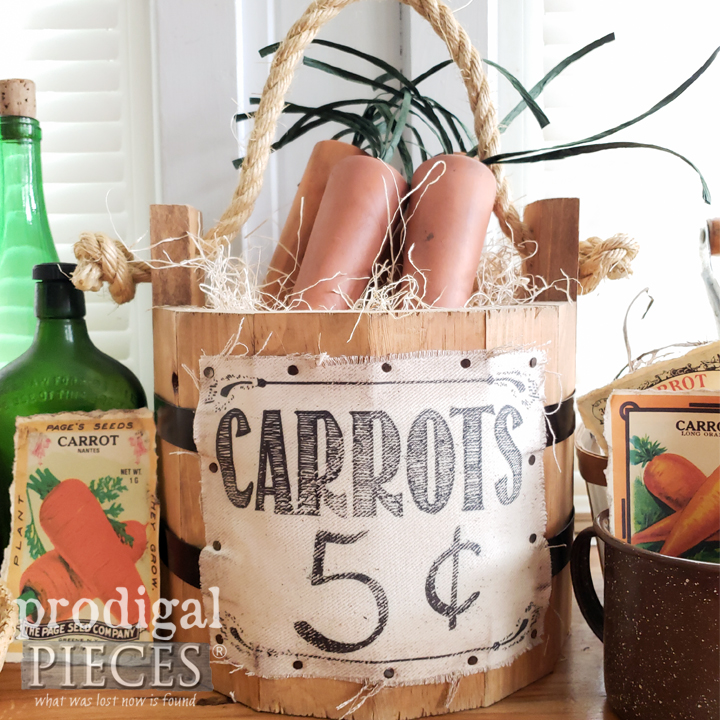
Step 9
It just goes to show it doesn’t take oodles of time or money to create your own home story. These DIY upcycled carrots make for a fun display or even as a gift too. There’s no limit when it comes to making your house your home. You most certainly can do it DIY and in your own style.
This sponsored post was created by Prodigal Pieces. I invite you to come see my other DIY projects from furniture, to remodeling, sewing, crafting and even my online shop at Prodigal Pieces where you can find these buckets available for purchase. Until next time!
Download project steps & shopping list
We'll never share your email with anyone else.