
DIY Wood Sign
Learn how to decorate and make your own home decor sign using the HomeRight paint sprayer. This easy wood sign idea brings style into your home for cheap.
It is so fun to make your own home décor and I love making signs. This wood sign is such an easy way to bring a lot of style into your home without spending a fortune.
This sign takes a few shortcuts that make putting this together easy and doable for everyone. You don’t need any power tools except for a paint sprayer! But it looks just as good as anything you can buy at a boutique or off of Etsy!
There are many ways to complete this sign and I share a few other options on my blog HERE.
But for this sign, I enjoyed taking a few shortcuts.
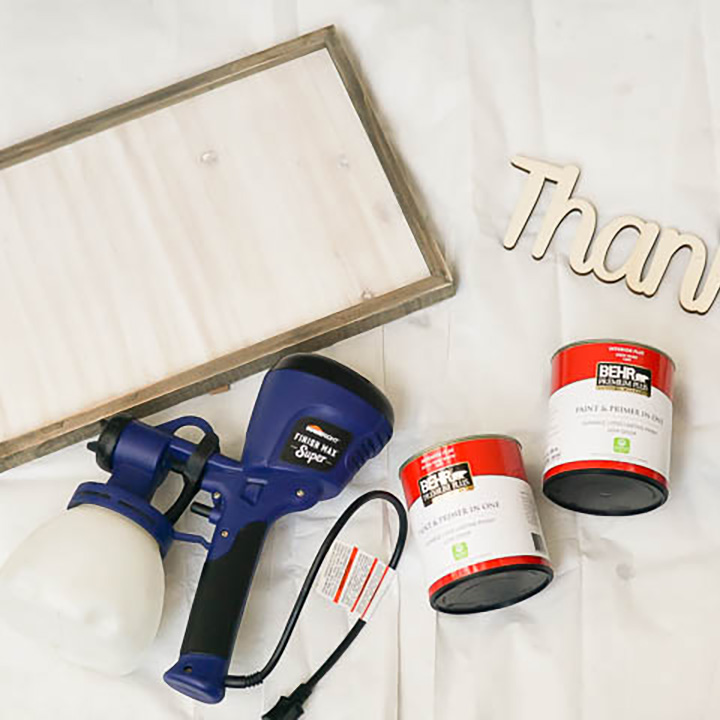
They trick to this sign is finding the right products at the store to make this super simple. I found a cute wood frame and wood letters all ready to go at the craft store. This saved me so much time and all I needed to do was paint the wood and assemble it together. Easy enough for anyone to do!
Supplies Needed:
- Pre-made Frame
- Painters Tape
- Thankful Wood Letters (similar to this one HERE)
- HomeRight Super Finish Max Paint Sprayer
- White Latex Paint, Flat
- Black Latex Paint, Flat
- HomeRight Medium Spray Shelter
- Drop Cloth
- Wood Glue
If you are wondering why I choose to use this HomeRight Paint Sprayer, check out my blog post HERE to learn more about all the amazing things it can do!
How to Make a Custom Wood Sign:
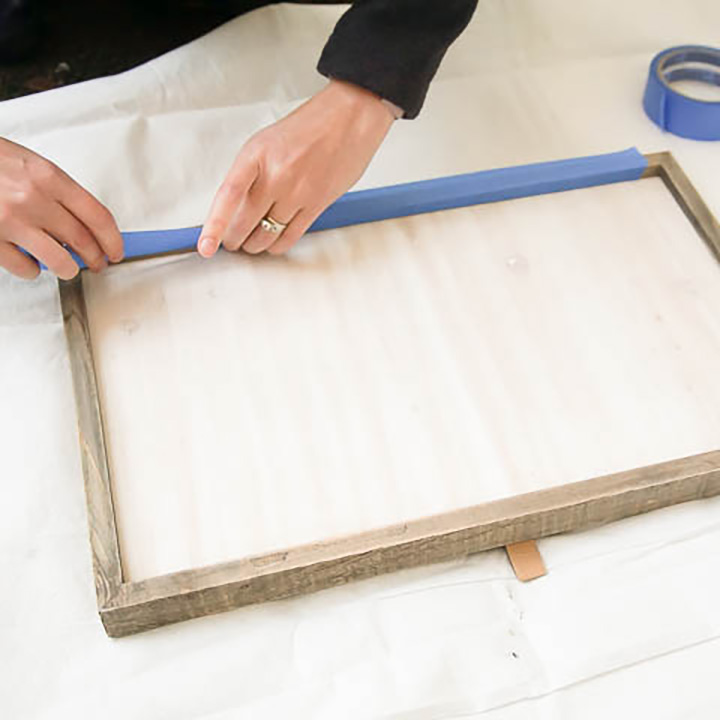
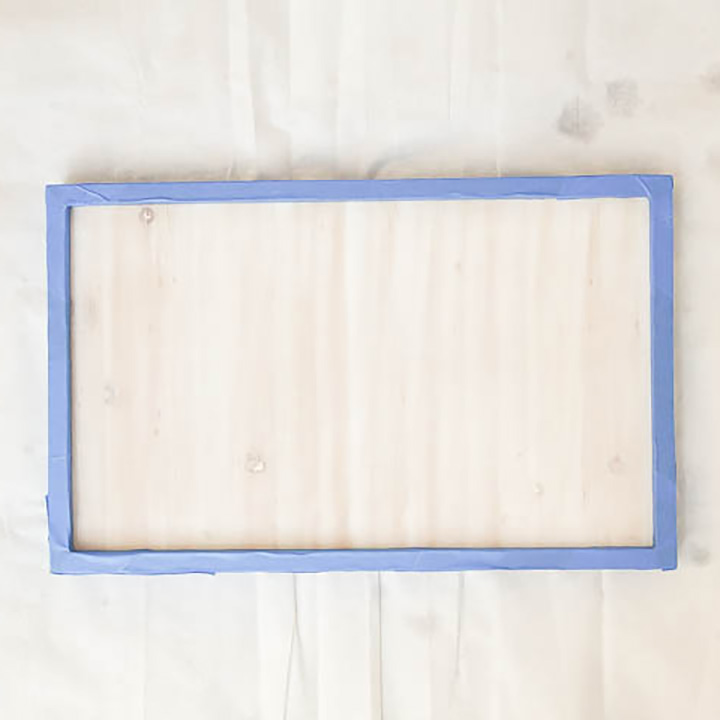
1. Begin by using painters tape to tape off your pre-made frame. I decided to leave the outside frame part stained and paint the inside part solid white.
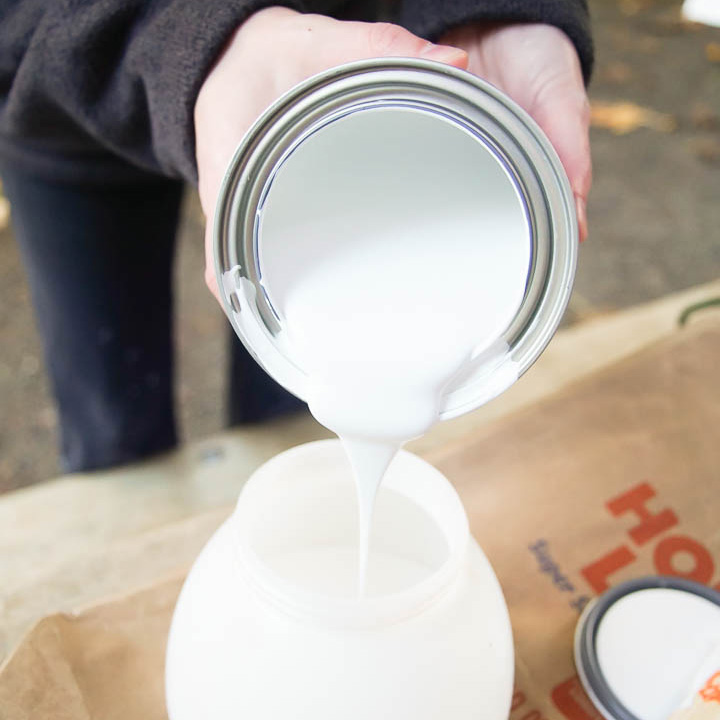
2. Then I stirred my white paint and poured it into my HomeRight Finish Max Super Paint Sprayer. I selected the right nozzle for my paint (green) and put it on my sprayer.

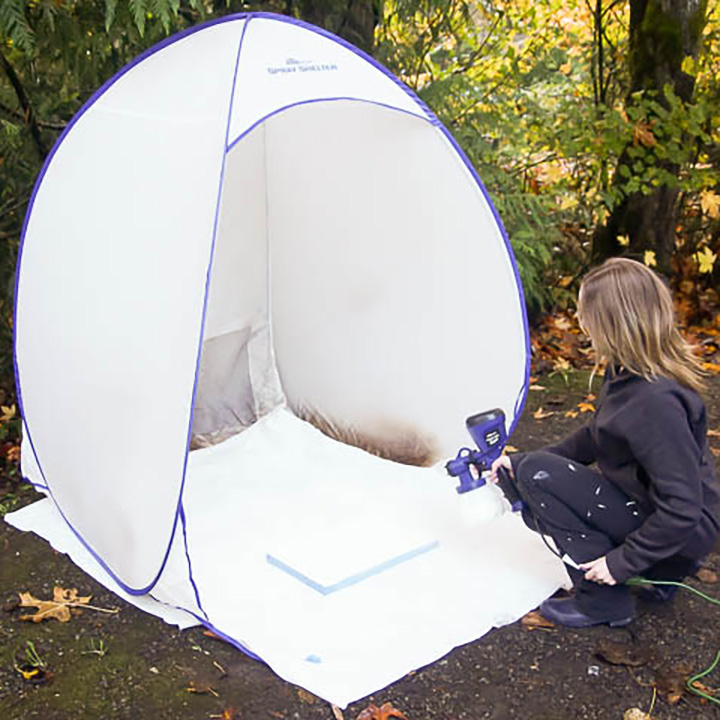
3. I set up my medium Spray Shelter and put a drop cloth in the bottom.
4. Next, I used the paint sprayer to paint the middle portion of the frame.
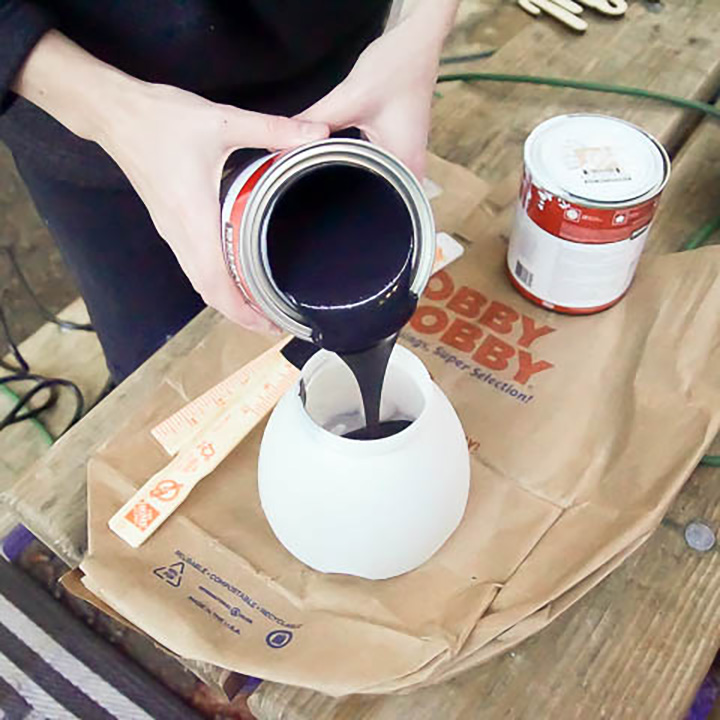
5. Then I cleaned the paint sprayer out and put black paint in it.
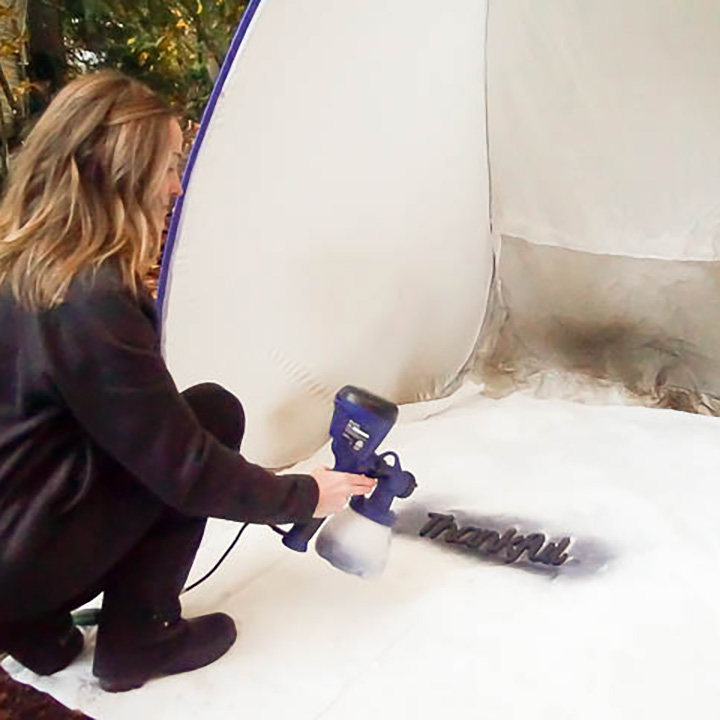
6. I laid my thankful letters down on the drop cloth and sprayed it with black paint. I was careful to paint every side of the letters.
7. After everything dried, I used wood glue to attach the wood letters to the frame.
8. When the wood glue is fully set, it is ready to hang up!
I love how easy it is to create beautiful signs for my own home! And I love that I can save money when I make them myself instead of buying them!

This sponsored post was created by Simply Designing. Head to the blog for the full post and details about this project.
Download project steps & shopping list
We'll never share your email with anyone else.