DIY Wooden Gift Box
Learn how to make handmade gift boxes for the holidays using your HomeRight paint sprayer and a little bit of holiday creativity!
‘Tis the season for gift giving! I’m one who loves to give gifts no matter what time of year. However, if you’re headed into the holidays looking for the perfect gift (…or last-minute gift…we’ve all been there), I’ve got a treat for you. This DIY wooden gift box is simple to build and full of possibilities. Before you say I can’t, let me just reassure you…YOU CAN. With a DIY spirit and willingness to try, you will be oohing and aahing your friends and family with your mad skills. Pssst…you can have the home improvement store cut the pieces for you for free.
STEP 1
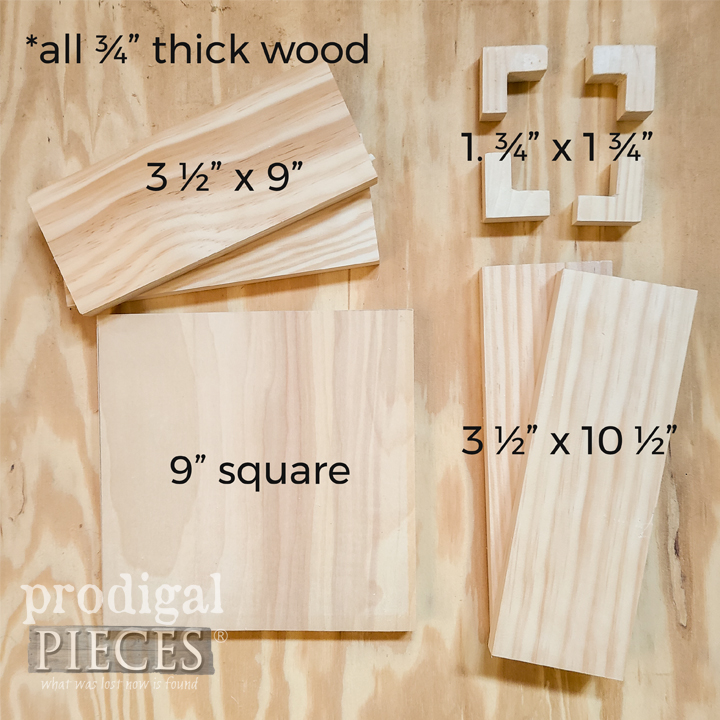
To begin creating this gift box, first you need to have a few basic tools & supplies:
- 1 - 9" square of wood ( I used scrap cabinet-grade ply I had on hand)
- 2 - 3 ½" W x 9" L boards
- 2 - 3 ½" W x 10 ½" L boards
- 4 - 1 ¾" L x 1 ¾" W feet (optional) These could be basic squares, L-shaped like mine, or leave them off, if you prefer.
- Quick Finish Sprayer
- Spray Shelter
- TurnTable
- Wagner Heat Gun (optional, but oh so fun)
- paint or stain of choice
- extras - rope, bin pulls, etc.
- brad nailer (or screws or finish nails)
- 1 ½" brads
- wood glue
- ammonium chloride (optional)
To get started, decide if you will be using nails or screws to attach the pieces together. If you don’t have a nailer, you will need to pre-drill holes for assembly. It’s an easy step that just takes a bit of time, but will prevent accidental splits in your wood (and that’s no fun).
STEP 2
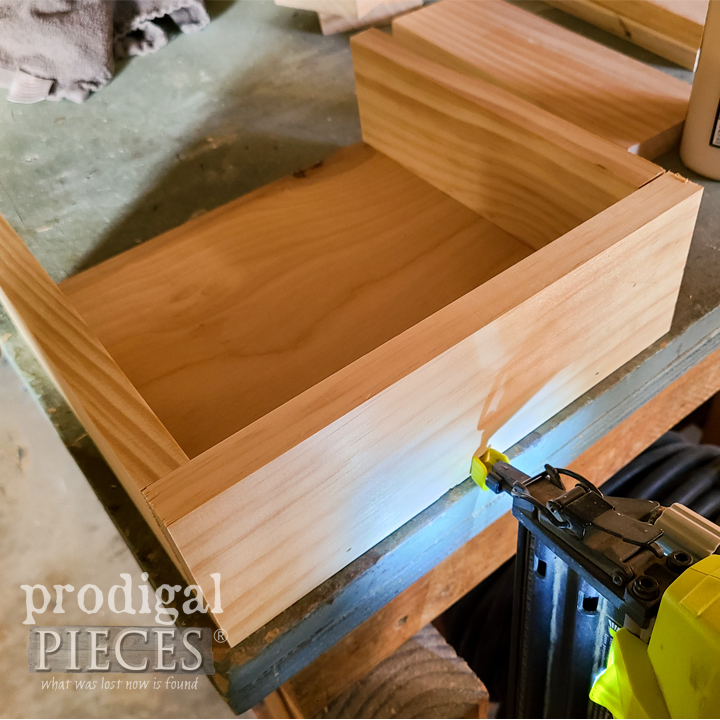
Next, it’s time to assemble our gift box pieces. They are already sized to length, so all we need to do is apply a bead of wood glue to the bottom of the short sides.

STEP 3
Then, using your nailer (or screws or finish nails), attach at the bottom edge. Last, attach the long sides using wood glue and nailing at the bottom and into the short sides. It’s best to use a flat surface with an edge corner you can work up to.
STEP 4
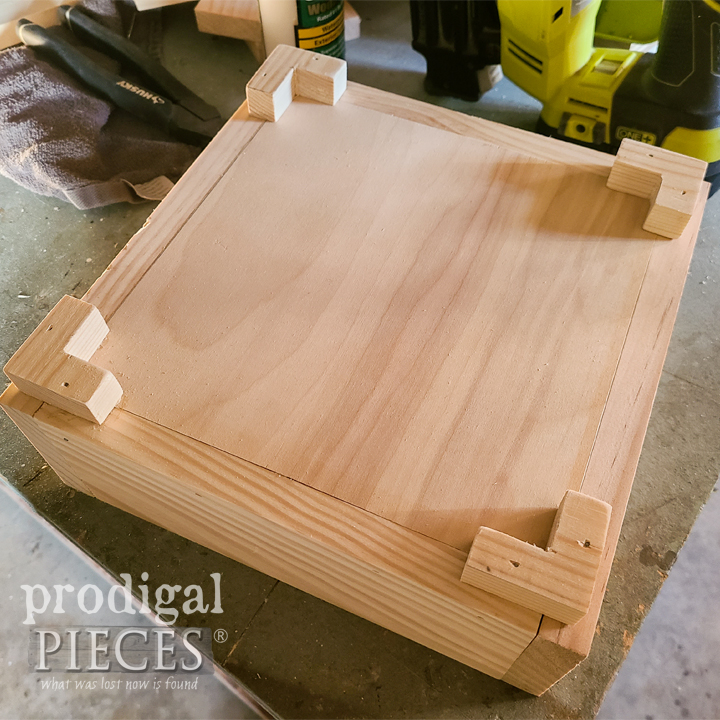
Last, but not least, attach the feet (you can also leave them off). I choose to make L-shaped feet, but basic blocks will work too. Adding that bit of height creates a fun look. Use more wood glue and nails for added security. Wood glue by itself will work too, but you have to wait for it to cure (and I’m not patient like that…ahem).
STEP 5
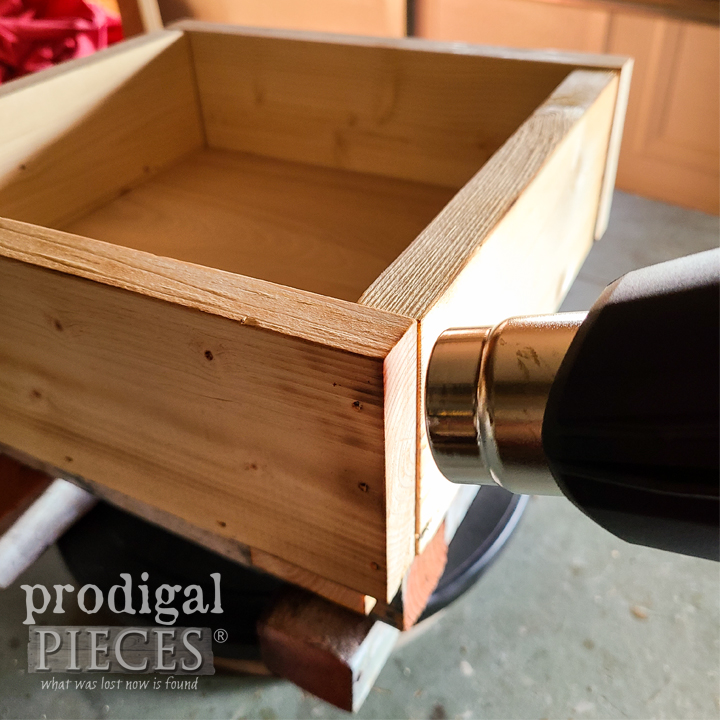
Finally, we are ready for the fun part. This is where you get to decide whether you want to leave it raw, paint, stain, or…? I’m sharing 3 different finishes to inspire you. First, I’ll share how to wood burn your gift box. I begin by heating up my Heat Gun. Just turn it on and let it get nice and hot for a few seconds. Then, slowly with a close distance pass over the wood. You will see the grain getting darker and more pronounced. You can make it as dark as you want by passing over it for more times.
STEP 6
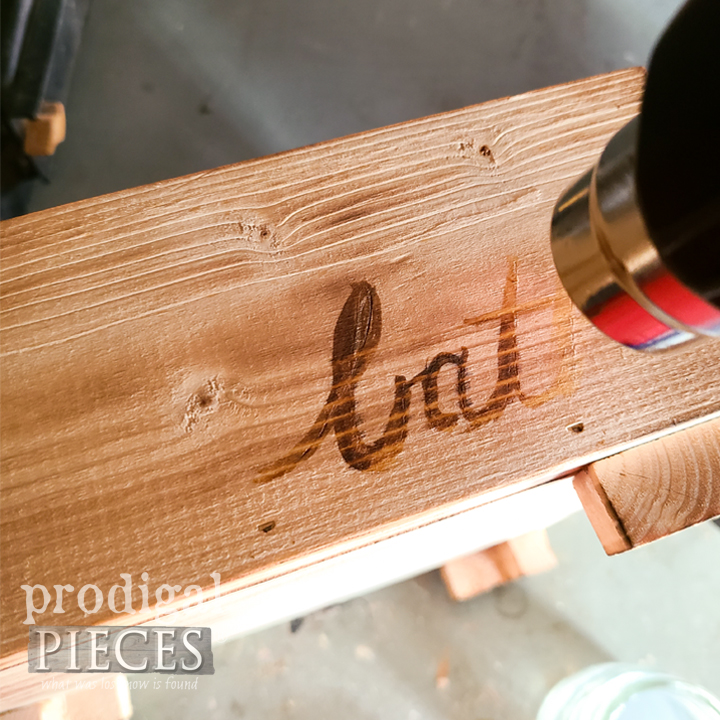
For added fun, I like to use a mixture of ammonium chloride to add designs or typography. You can see how I’ve used it to create these wooden Christmas trees in this post HERE Just add 1 T to ¼” c water and dissolve. Then, brush your design onto your wood. Use the heat gun to burnish your design. It’s amazing to watch! You can even create a custom logo using a stamp and heat gun…so many possibilities. Plus, heat guns are great for removing paint, old caulking, bending metal and so on.
STEP 7
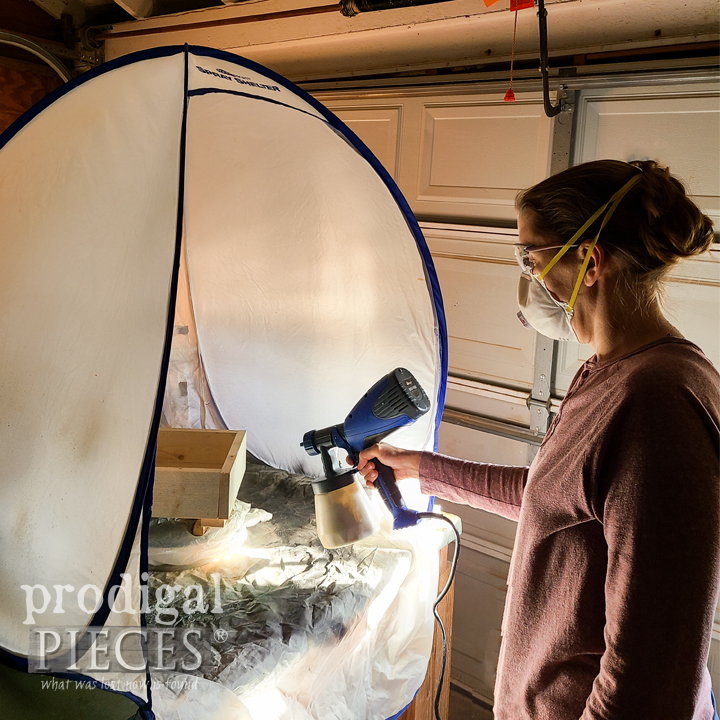
At this point, you can call your gift box finished. Or, you can use paint or stain. As promised, here is how I finished two other gift boxes. For the second box, I used heart pine. That means it’s clean wood, free of knots and flaws (hopefully). With a reactive stain and my Quick Finish Sprayer, my Spray Shelter, and Turn Table, I knock out this job in less than 5 minutes. Really!
I would have taken me at least a half hour to do it by hand. I will never tire of using this stain and sprayer. It produces a beautiful finish in no time. You can see it in action in my video HERE. When done, I just let the stain cure, then add whatever I like after that. (see finished photo below) You can see my image transfer technique in this tutorial HERE.
STEP 8
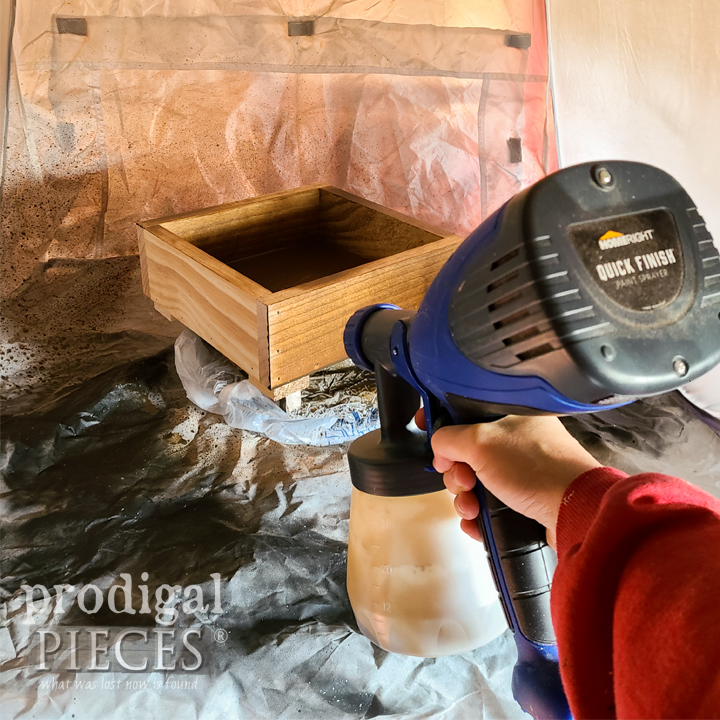
Now, for the third gift box I want to do a paint effect. After cleaning my sprayer, I load up with paint thinned per manufacturer instructions. Then, spray away! haha. It’s always good to check flow on a piece of scrap or cardboard to make sure you don’t blast too much. Once you get the feel, apply a coat or two and let cure. Easy-peasy.
STEP 9
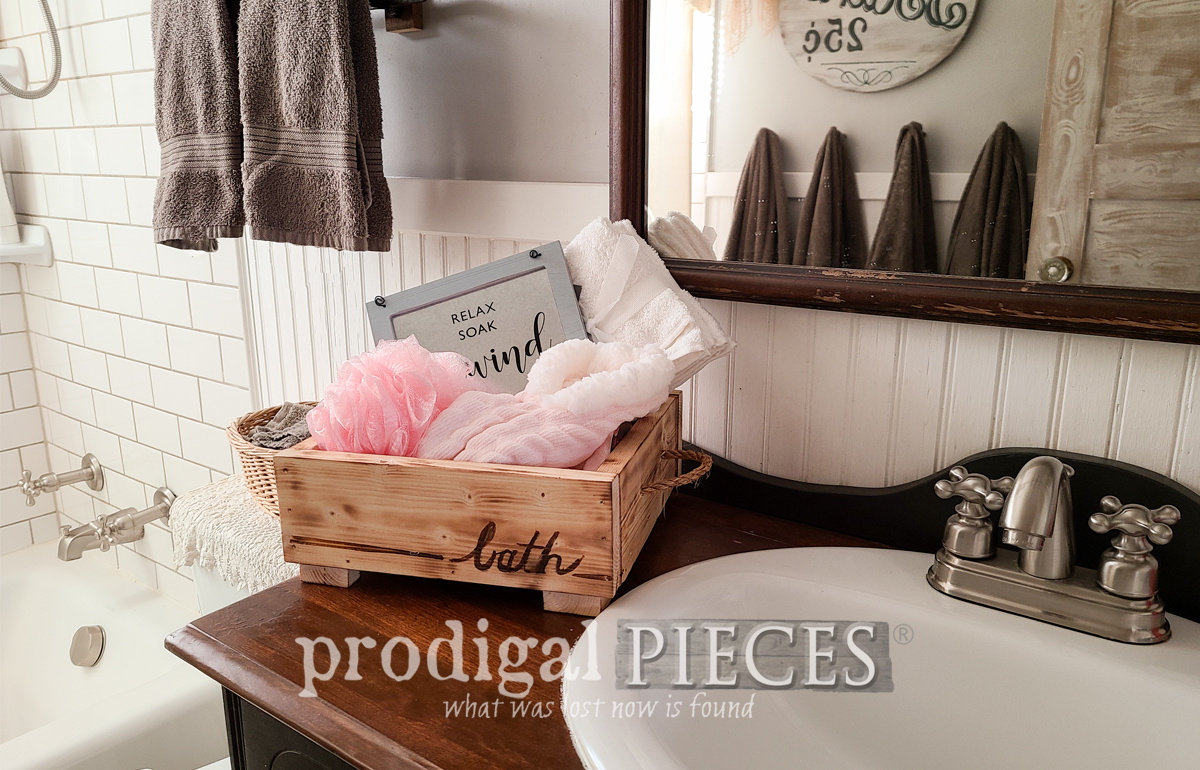
Here are my three gift boxes: (1) a bath box filled with goodies for a quiet getaway (2) a “create” box full of art supplies for a family craft day (3) a kitchen box made to look like an antique crate full of cooking/baking essentials. There are no limits to what you can fill it with – tools for the handy folk, treats for a movie night…you get the idea. I kept it basic by shopping a local dollar store, so you don’t need to break the bank either. Plus, your gift box is suited to use as home décor once emptied. What would you fill it with?

STEP 10
To give as a gift, just use an inexpensive basket wrap bag and tie up with a bow. I love it! I’d love to hear which one is your favorite and I hope you have fun. My goal is to inspire you to tackle this project on your own. Feel free to ask any questions. Likewise, I invite you to come see my other DIY projects from furniture, to remodeling, sewing, and, crafting - my online shop at Prodigal Pieces. Until next time!

Download project steps & shopping list
We'll never share your email with anyone else.