DIY Zinc Bells Pendant
Save money this holiday season by creating your own holiday home decor! Learn how to make these easy DIY Zinc Bells from thrifted finds.
With Christmas season fast approaching, it’s the time to start our DIY crafting to make our holiday home story. I’m one who likes to save on spending, but also one who loves to create. Today, I’m excited to share with you a super easy and super fun craft with you making DIY zinc bells from thrifted finds. Let’s have some ring-a-ling fun!
First, we need to gather our bell supplies. With creating these, the sky’s the limit as to the finish you want. You could do aged brass, gold, red, green, white…you get the idea. I’m aiming for a rustic zinc patina finish that suits my style. You can see my other faux zinc creations HERE.
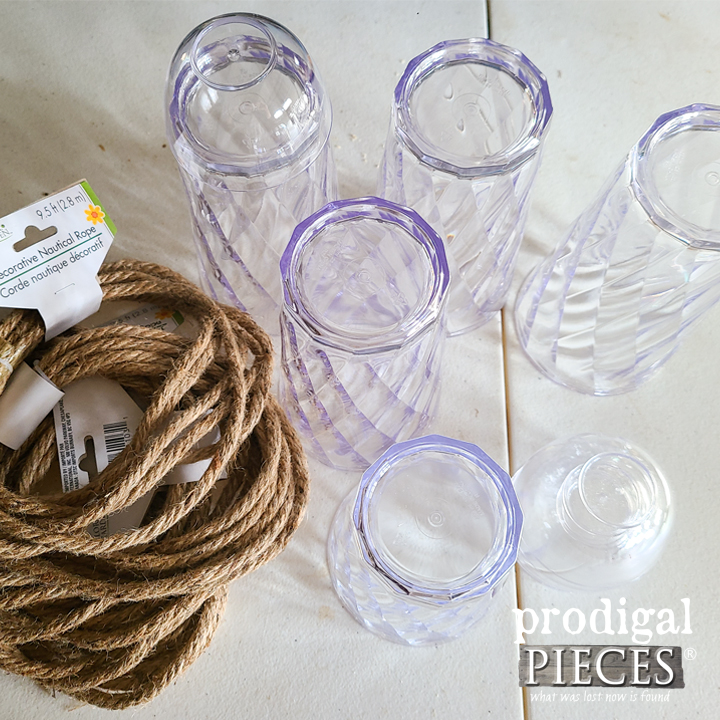
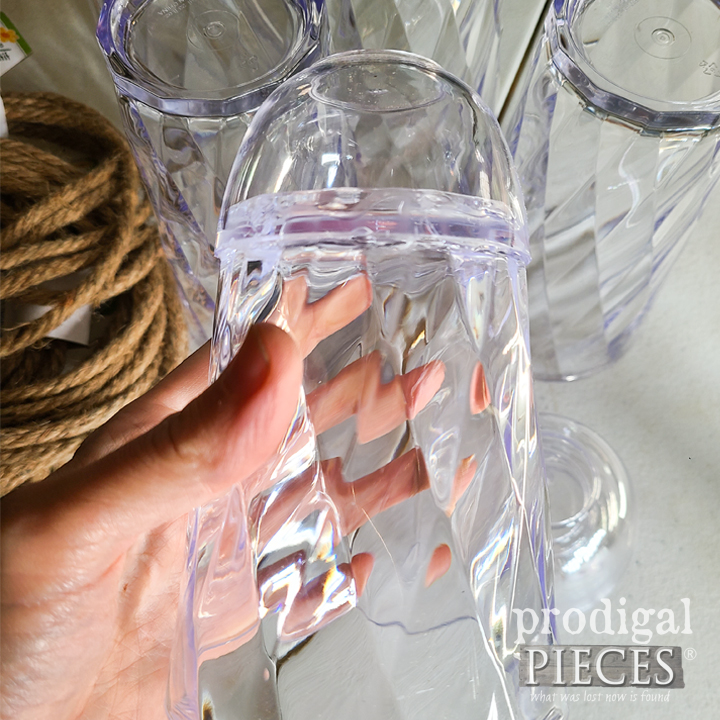
Next, you’ll notice in the supplies picture that I have cups, bowls, and rope. I already had many items in my stash to work with, so feel free to mix this up to suit you. First, I use my hot glue gun to attach the bowls to the bottom of the cups. This gives them a more bell-ish look and takes away from the cup appearance.
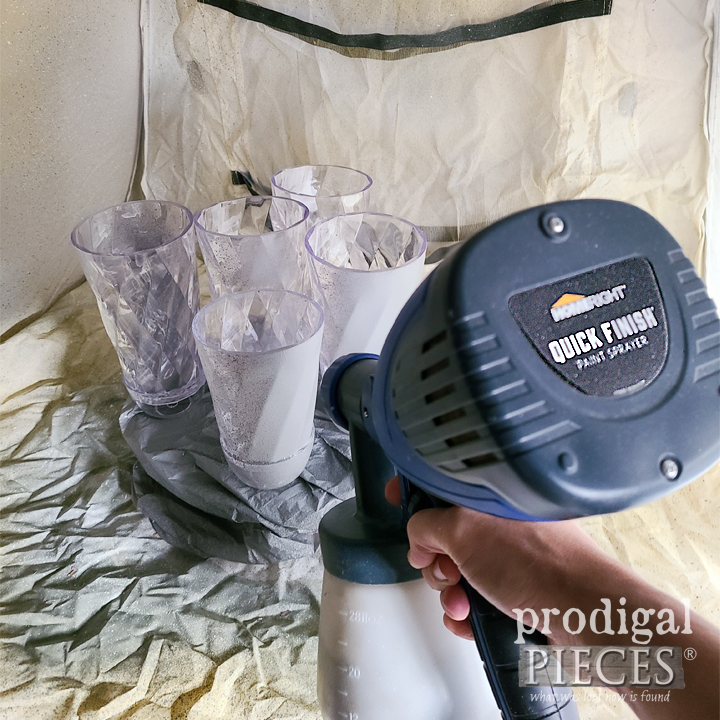
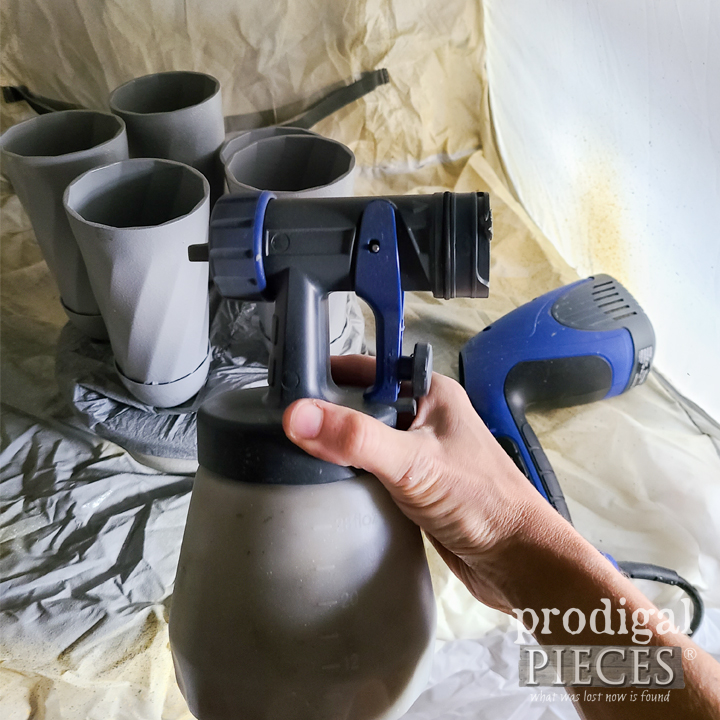
Then, it’s time for some spray fun! I break out my Wagner Small Spray Shelter, my Turn Table, and my HomeRight Quick Finish Sprayer. This setup is ready to go in less than five minutes, which makes this busy mama happy. I fill the canister with paint and thin per manufacturer instructions. While any gray paint will work, I’m using Kensington Gray by RustOleum Milk Paint. Also, make sure to wear protective eye wear, ear protection, and a respirator.

Next, let’s begin spraying. Practice your flow on a piece of cardboard to get it where you want it. Then, holding the sprayer approximately twelve inches away from the cups, begin spraying before you hit them, and continue until off your project. This creates a smooth, even finish.
Once you finish your first coat, make sure to clean the sprayer nozzle before waiting for the paint to cure. Just pop off the nozzle using the quick release feature. Talk about sweet! This makes clean-up fast and so easy.
As soon as the bells cure, it’s time to add the jingle to our bells. First, I thread a taped end of rope through the top of the cup and out the bottom. Using a piece of wire threaded through the rope helps make this job easier. Make a single knot at the end of the rope.

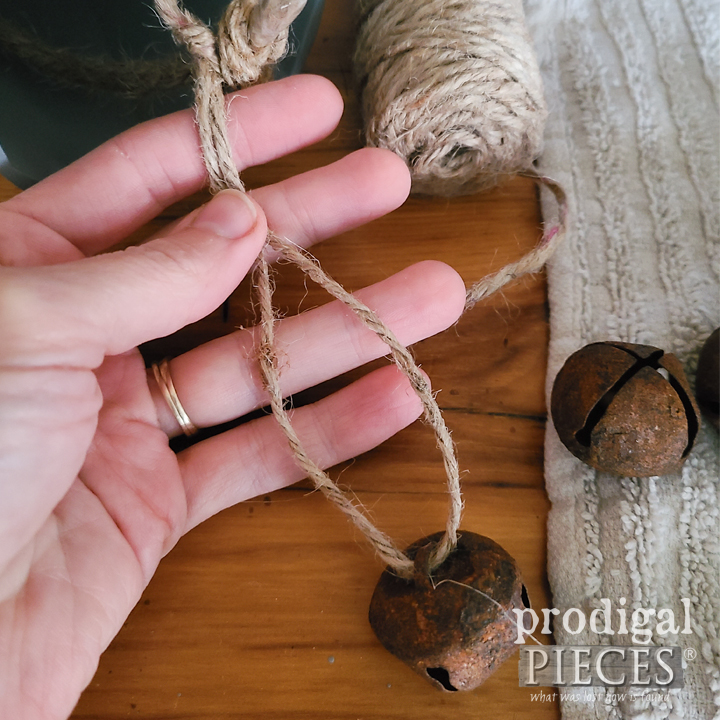
Then, it’s time to add the jingle bell. Cut a length of twine doubled over that is equal to the height of the cup. That way the bell rests just at the bottom. Or, make it longer to hang outside the bell. Use a hang tag type tie to loop it onto the knot.
Pull the rope and bell up into the cup. Next, cut a length of the rope to your desired hanger size.
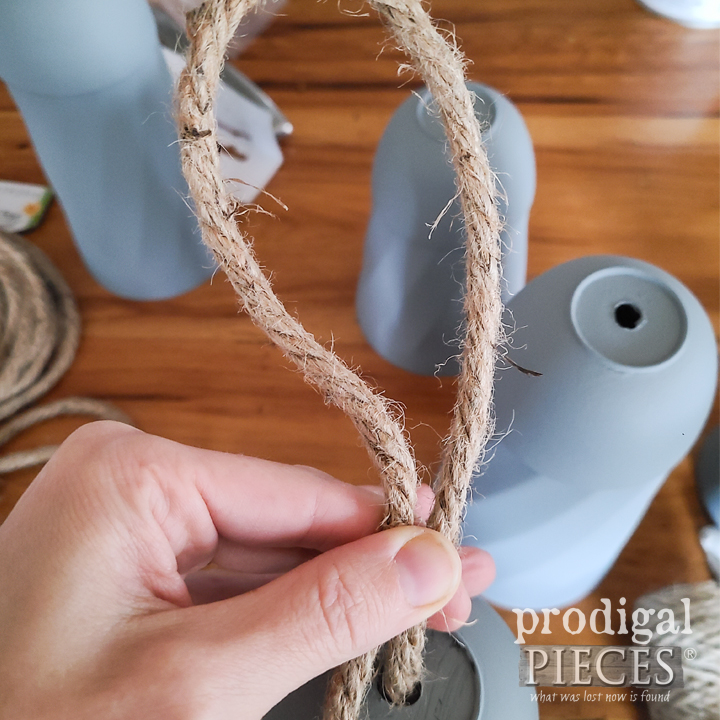
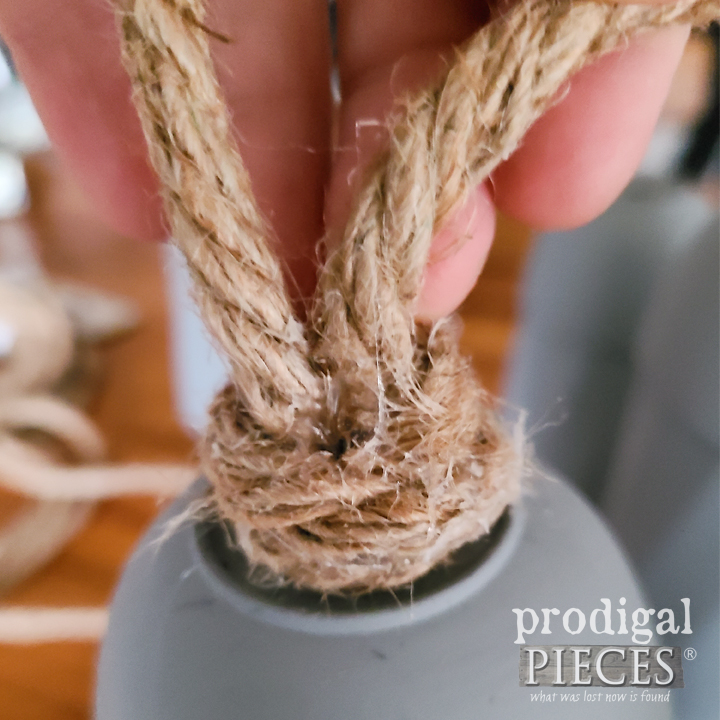
For a finished look, use hot glue and wrap rope around the base of your hanger – tuck in ends.
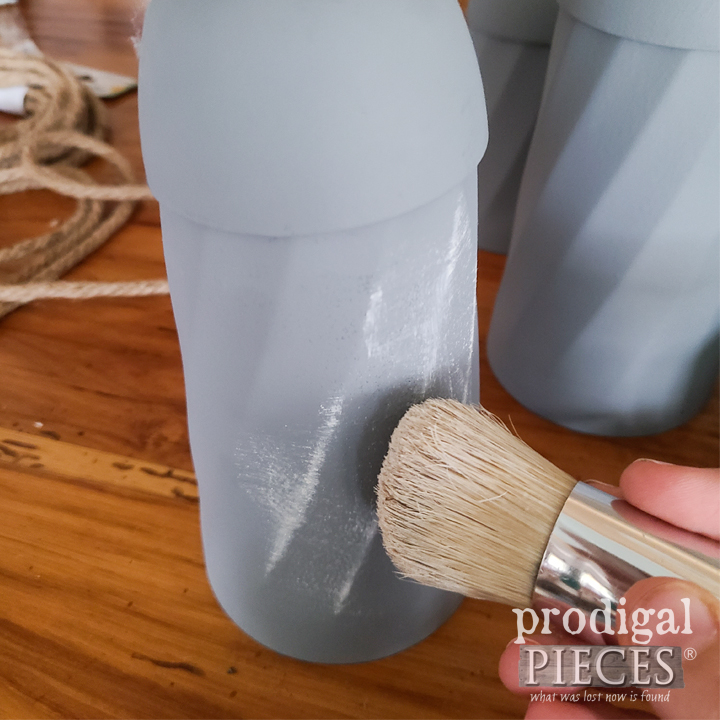
Finally, it’s time to add the finishing touches. Use a white wax to highlight the details, and a gray wax to add shadows where appropriate.
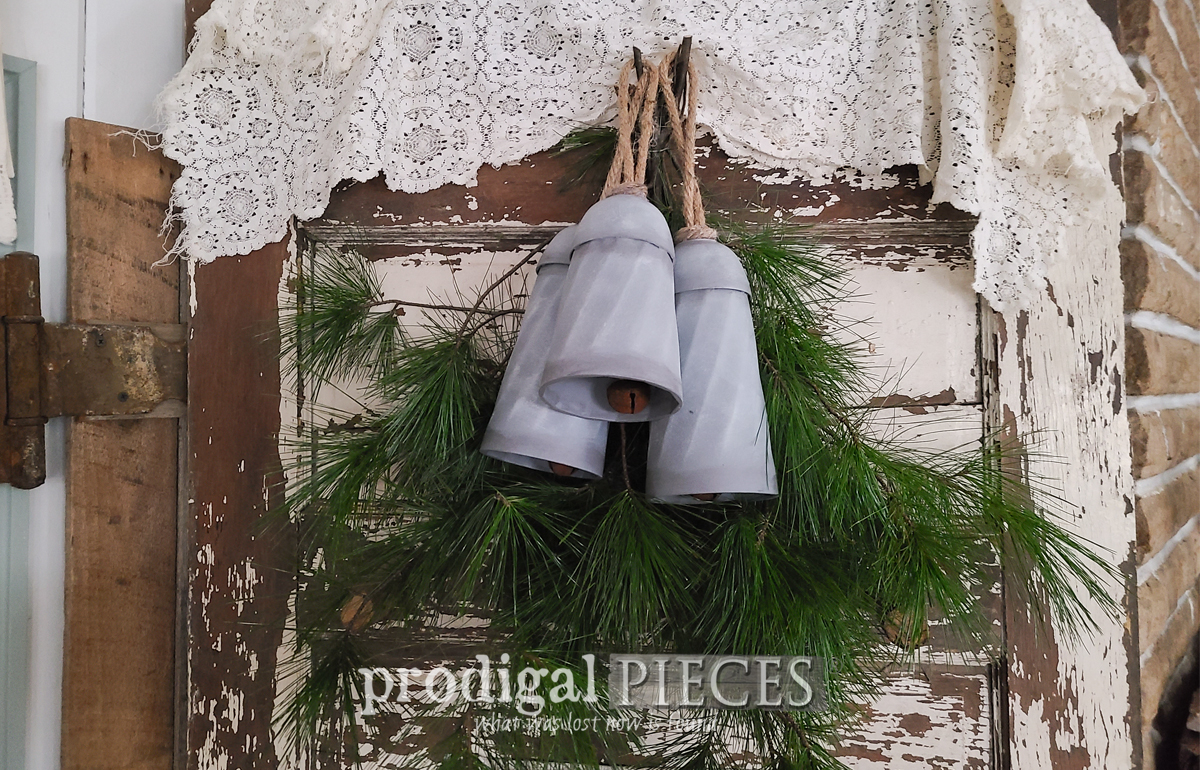
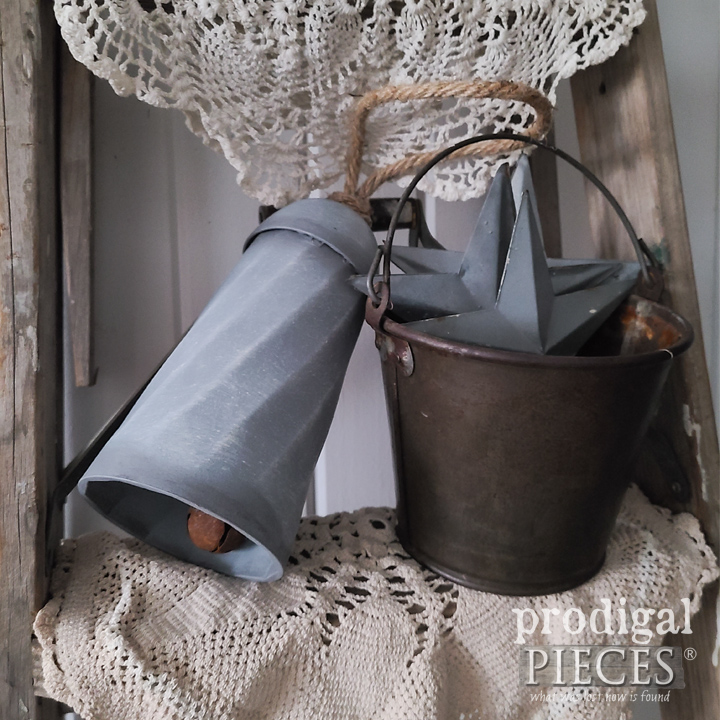
Now we have a beautiful set of rustic farmhouse bells perfect for any place in our home. They do ring and add such charm to holiday décor. I’ve used foraged greens to make this, but feel free to use whatever you like. Here’s my DIY tutorial for a foraged swag with video tutorial.
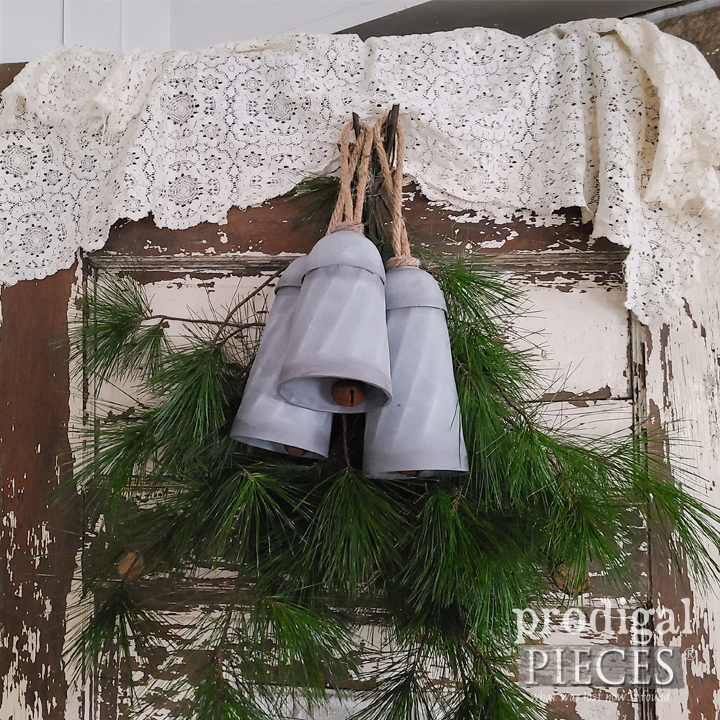
The best part is they’re suited for any arrangement. Where would you place yours?
This sponsored post was created by Prodigal Pieces. As always, in each project my goal is to inspire you to take creative adventures of your own. It’s fun to make your own home story, or add skills to your DIY repertoire. If you want to inspire others, do pin and share too. In addition, I’d love for you to come visit me on my blog, Prodigal Pieces, to see what else I’m up to each week. Until next time!
Materials
Turn Table (optional)
hot glue gun/glue sticks
scissors
drill/drill bit
jute twine
jute rope
paint brush
cups or small flower pots (bowls optional if you want a rounded look)
dark gray paint in matte or flat finish
rusty bells or wooden beads
white wax, white paint, or white glazing
gray wax
Download project steps & shopping list
We'll never share your email with anyone else.