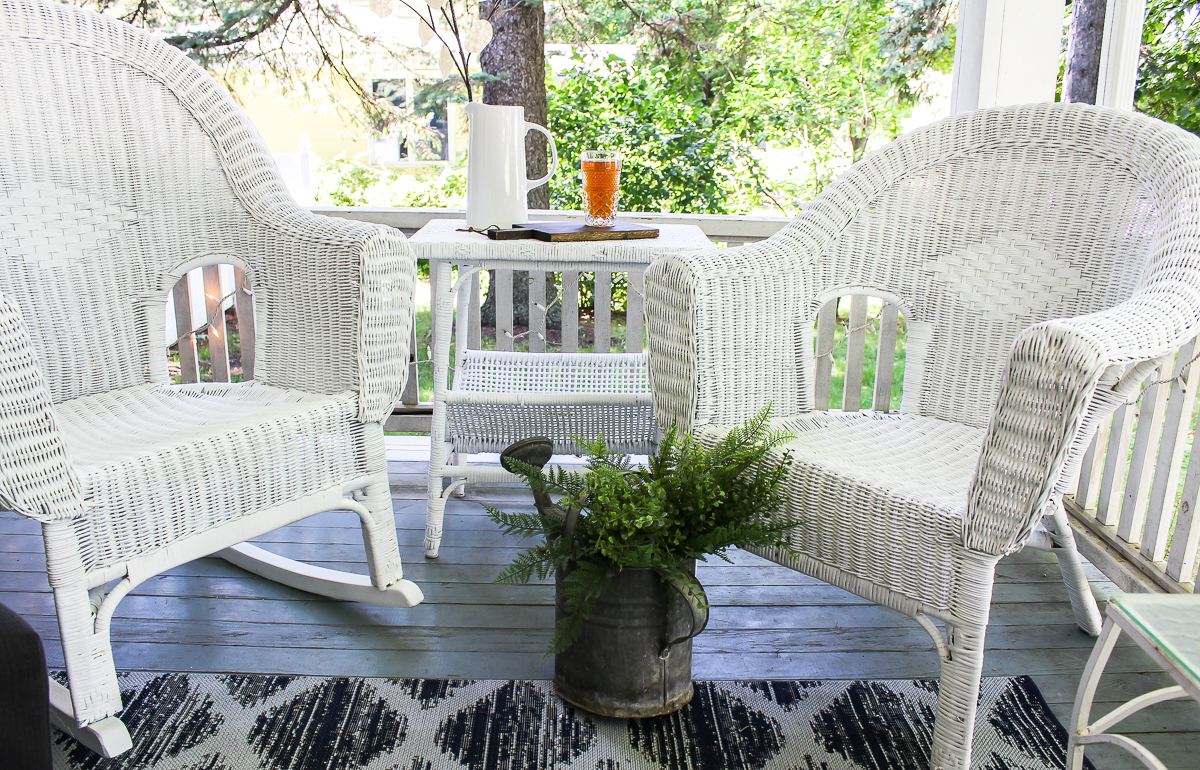
Easiest Way to Paint Wicker Furniture for a Long Lasting Finish
Refresh worn out, tired, wicker furniture with fresh paint
Materials Needed:
- HomeRight Super Finish Max
- Outdoor paint of choice
- HomeRight Large Spray Shelter
- Drop cloth
- Extension cord
- Power washer
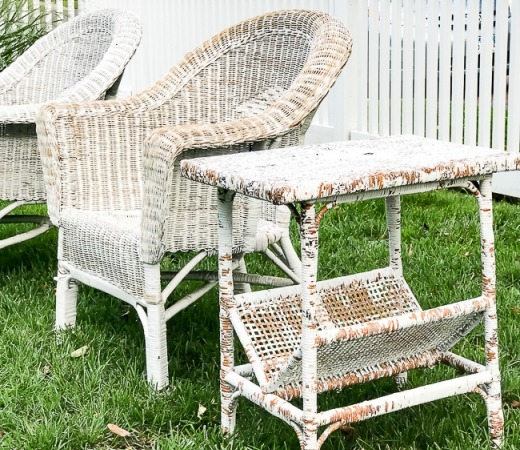
BEFORE:
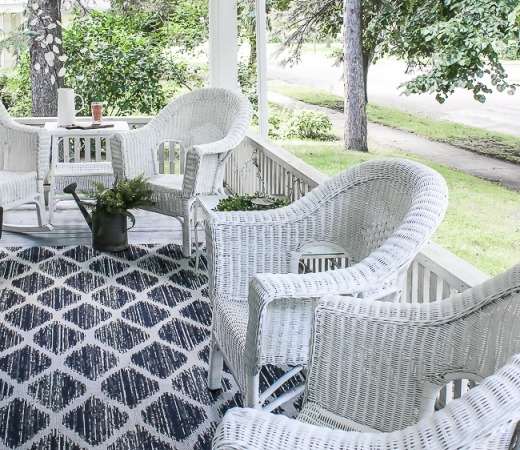
AFTER:
Project Steps:
Don't throw that worn out, tired, wicker furniture to the curb just yet! With a quick power wash and the easiest application of fresh, new paint, those pieces will last you for years to come.
STEP 1:
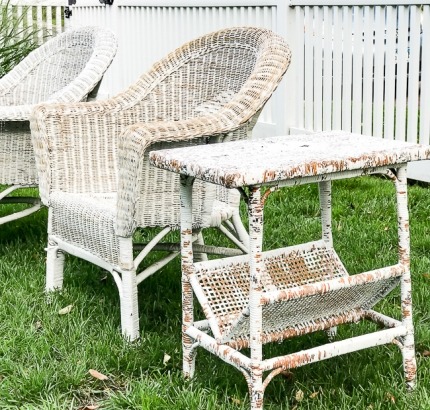
You look beyond the chippy, peeling paint...and see the life left in those worn out wicker pieces. All they need is some cleaning up and a fresh coat of paint to protect them from the elements. In a short time, you'll be able to breathe new life into them...and have many more years of use.
Before we can get to the fun of painting, you'll want to make sure all the loose paint is gone from your pieces. No perfectionism here - just do your best. I had Mr. 1915 power wash them for me and I let them dry overnight.
STEP 2:
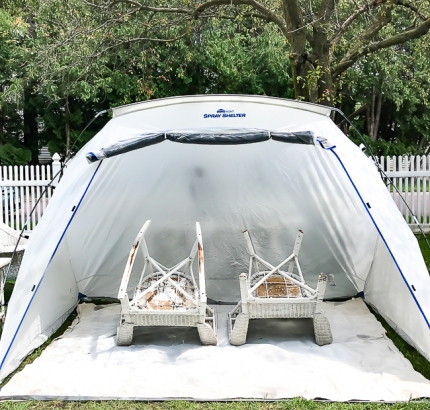
Set up your HomeRight HomeRight Large Spray Shelter and lay down a drop cloth inside. Total transparency, I couldn't fit all my pieces inside the spray shelter, so I did some on the grass in the yard. Do whatever works for you, but honestly, the spray shelter makes it really easy to keep bugs and leaves off your pieces so it really is ideal.
Place your furniture upside down inside the shelter - I find it's always best to spray the underside of your pieces first.
STEP 3:
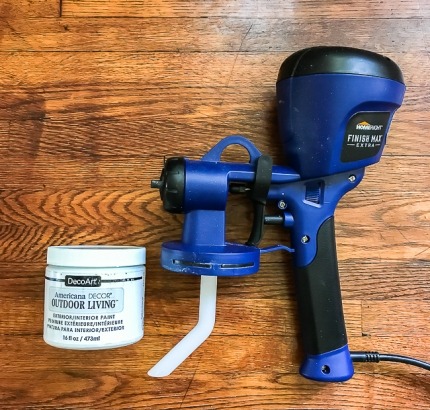
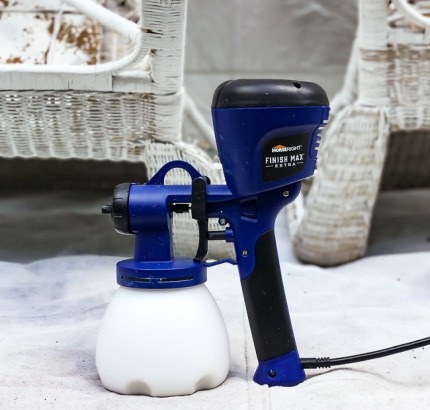
This part always puts a huge smile on my face and is one of the many reasons I love the new HomeRight Super Finish Max. It's a simple as dump and go! With the Finish Max Super there's no need to thin your paint!! (in most cases)
Can you hear that? That's the sound of painters everywhere cheering for joy! HomeRight really has made it so. very. easy. for us to tackle our DIY projects and this sprayer is one of my favorite tools.
For this project, I chose to use Deco Art Outdoor Living paint, since it's specifically made for pieces that will be out in the elements. Feel free to use any good outdoor paint that you like.
STEP 4:
Pro tip: Once your paint is loaded in your sprayer and you're ready to go, always do a "test run" on a large piece of cardboard to ensure that you're getting the right spray pattern/thickness that you want. Better to test it on carboard than on your furniture.
STEP 5:
Once you've finished the undersides of your wicker pieces, let them dry for 1-2 hours before flipping them over and finishing the tops.
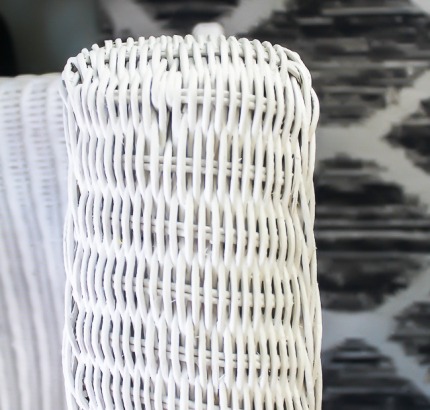
I tell you what, the Finish Max Super makes this job a walk in the park. Wicker, because of all it's many nooks and crannies, would take *forever* with a paintbrush. Not to mention, you'd end up with gloppy areas and a finish that is less than professional. With this sprayer, you're easily able to get into every tiny space and acheive great coverage every time. It is indispensable.
STEP 6:
If you're able, try to leave your pieces overnight to dry before putting them to use.
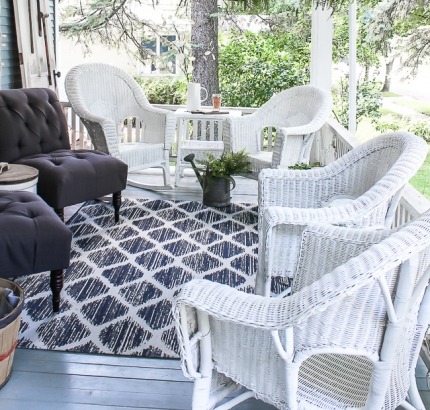
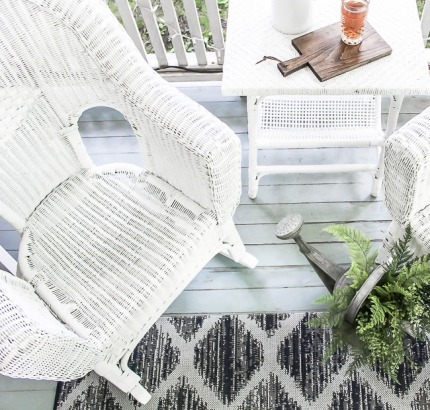
Once our set was dry and thoroughly protected with it's fresh new coat of paint, we put them back on our front porch where they'll serve us beautifully for many more years.
STEP 7:
There's nothing like long, lingering nights on the front porch, with the twinkly lights sparkling up above as the laughter and stories swirl around.
So that outdoor furniture that's in need of a little TLC? Don't throw it to the curb yet! With the Finish Max Super, some paint, and a little time, you'll revamp the whole set and will get many more years of service from it.
Need some great ideas for budget friendly ways to decorate your front porch? I share some of my top tips over here on the blog. I'd love for you to stop and say hi!

Download project steps & shopping list
We'll never share your email with anyone else.