The easy way to paint tall stairwells
The PaintStick EZ-Twist makes painting tall walls easy
Materials Needed:
- Extension ladder
- Paint brush
- PaintStick EZ-Twist Paint Roller
- Paint
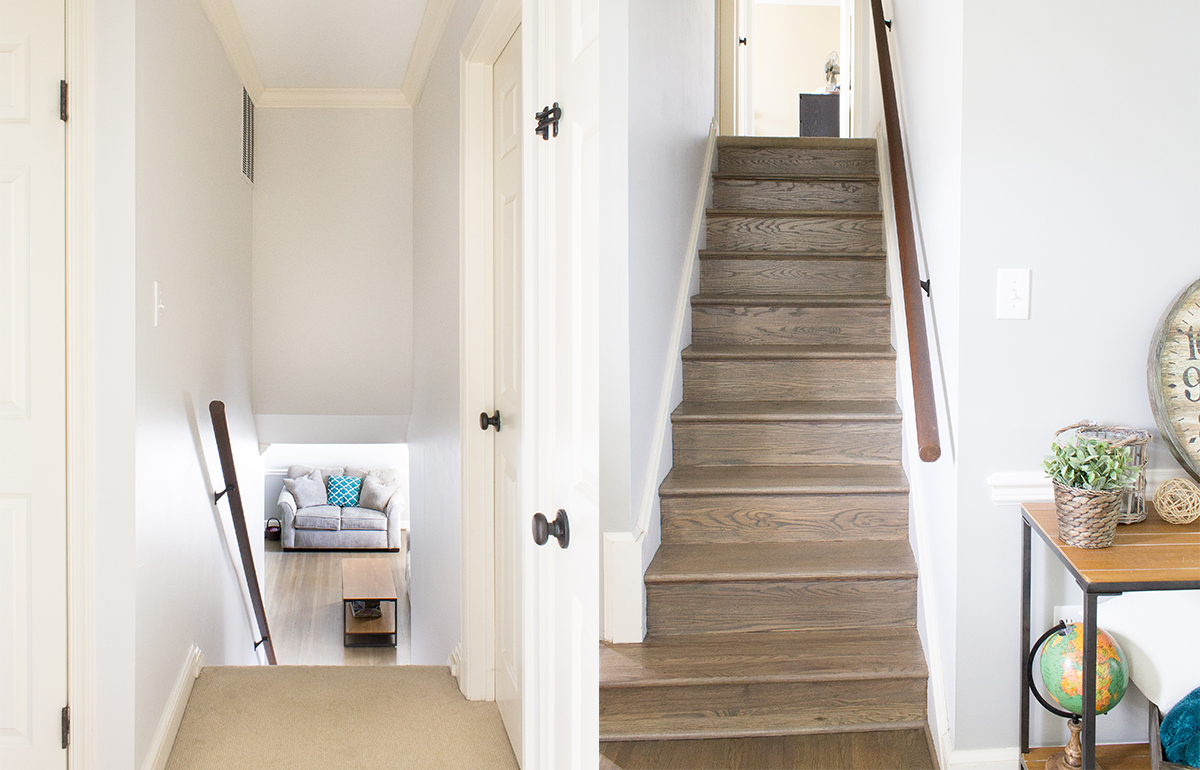
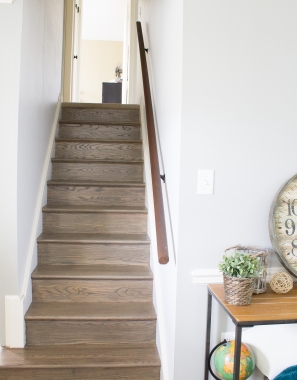
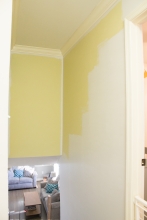
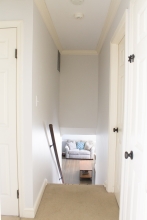
BEFORE:
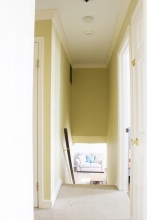
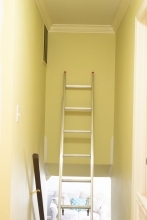
AFTER:

Project Steps:
Do you have a tall stairwell that you've been wanting to paint, but you're just not sure how to safely tackle it? I've been wanting to paint our hallway and stairwell for years, but the thought of building a complicated scaffold out of ladders like all the tutorials on the web show and trying to balance on it while holding a paint roller was a little scary to me. Once I heard about the Paintstick EZ-Twist, painting the stairwell suddenly sounded a little more manageable. It was actually not only easy to paint the tall parts of our stairwell, but it went really quickly too! Here's how we did it!
STEP 1:
We started by cutting in around the ceiling, corners, and along the stairs. Sadly, you will need a ladder for this part, but the good news is, we did it with just one ladder instead of that scary scaffolding hack. If you prefer to use painter's tape to get a nice clean edge, apply it first. I like to use an angled brush, preferably one with a short handle so that I have more control. Paint about a two inch strip along the ceiling line (or crown molding) and corners, as well as along the trim going up the stairs (you may want to tape off the edges of your steps if there isn't an extra trim piece along the sides). This could be a great time to try out the QuickPainter Pad Edge Painter instead of cutting in with a brush!
STEP 2:
Next, you'll work on painting the stairwell walls. Ordinarily I would recommend using the Paintstick on an entire wall, but since crouching on the stairs and painting at angle can be tricky with the long handle, I recommend painting the lower parts of the wall with a regular paint roller first. HomeRight does also make a mini version of the PaintStick which would probably be great for this part of the job! Notice in the photo, we were able to reach close to the ceiling with a regular roller in the areas closest to the top of the stairs. The area we could reach got lower and lower down the wall as we went down the stairs. That's where the PaintStick comes in to save the day!!!
STEP 3:
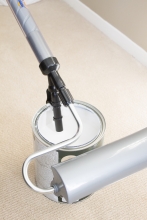
When you are ready to paint the tall parts of the wall, it's time to prepare your Paintstick EZ-Twist. Attach the fill tube to your paint can, toggle the switch on the Paintstick, and pull to fill the tube. Once full, twist the handle to load the paint roller. It will take a lot of paint to fill the roller initially, but after that, you will be amazed by how much paint the handle holds and how much time you save by not having to dip a roller in a paint tray over and over, plus the additional perk of not climbing up and and down a ladder or crazy scaffolding contraption!
STEP 4:
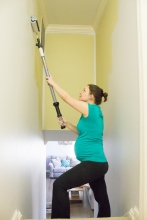
Now it's time to paint the dreaded stairwell! You'll be so impressed with how quickly you are finished! Roll the Paintstick along the wall just as you would a regular roller. Twist the handle a little at a time to load more paint into the roller cover. The handle of the Paintstick is really long, so we were able to paint all the way to the ceiling without a ladder! I was so amazed! And if I can do this with my big pregnant belly in the way, it's easy enough that anyone can do it!
STEP 5:
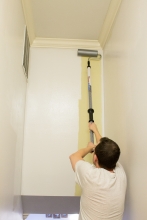
I did allow my husband to paint the far wall for the sake of safety; I didn't want the belly to throw me off me balance and launch me down the stairs. Safety first, always!!! But, if I weren't pregnant, I would definitely be able to pull off this whole hallway makeover on my own. The PainStick makes it that easy!
If you run out of paint, go back to your can of paint, attach the Paintstick to the fill tube again, and refill the handle. We were able to finish the stairwell with only a couple of quick refill breaks. We were finished painting in no time at all! I do always like to do a second coat, so follow the recommended dry time listed on your paint can and then recoat the walls. You can keep your paint rollers moist in between coats by wrapping them in plastic wrap.
STEP 6:
Can you believe how easy that was? Way less terrifying than the balancing act that other methods require! Thank goodness!
Clean up was a breeze too. Pretty much everything on the Paintstick comes apart and can easily be rinsed with warm water.
A few hardware updates and our hallway is looking so much better! It's amazing what a fresh coat of paint can do to brighten up a space! Let me know if you have any questions about the process! I would be happy to help! And I hope you'll stop by to visit me at The Inspired Hive! Happy painting, my friends!!! :)
Download project steps & shopping list
We'll never share your email with anyone else.