
Garden Shed Remodel
Learn how to create and update a garden storage shed using a Super Finish Max paint sprayer to paint and seal the structure.
Who doesn’t love to have a special place for all their garden needs? My family and I are avid gardeners both in our vegetable garden and flower beds that surround our home. We are also a family of 8 with gear that needs stored. Therefore, we have stuff – garden stuff, sports stuff, four season weather stuff…you get the idea. Our garden shed needs much TLC, and we’re here to show you how we did it on a budget and in DIY style.
Step 1:
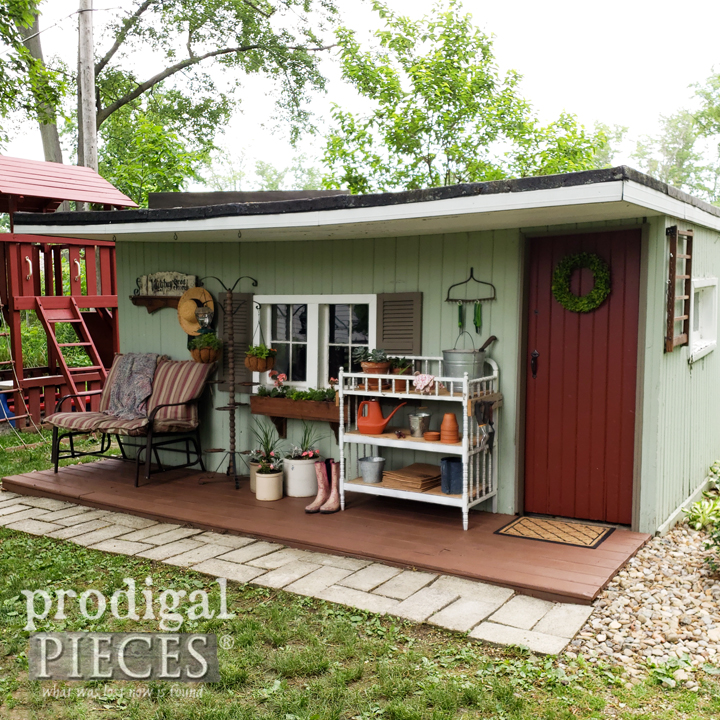
Here is what our garden shed looks like on the outside. It originally used to be a shed/playhouse for the previous owners. It even has TV hookup and electric run to it. Charm is definitely an aspect we enjoy about it being in our back yard.
Step 2:
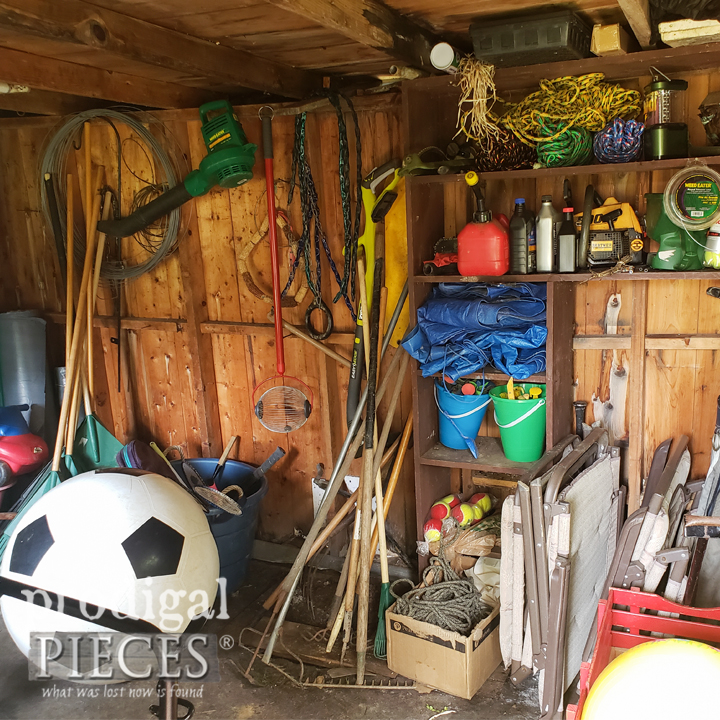
However, it became an eyesore when things began to fall apart last winter. We started to have leaks in the roof late fall, which meant we had to wait until now to fix all things. To be honest, we planned to get all this this done last summer, but other necessary work needed done first. This “before” shot doesn’t also include our 7 bicycles and a whole slew of other gear. Over winter with the rain and melting snow, our floor rotted through in many places. In addition, my kids had gotten into the habit of walking in and just tossing in whatever they had to place in there. IT IS A HUGE HOT MESS.
Step 3:
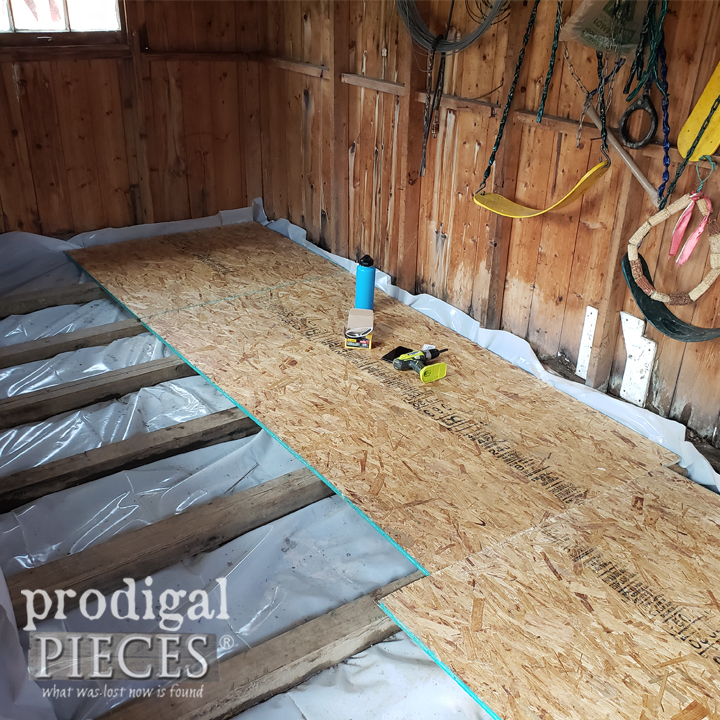
Needless to say, this was frustrating to me and caused me tears because we had to wait so long. Finally, it’s time to get this remodel started. First, we begin tearing out the floor and replacing with new. It’s a floating floor because our backyard is on top of springs so we always have moisture in excess and this allows it to flex with the freezing and thawing each year. To prevent more moisture damage we put down a moisture barrier on the ground before laying new floor.
Step 4:
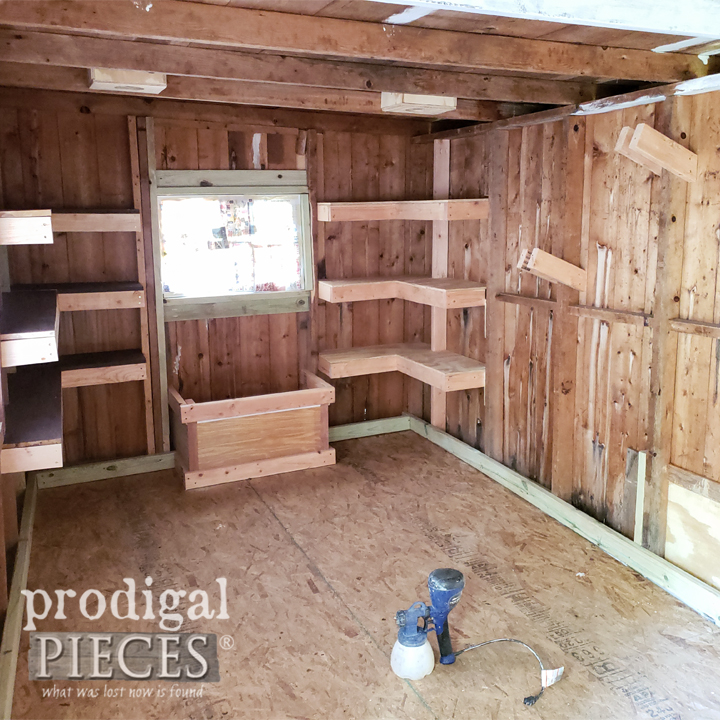
Then, we began the work of repairing our rotted soffit and facia, jacking up the walls to be square again, and adding custom built items. We have added shelving, a bench seat with storage, ball rack storage, and tool storage. I do have to say that for about 6 weeks, we had to put this project on pause. We are also our own mechanics and my truck needed all brand new brake line and a wheel bearing. At least we are able. Finally, we are now able to add the finishing steps. Hallelujah!
Step 5:
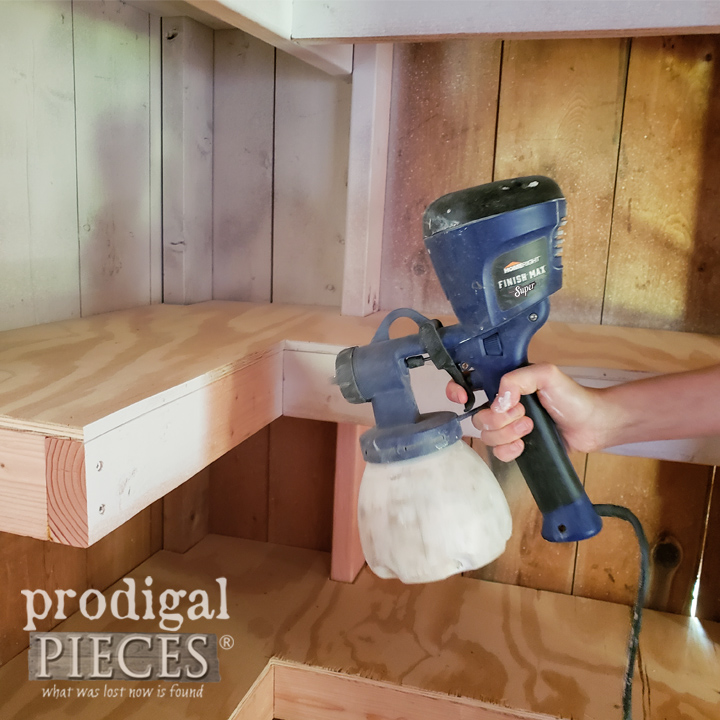
Next, it’s time to bring on the paint fun! You know it’s party time when you have a sprayer to knock out a project like this. My favorite sprayer is the Super Finish Max. It has the capabilities to easily switch from paint, to poly, to stain by using the set of different sized tips. Simply fill up the canisters, test your flow control on scrap, and then have at it. You can see how to set it up in my video HERE.
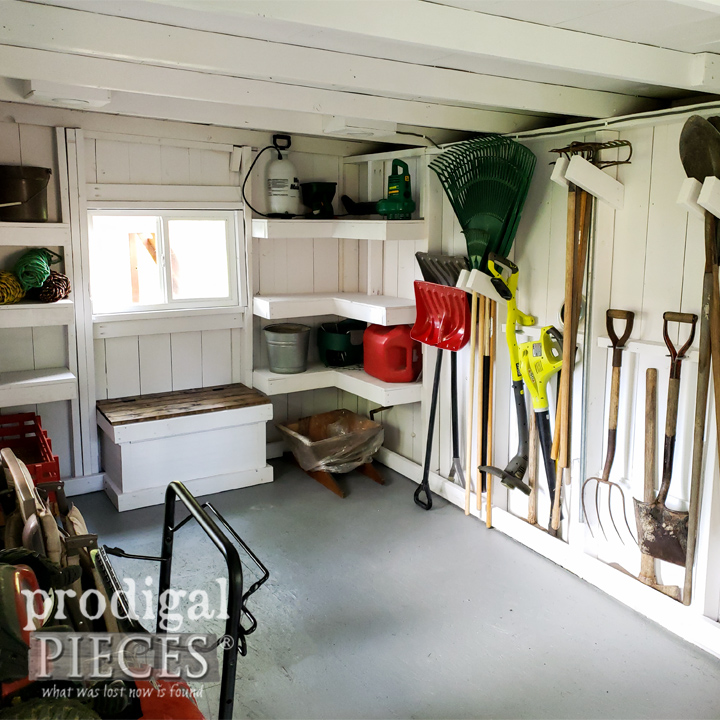
Step 6:
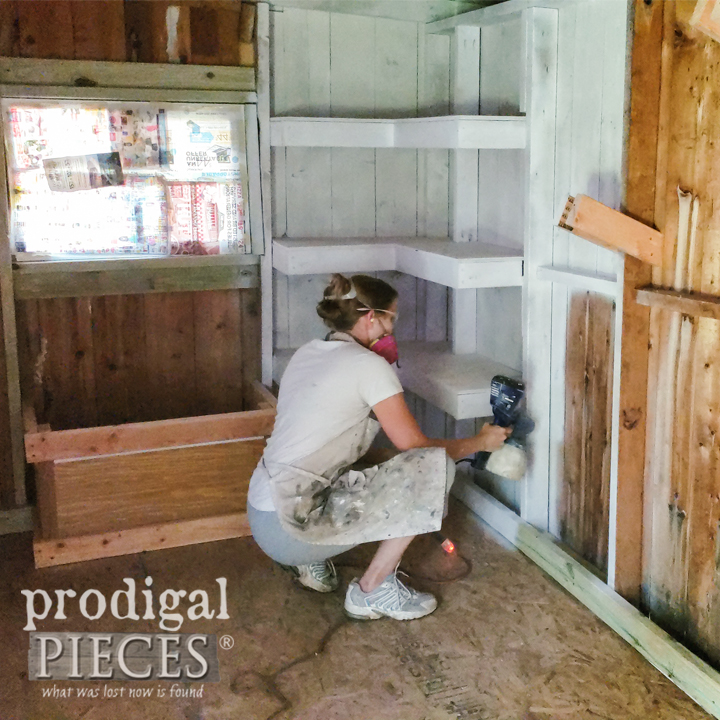
I begin by filling the sprayer with a simple white paint to bring natural light, openness, and a refreshed feel to our garden shed. Here is the first coat applied. It took me a couple of hours, but nothing compared to the days it would have taken me to complete this with a brush. Needless to say, I did a happy dance.
Step 7:
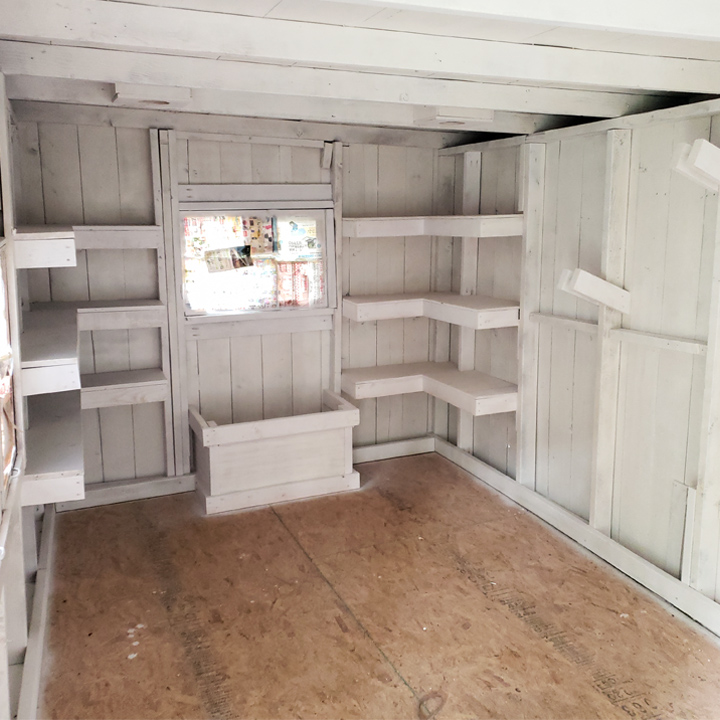
After the first coat, I put the storage lid on the canister and wash out the Super Finish Max so it’s ready for the second coat in a couple of hours. Once I had the walls done, I also applied floor paint to our new floor. This will give it longevity and a finished look as well.
Step 8:
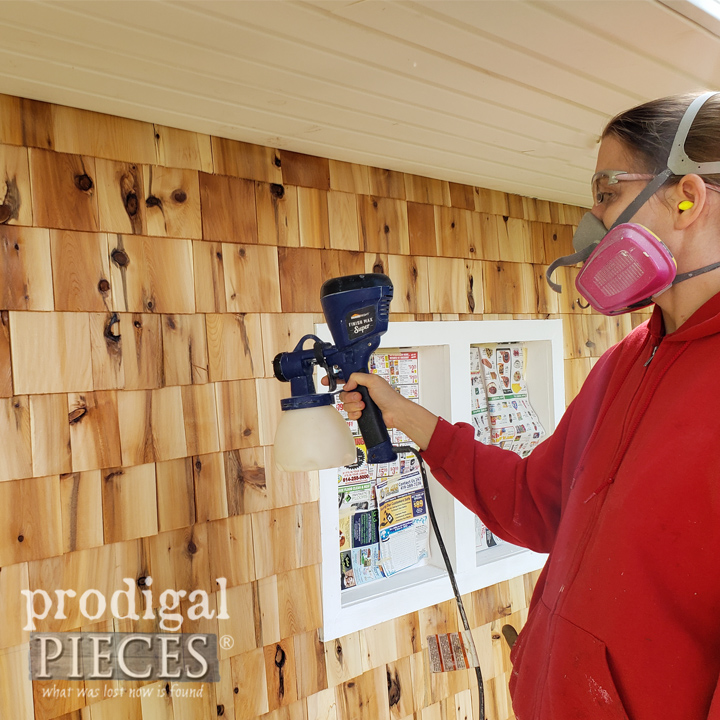
While the inside was curing, I didn’t waste any time beginning the exterior upgrade. I have always loved cedar shakes since my dad used them as roofing on the beautiful log home they built. So, the outside got a cedar shingle to protect and update the exterior. As soon as it was hung, I applied a coat of protectant with my sprayer to ensure our shingles will have longevity. The protectant doesn’t keep the cedar from getting that gorgeous patina it’s known for. However, it does give the wood longer life. The Super Finish Max made this so much easier as I was done in 15 minutes.
Step 9:
Finally, we can say our garden shed remodel is complete with interior and exterior looking brand new. In addition, the interior is just as sweet, especially because we have our lights and outlets back and fully functional. Did you see my happy dance?!? You can bet my entire family of 8 busted a move. It looks so refreshed, brightens up our backyard, and also is cute.

This kind of home improvement project demonstrates that it you can do it too. It just takes time, a bit of know-how, and a willing spirit. Also, there is no doubt that having the right tools make the job easy and enjoyable too. You can tackle your own DIY project and inspire others too!
I invite you to come see my other DIY projects from furniture, to remodeling, sewing, crafting and even my online shop at Prodigal Pieces. Until next time!
This sponsored post was created by Prodigal Pieces. Head to the blog for the full post and details about this project.
Download project steps & shopping list
We'll never share your email with anyone else.