Grey Hutch Makeover
Learn how to paint and update an old hutch to create a beautiful, new look. Get the job done quickly with the HomeRight Super Finish Max.
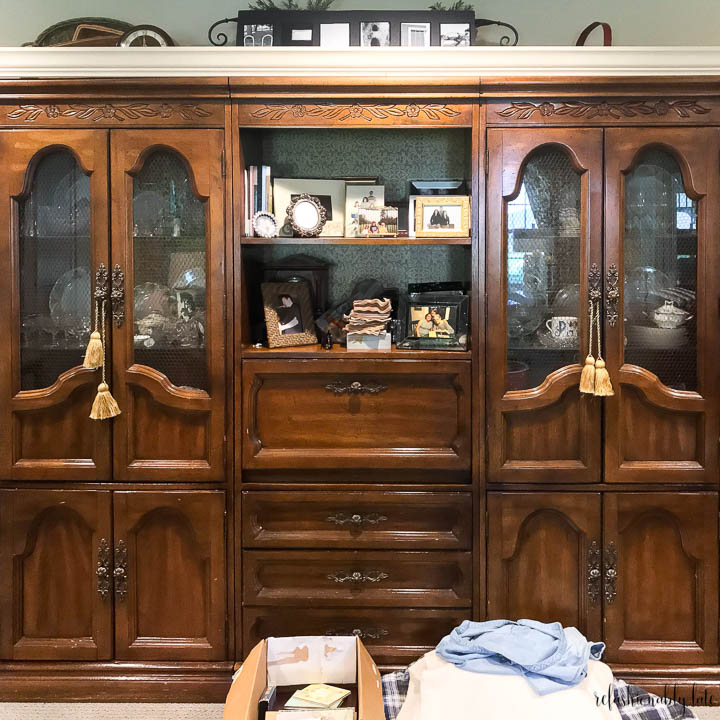
Hey everyone! I’m here today with a beautiful makeover of my parents’ Hutch. This was a gift to my Mom from her Mother. This hutch means a lot to my Mom but she knew it was time to give it an update. This hutch has sat in their family room my entire life. My parents are building a new house so it was time to update it to match their new home.
Step One
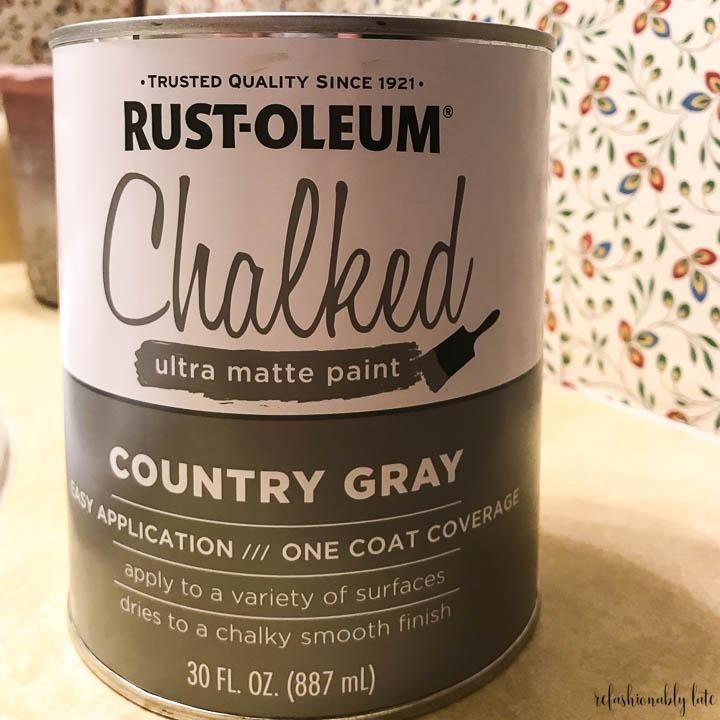
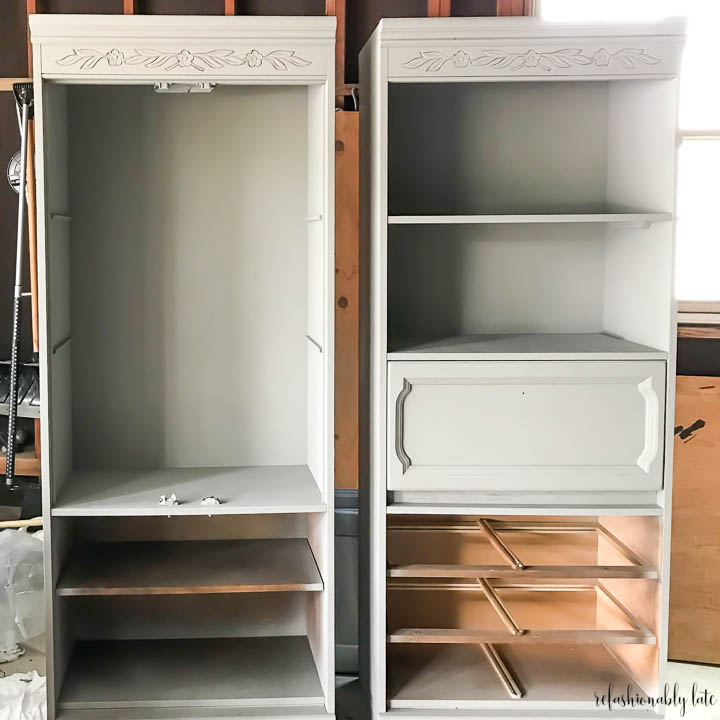
We decided to use chalk paint because it was such a large piece of furniture. The thought of sanding it all made me cringe. We went with Rust-Oleum Chalked in Country Gray.
Step Two
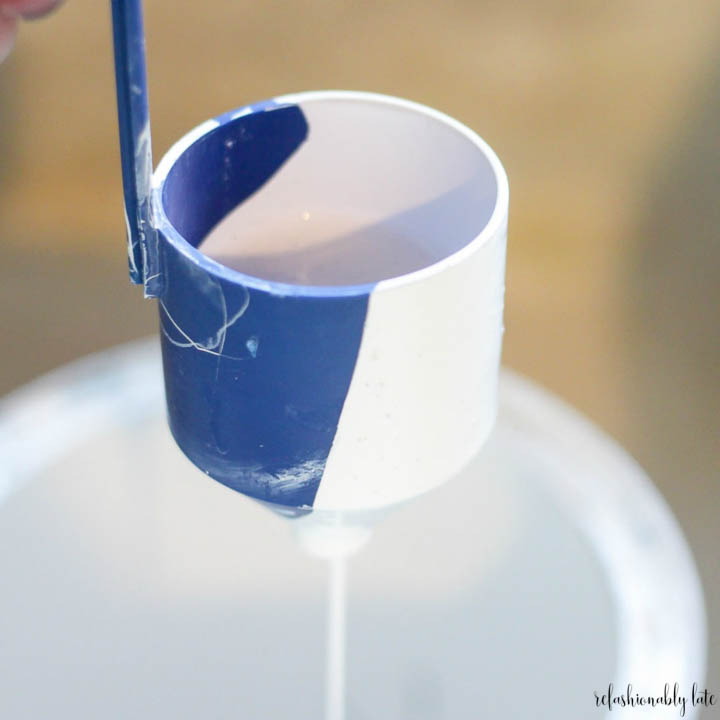
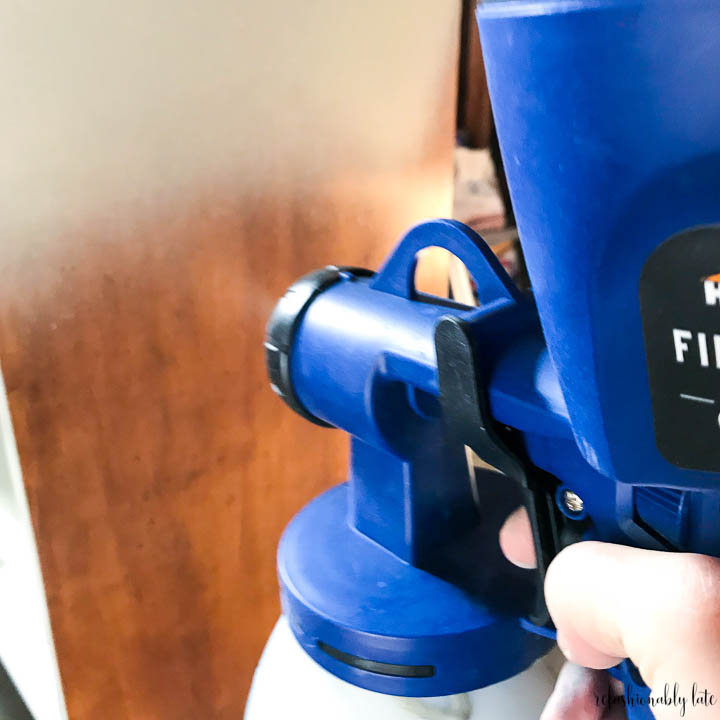
We got out the Super Finish Max Paint Sprayer to prepare it for painting. Typically with the Super Finish Max you don’t have to thin the paint. The Rust-Oleum Chalked is a fairly thick paint so we decided it was best to thin it out. We poured a little bit of water into the container and stirred it up. It really helped the paint go on smoothly. You can also use the viscosity cup to help check proper thinning.
Step Three
We plugged in the Super Finish Max and got to work. We took turns using the sprayer as my Mom wanted to also give it a try!
Step Four
It took us about an hour to paint the entire hutch which is 3 large pieces.
Step Five
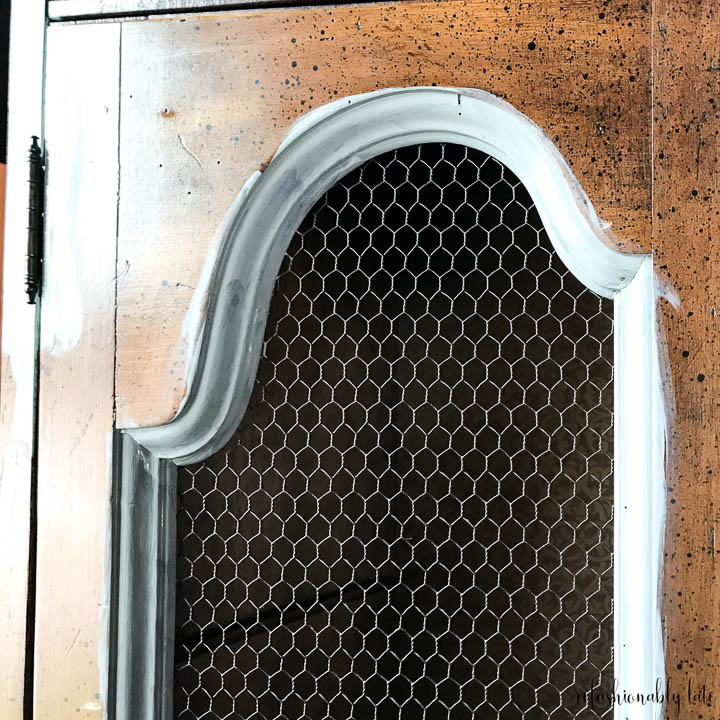
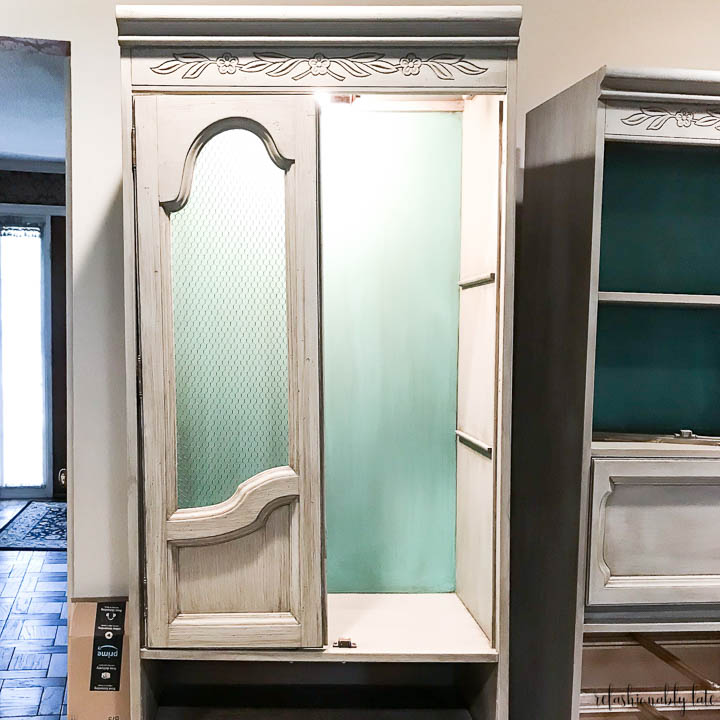
We removed all of the doors before we started because the fronts of the doors had chicken wire on them. We decided it was best to hand paint them to ensure we didn’t get any paint on the chicken wire.
Step Six
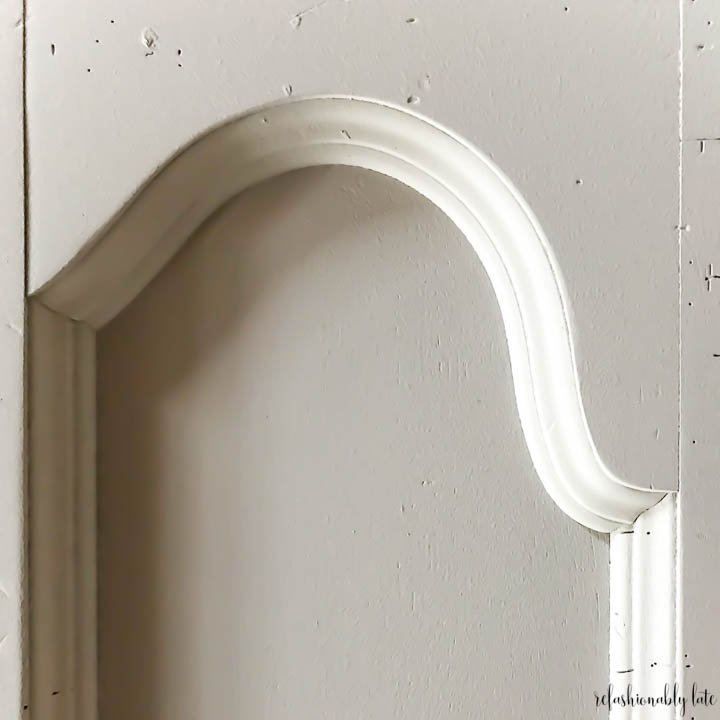
We also took a hammer and nail to the doors and around the cabinet to give it a more weathered look.
Step Seven
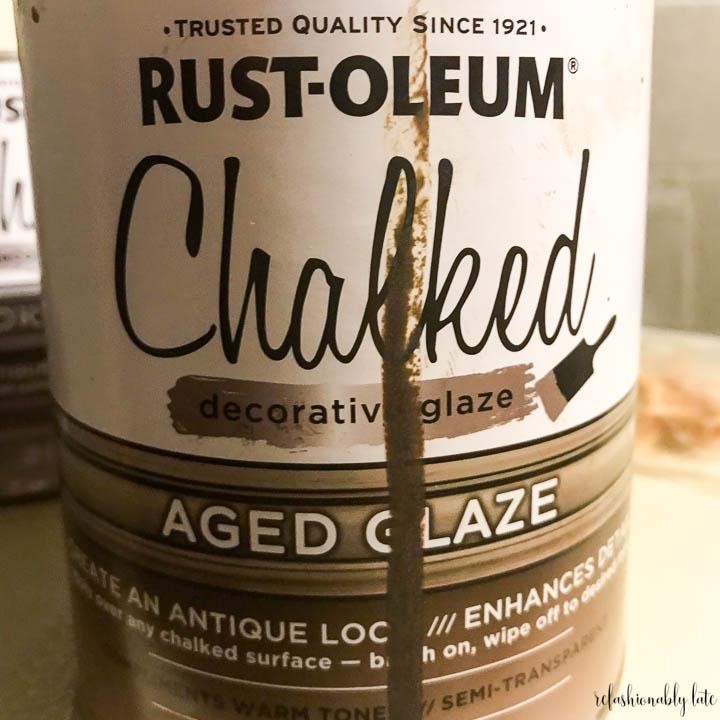
After all the doors and hutch were painted and dried we added some stain. We used Rust-Oleum Chalked Aged Glaze. We brushed it on and wiped it with a cloth.
Step Eight
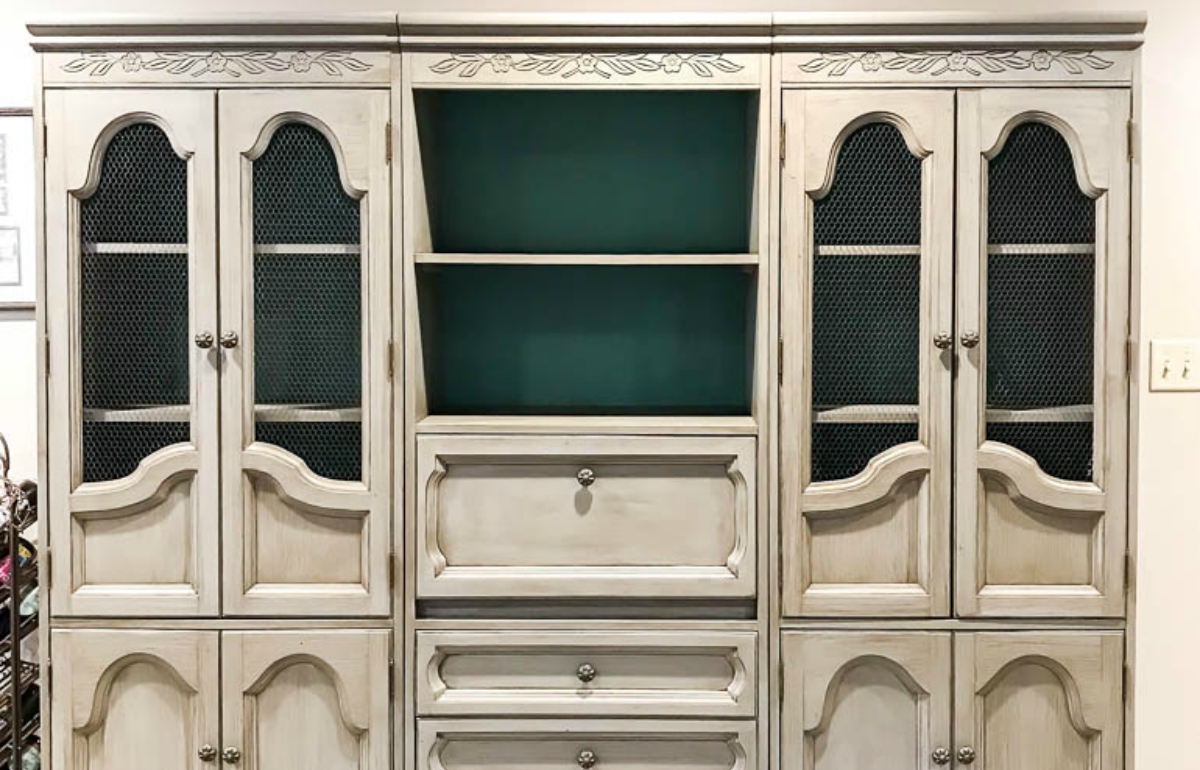
We added a pop of color by hand painting some blue paint to the backs of the cabinets.
Step Nine
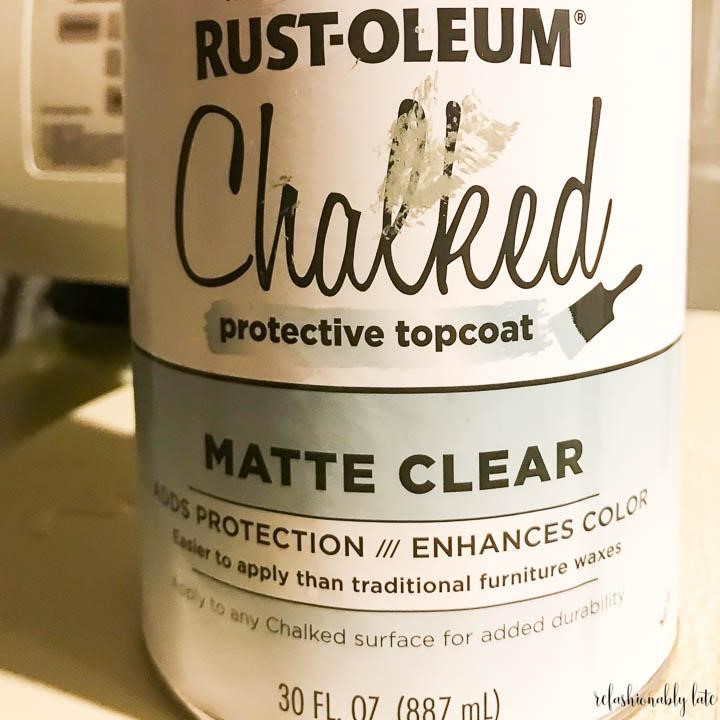
To protect all of our hard work we added Rust-Oleum Chalked Protective Topcoat to the hutch. We used the Matte Clear so that it would still have that matte look of chalk paint.
Step Ten
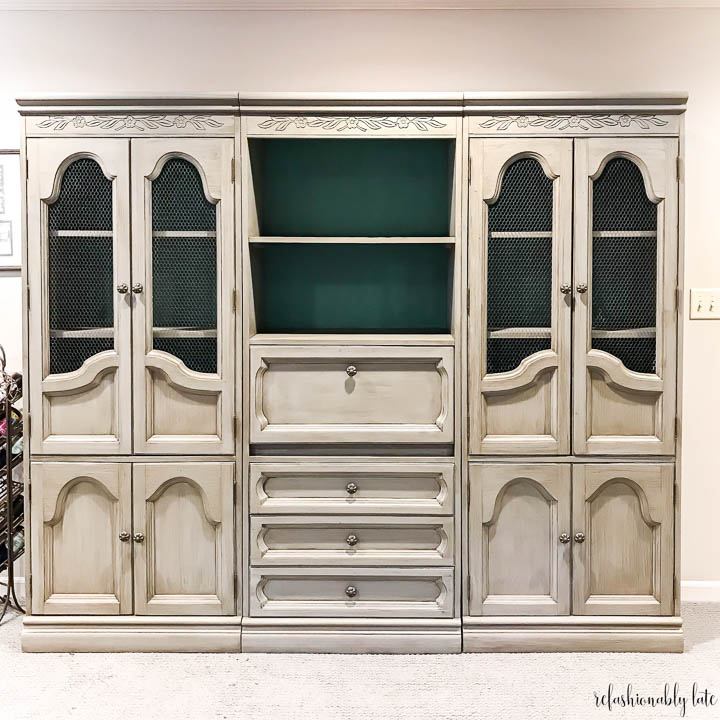
We let the hutch dry for a couple of days and then we brought it back into the house and put it back together! I absolutely love the final outcome!
Thank you so much for hanging out with me today! I absolutely love teaming up with HomeRight on makeovers. The Super Finish Max is one of my favorite paint tools! I can’t live without it! Don’t forget to subscribe to my free newsletter so you never miss a post!
This sponsored post was created by Refashionably Late. Head to the blog for more chalk painting ideas.
![]()
Download project steps & shopping list
We'll never share your email with anyone else.