How to Prep Furniture for Paint
Ensure a successful furniture flip by learning how to properly prep furniture for paint. Use a HomeRight paint sprayer to apply the finish!
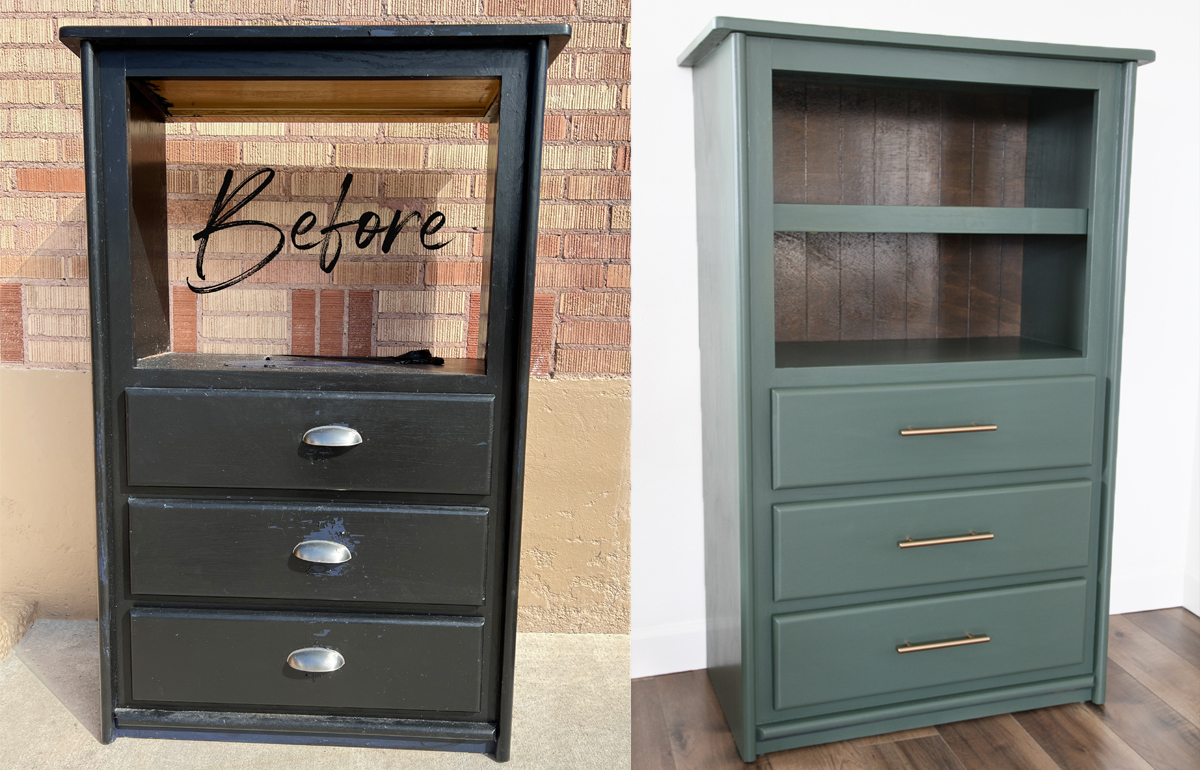
I recently bought an armoire on an online yard sale site. It no longer had the doors for the top portion, but I liked the clean lines and the fact that it was 100% real wood, which is so hard to find these days! It needed a makeover, but I knew I could handle it with the help of my Super Finish Max sprayer!
Before
My husband picked it up after work one day and when he brought it inside, I knew I was going to have a bigger than expected project on my hands. The previous person who painted it, had not done any prep work before slapping on a thick coat of new paint. The paint was literally peeling right off!

Step 1
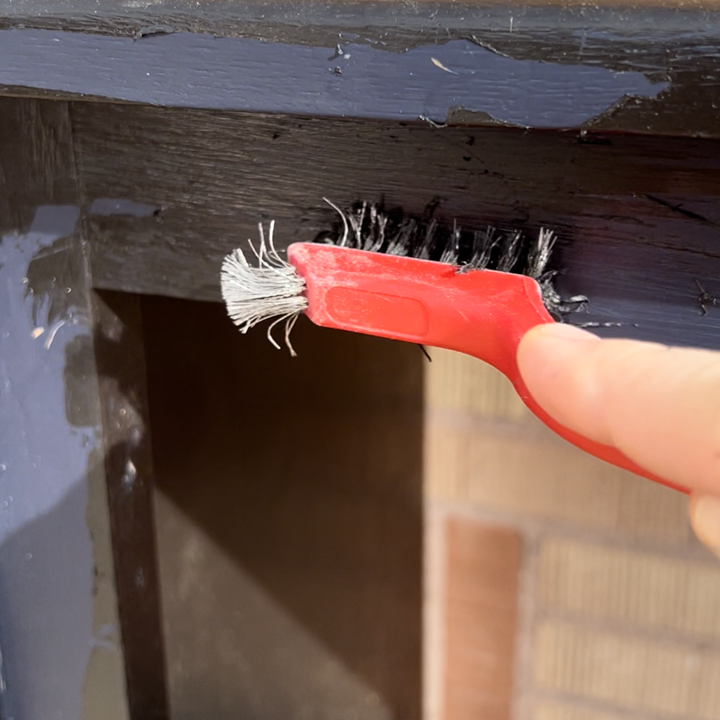
Why would paint peel right off you ask? Well, the armoire wasn't cleaned properly or sanded before adding a new coat of paint. I think a lot of people think "It has already been painted once. I don't need to do all that prep work!" Well, unfortunately, that is not the case. Any time you are painting something, whether it is bare wood or a previously painted surface, you need to clean and prep it.
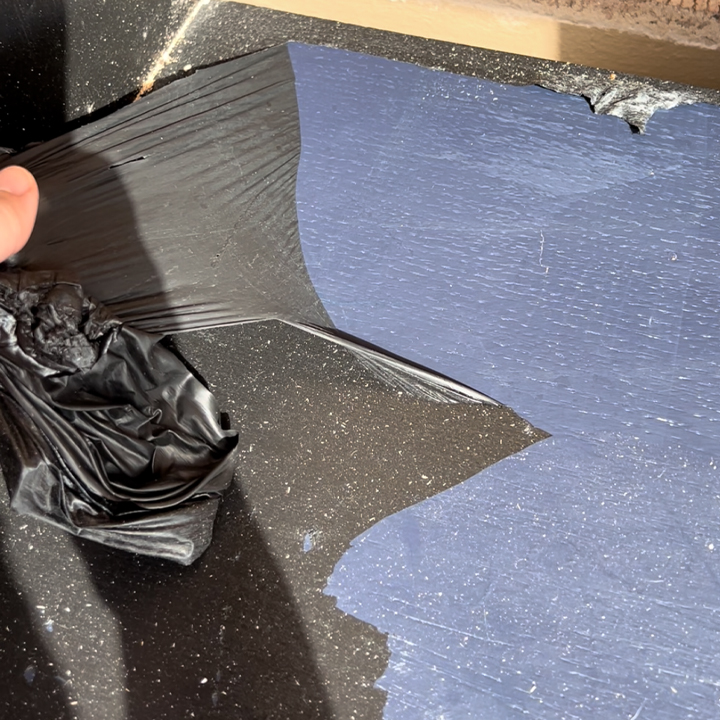
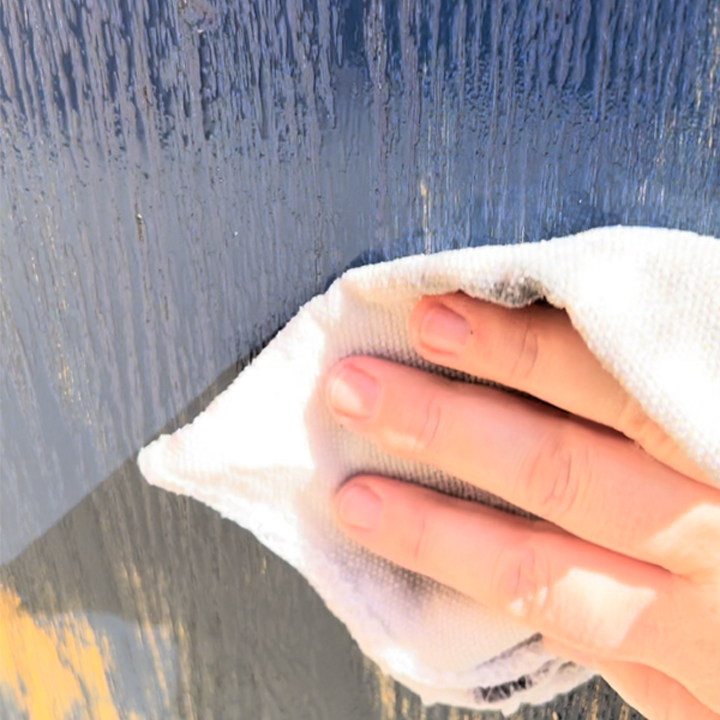
The first step was to get as much of the existing paint off as possible. Where the paint was applied very heavily, it peeled easily. Where the paint had been applied much thinner, it didn't peel. I could scratch it with my finger nails, but that would have taken a long time. The best way to get the rest off was to use a wire brush. The reason I did not sand it at this point was that the paint was kind of sticky. Kind of like it had never fully cured. It gummed up my sandpaper within a few strokes. I needed to get as much of the black paint off as possible before I could sand.
Step 2
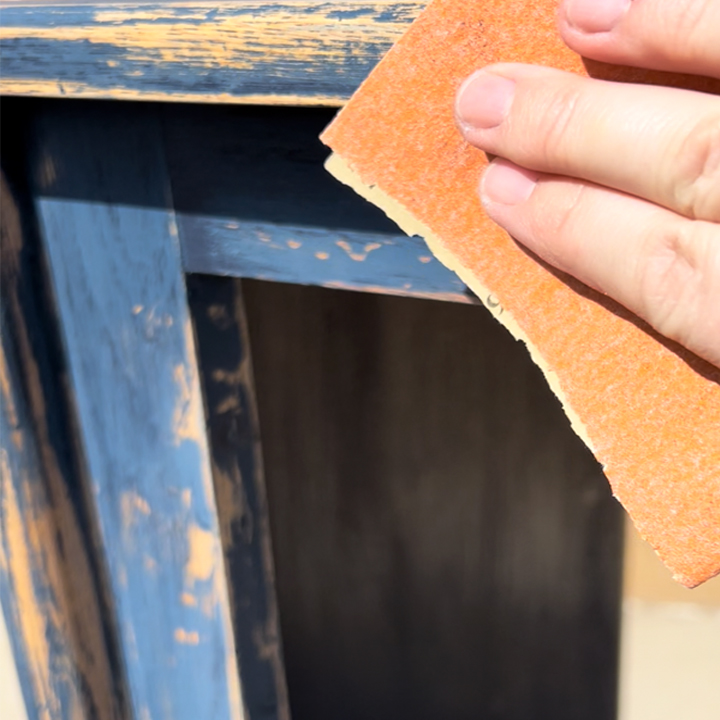
Eventually I was able to get the majority of the top layer of paint off and I could finally sand. Sanding is so important! Paint also needs something to "grip". I went over the whole armoire with a 150 and then a 220 grit sandpaper. The dresser was in really good shape as far as not having scratches or dings. The only things I had to fill with wood filler were the holes for the old drawer pulls.
Step 3
It was time to give it a good cleaning! Paint doesn't stick well to dirt, dust, or grease. I washed it with soapy water and then rinsed it with clean water. I dried it off and moved it to a tarp so I could get ready to paint!
Step 4
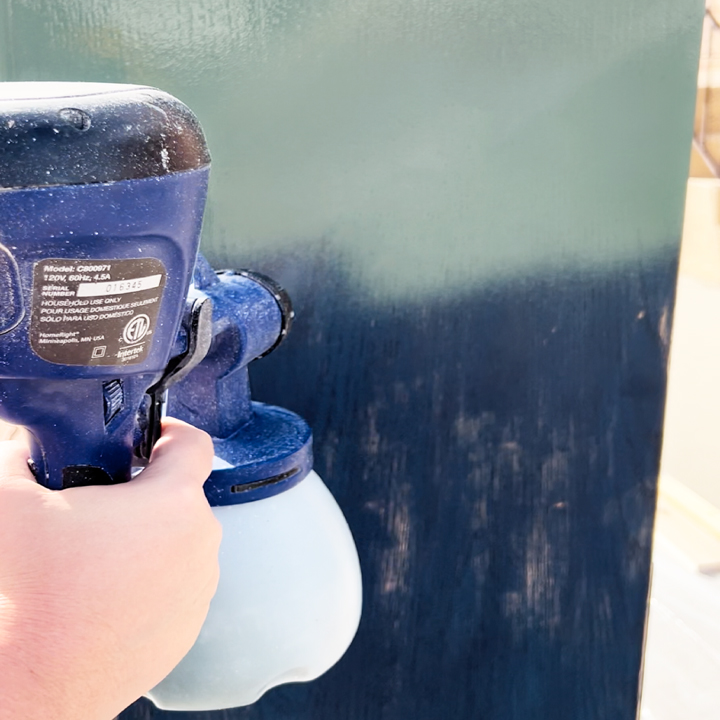
I added the paint to my Super Finish Max and slightly watered it down, making sure to mix the water in well. I always test it out on a piece of cardboard before spraying on the furniture so I adjust the spray to right where I want it. It is better to do multiple thin coats of paint instead of one or two thick coats.
Step 5
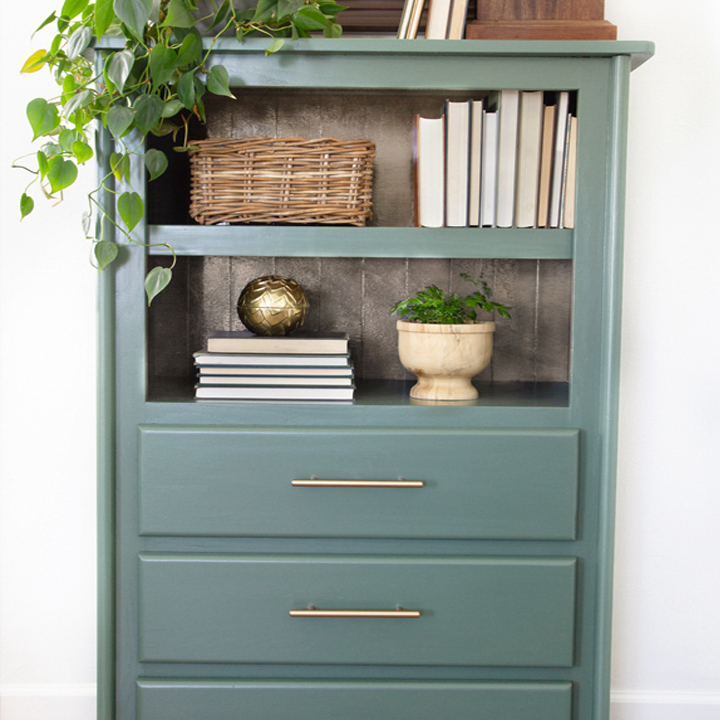
Once the armoire and its drawers were all painted and it had dried, I moved it inside. It had such a smooth finish! I love paint sprayers for that reason. Not only are they QUICK, but they give the best finish. So professional!
I added new drawer pulls and a back to the top portion. I am really happy with how it turned out!
Thanks for checking out this project! Head over to Not Just a Housewife to see the full blog post.
Download project steps & shopping list
We'll never share your email with anyone else.