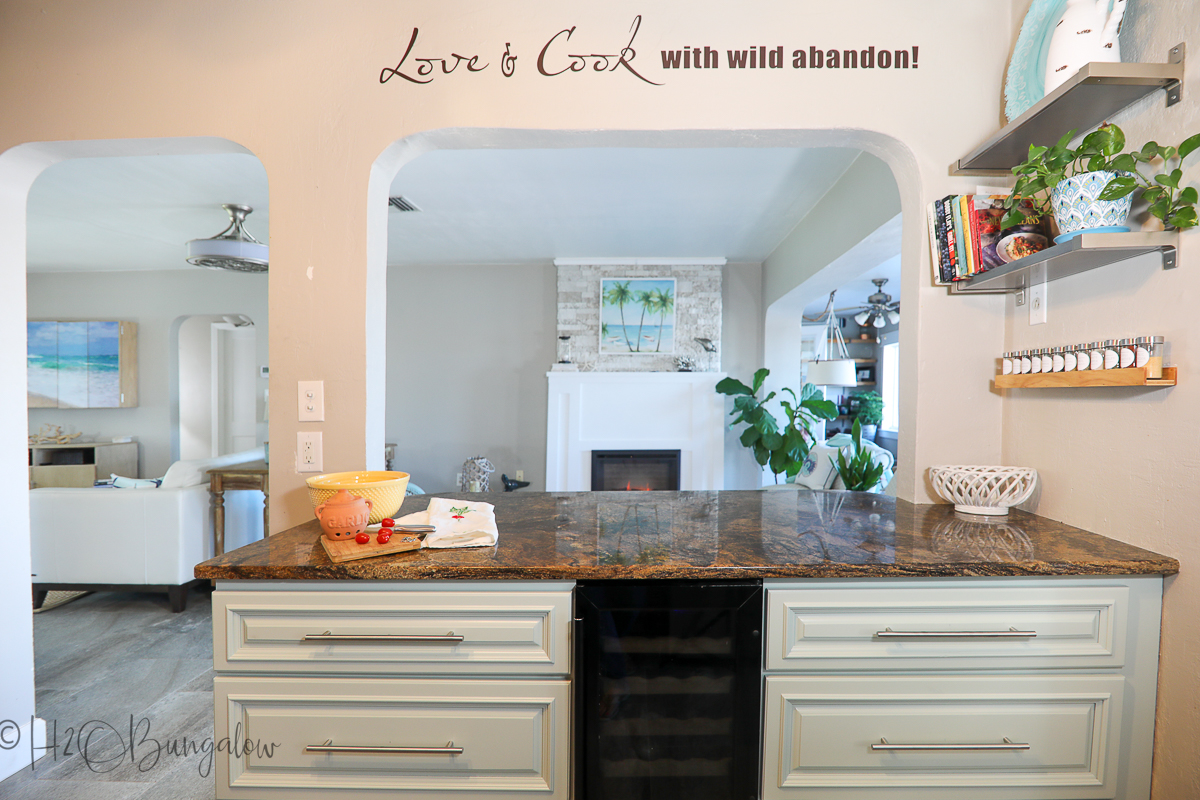
Kitchen Island Makeover with a Paint Sprayer
Learn how to paint and update a kitchen island using a HomeRight paint sprayer to receive a super smooth finish.
Hi I’m Wendi from H2OBungalow.com. Today, I'll show you how to makeover a kitchen island by giving it a fresh new color and adding a little trim. Because seeing is so much easier than just reading about it, I’ve made an informative video tutorial covering all of the steps in detail which you can see below too. If you’d also like to read written in-depth instructions you can find them on my website in my post on this project.
Supplies needed to makeover a kitchen island.
- HomeRight Super Finish Max Paint Sprayer
- Extra Paint Container
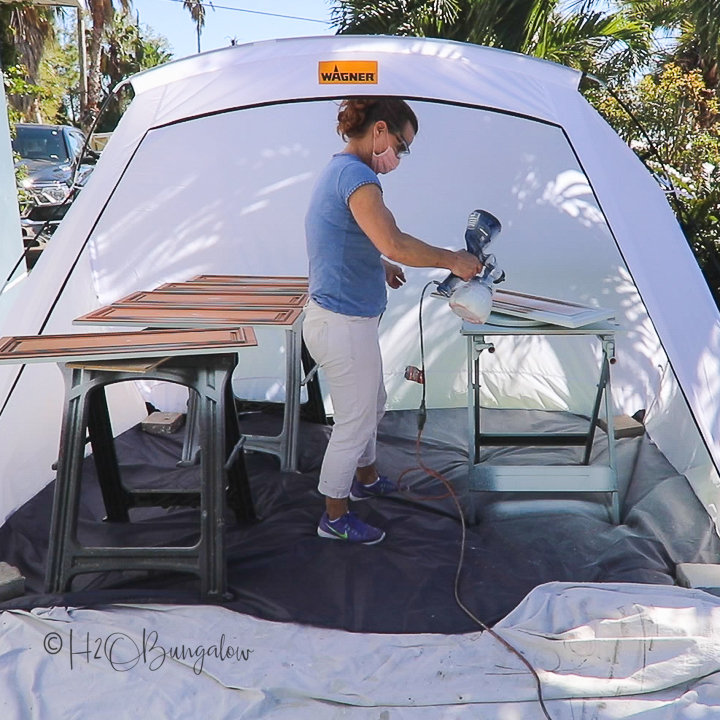
- Wagner Large Paint Shelter
- 2” Paint Brush
- 4” Foam Roller and Tray
- Fabric Drop cloths, Masking Paper
- Painters Tape
- Paint – Urethane Alkyd paint
- Tack Cloth and Painter’s Rags
- Sanding block
- Sander, 150 grit paper
- Simple Green
- Rubber Stick on Drawer Bumpers
- Eye Protection
- Respirator
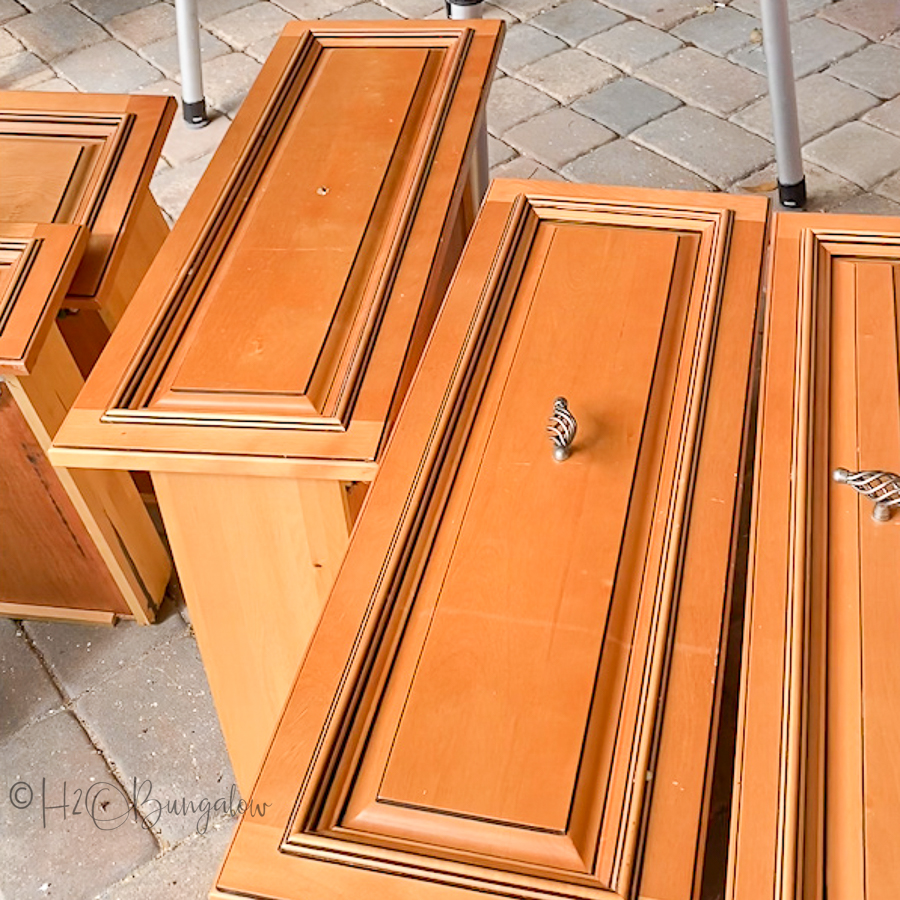
Step 1
Remove the doors and drawers from the island. Take off all of the hardware and place it in a container for later. If the drawer fronts come off of the drawer boxes, remove them too.
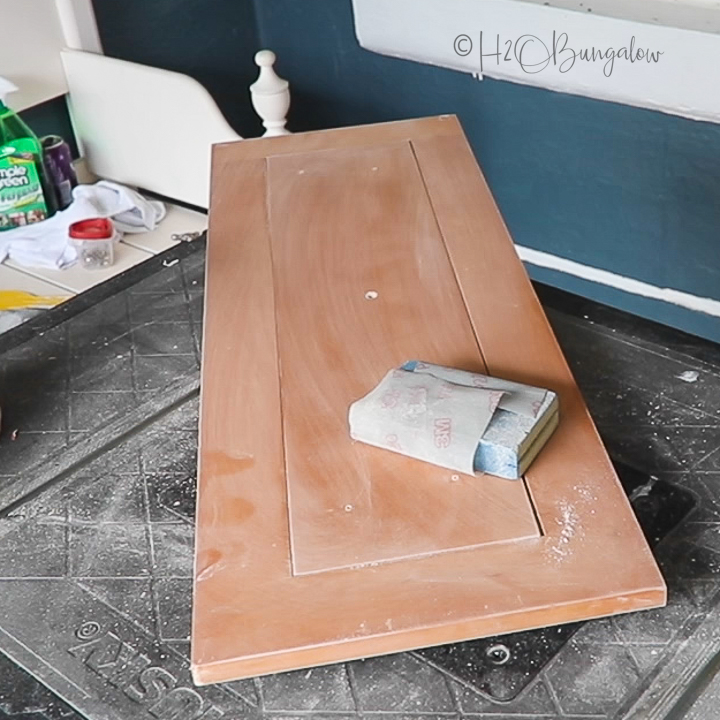
Step 2
Sand and prepare the surfaces to paint. Fill holes. Use an orbital sander and 150 grit sandpaper to lightly sand any surface that will be painted. Wrap a sanding sponge with the same grit to get into crevices and small spaces. Do this for the island base and the drawers and doors.
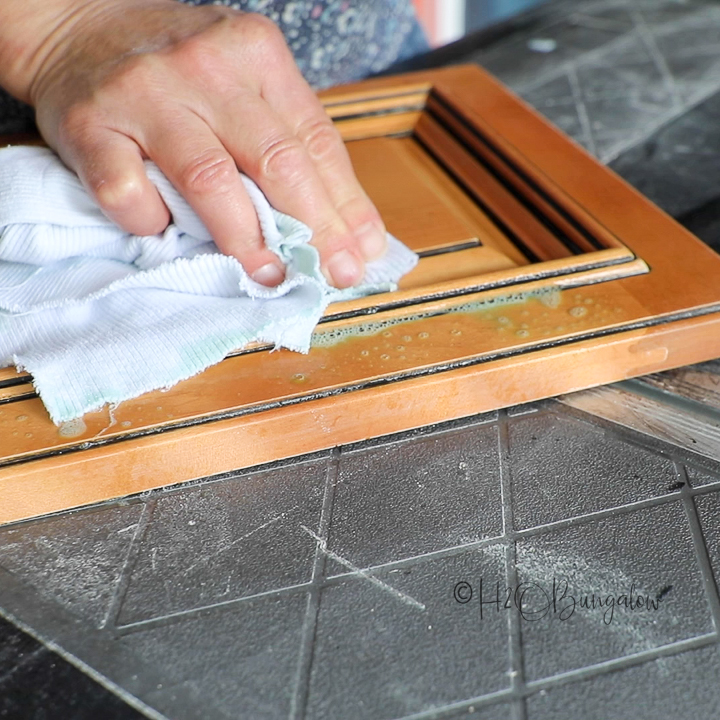
Step 3
Next, thoroughly clean all the surfaces with Simple Green and painter’s rags. Simple Green is a good deglosser and you won’t need to rinse off the wood after. Spray and wipe as many times as needed to be sure all grease, food and any dirt is completely removed before painting!
Wipe everything well with a clean painter’s rag followed by a tack cloth to remove the dust from sanding.
Step 4
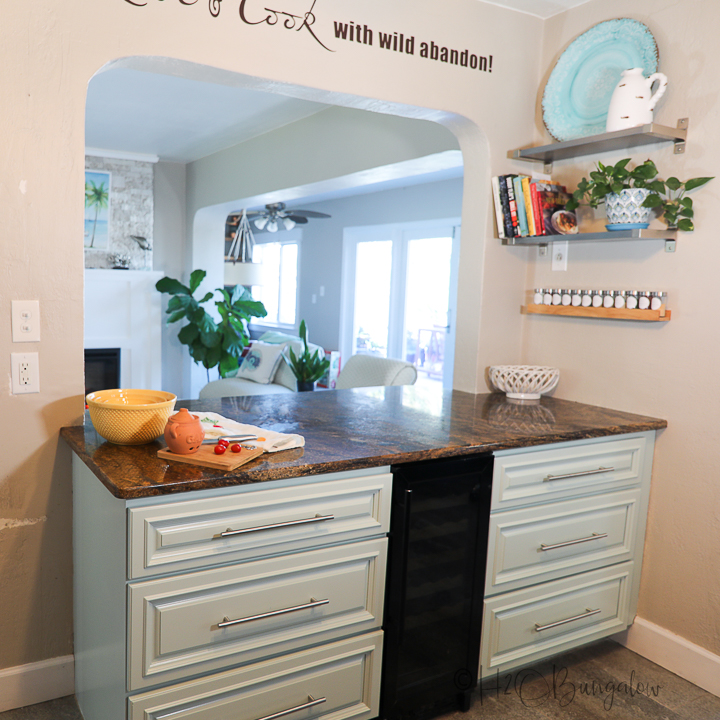
Apply two to three coats of water-based Urethane Alkyd paint to each side of the drawers, doors and the island base.
I used my Super Finish Max Paint Sprayer to get a professional quality flawless finish on the doors and drawers allowing each coat to dry before adding another coat. I applied the paint top the island base by hand, first cutting in the edges and then rolling the rest on with a 4” foam roller.
Step 5
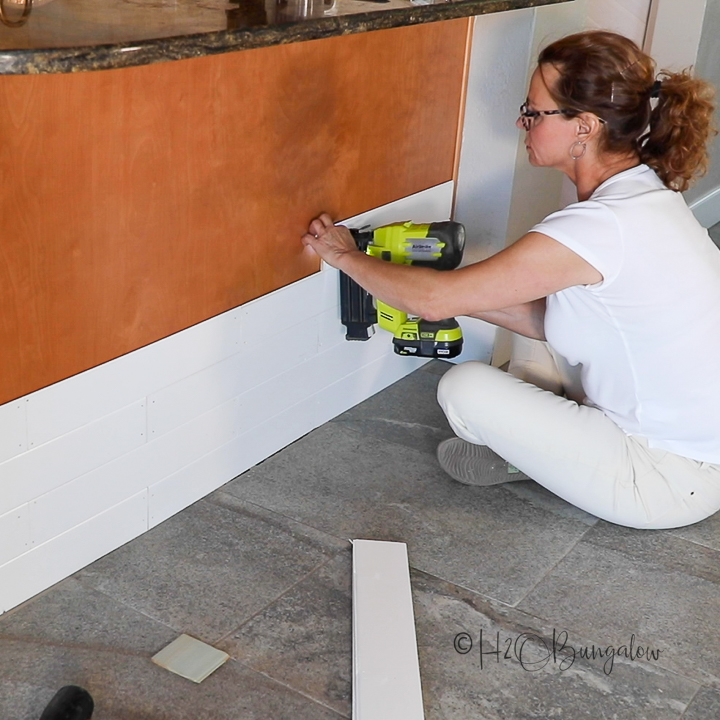
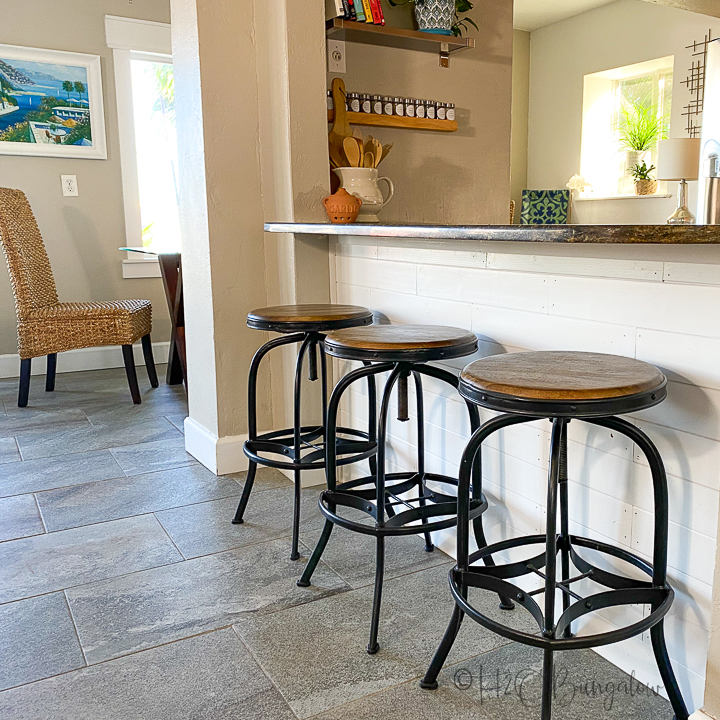
To brighten up the front of the island I added ¼” tongue and groove wood to the front where we have stools. I gave the wood two coats of white paint in a semi-gloss finish with my Super Finish Max paint sprayer.
Starting at the bottom of the wall next to the floor, the wood was attached with ¾” brad nails to the front of the island. I used lattice trim to cover the edges at the wall and just under the bar top.
Step 6
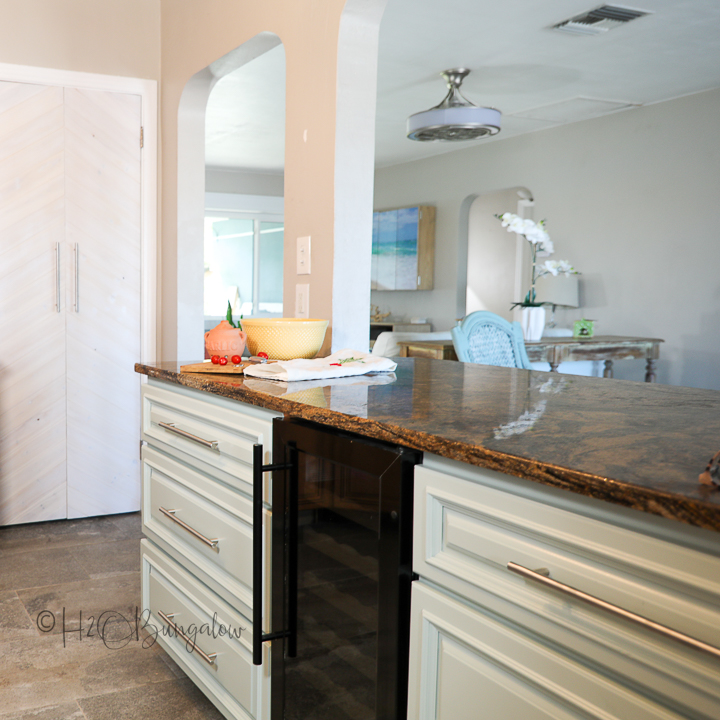
Add new drawer pulls. Changing the old drawer pulls for satin bar pulls updated the style of my island.
Step 7
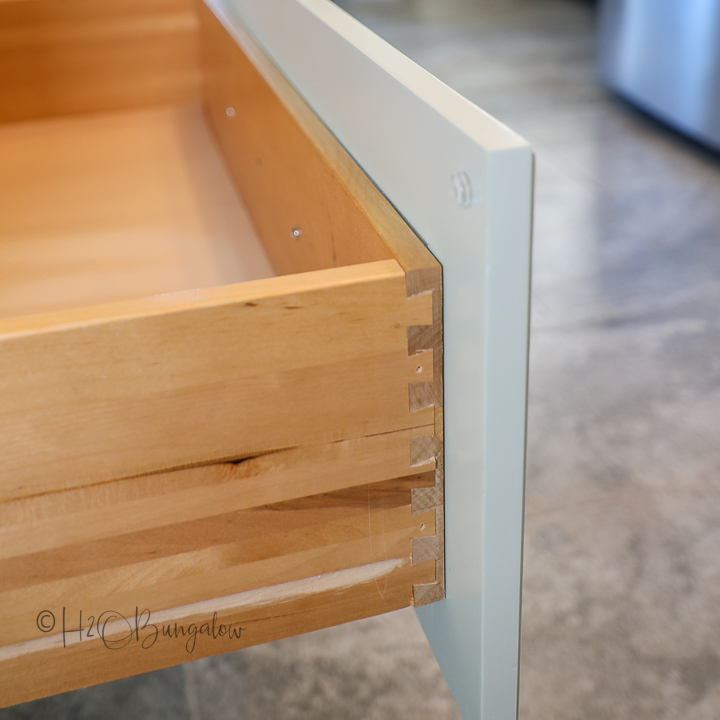
The last step was to put the drawers back into the island adding new rubber bumpers to the top of each drawer will the paint last longer and the drawers will close quietly.
Looking for more DIY projects to use your HomeRight products on? You’ll find lots of different types of home decor and home improvement project tutorials using a HomeRight Super Finish Max paint sprayer on my blog at H2OBungalow.com.
This sponsored post was created by H2O Bungalow.
Download project steps & shopping list
We'll never share your email with anyone else.