How to Paint Adirondack Chairs
Learn how to repaint wooden adirondack chairs to have the finish last all season long. Use the HomeRight Super Finish Max for quick application.
Painting Adirondack chairs doesn’t have to be scary or overwhelming! Even though there are a lot of parts, pieces and corners in chairs like this, using a paint sprayer can make quick work out of painting, or re-painting cute wood Adirondack chairs to match your home style, outside décor, or even to refresh them for the seasons!
Painting Adirondack chairs has never been easier! You can do this with chairs you already have, or snag these cute folding, wood Adirondack chairs from Amazon like I did.
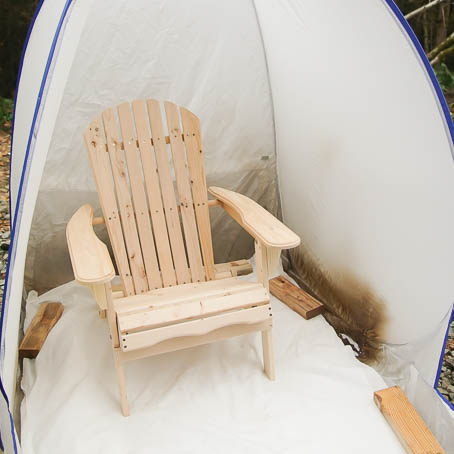
If you purchase the same chairs I did, you will need to begin by putting them together. They assemble pretty quickly, but a second set of hands is really helpful.
If you are re-painting wood Adirondack chairs you already have, you will want to sand them down a bit prior to painting. You do not need to remove all the paint or stain, but you will want to remove the top coating so that they paint will stick.
Be sure to wipe off the sawdust after you sand your chairs.
Once they are assembled, or sanded and all prepared to go, you can begin to paint them!
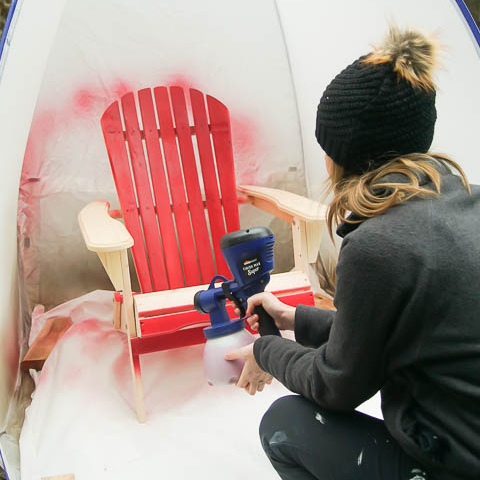
I set up my medium HomeRight Spray Shelter and put a disposable tarp in the bottom of it to help protect my spray shelter bottom. (This is my favorite kind of disposable tarp to use when painting)
The best part about using this spray shelter is that even though it was a tiny bit rainy here while I was finishing painting these chairs, my spray shelter protected them from the rain and wind while also protecting my cars and other surrounding items from paint overspray!
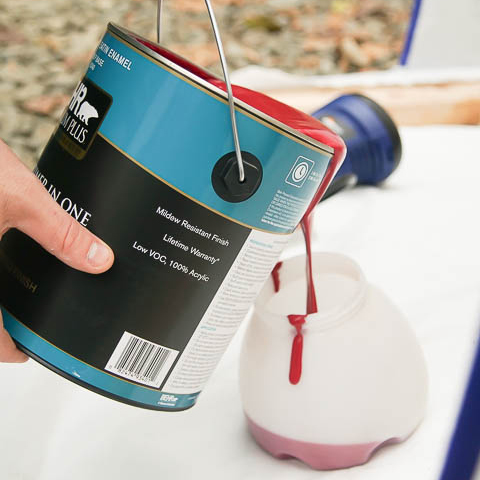
I simply stirred my semi-glass outdoor paint and poured it into my HomeRight Super Finish Max Paint Sprayer. I put the correct tip on and got ready to paint.
Because these Adirondack chairs came as raw wood, I did not need to sand or prep my chairs in any way, I just sprayed them!
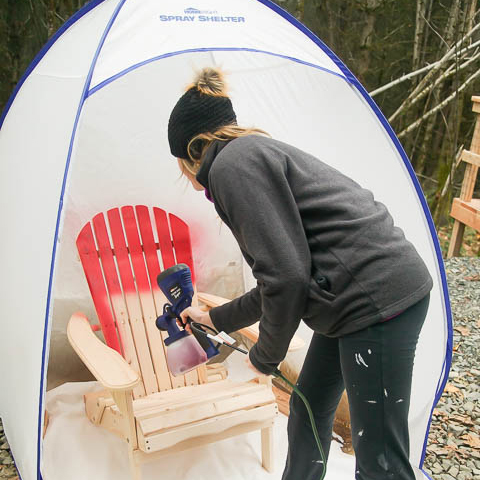
But because I chose to paint them red, I did need to use two coats of paint.
I turned and flipped and painted my chairs until I was able to paint them from every angle and get every spot covered. And then did it again for coat number two.
I did not spray a topcoat on my chairs because I choose a semi-gloss finish in an exterior paint which provides extra protection. And because I may want to change the color of these at some point, it will make prep for the next painting super easy! But if you want to paint your chairs and not worry about painting them again any time soon, I would add a topcoat to the chairs.
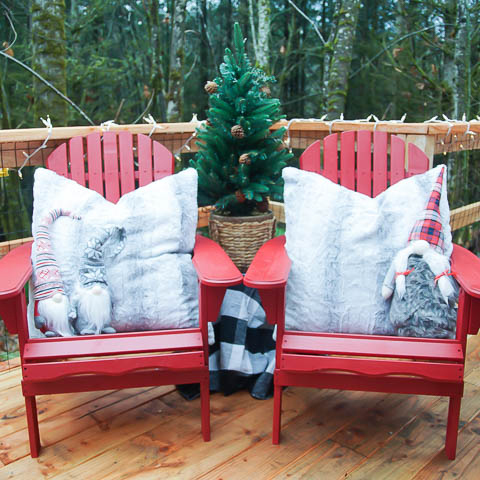
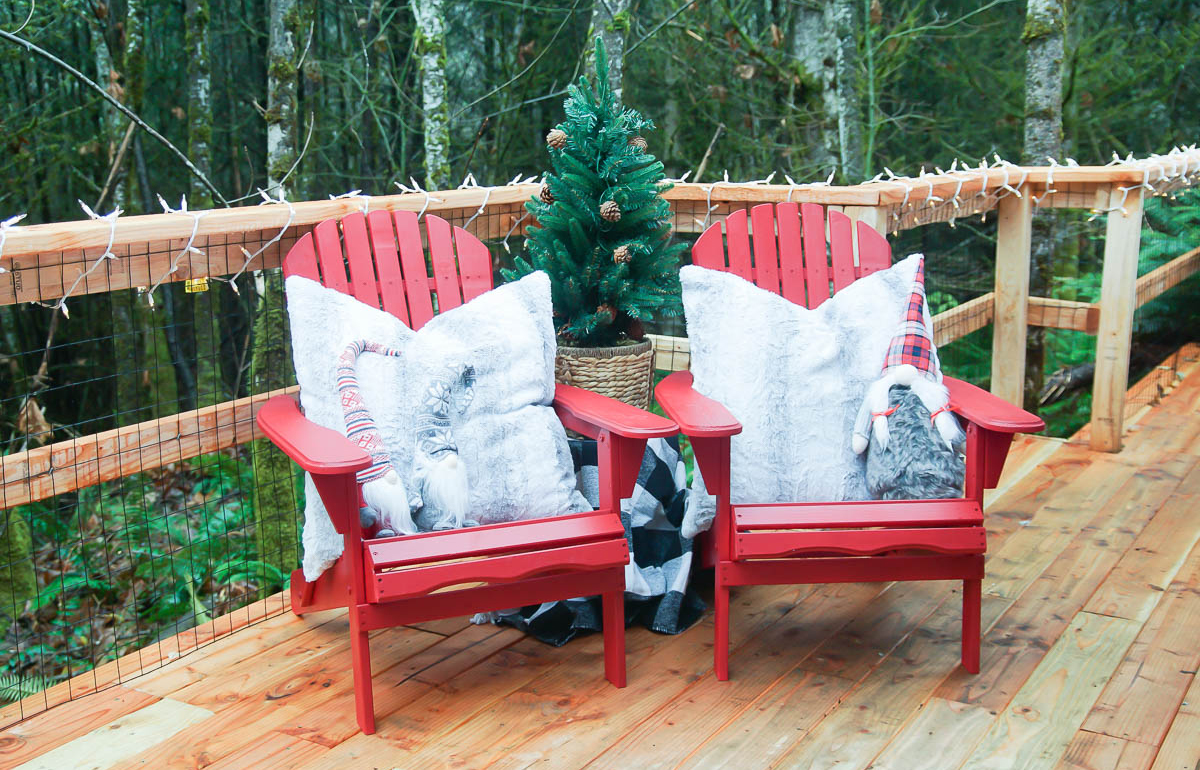
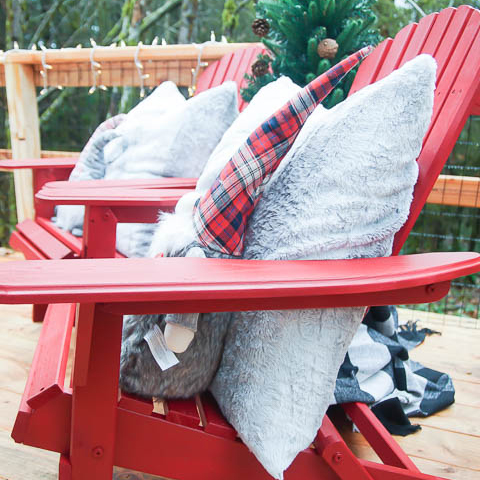
Because I chose to paint my chairs RED and Christmas is right around the corner. I couldn’t resist but add some Christmas lights to our deck, cozy pillows to the chairs, and a small Christmas Tree! Our porch is now feeling so festive and ready for the holidays. And I absolutely LOVE sitting out here and enjoying nature with a warm cup of hot cocoa.
This sponsored post was created by Simply Designing. You can learn more about these chairs and see more photos of my holiday porch over on my blog, Simply Designing

Download project steps & shopping list
We'll never share your email with anyone else.