How to Paint Vinyl Shutters and a Front Door
You can completely transform the look of a house by painting your vinyl shutters and front door. Whether your shutters and door are showing signs of fading and wear, or you simply want a new or updated look, paint can transform how your home looks simply and inexpensively.
Materials Needed:
- Super Finish Max
- Large Spray Shelter
- Power Washer
- Exterior Acrylic Latex Paint + Primer
- Paint Tarps
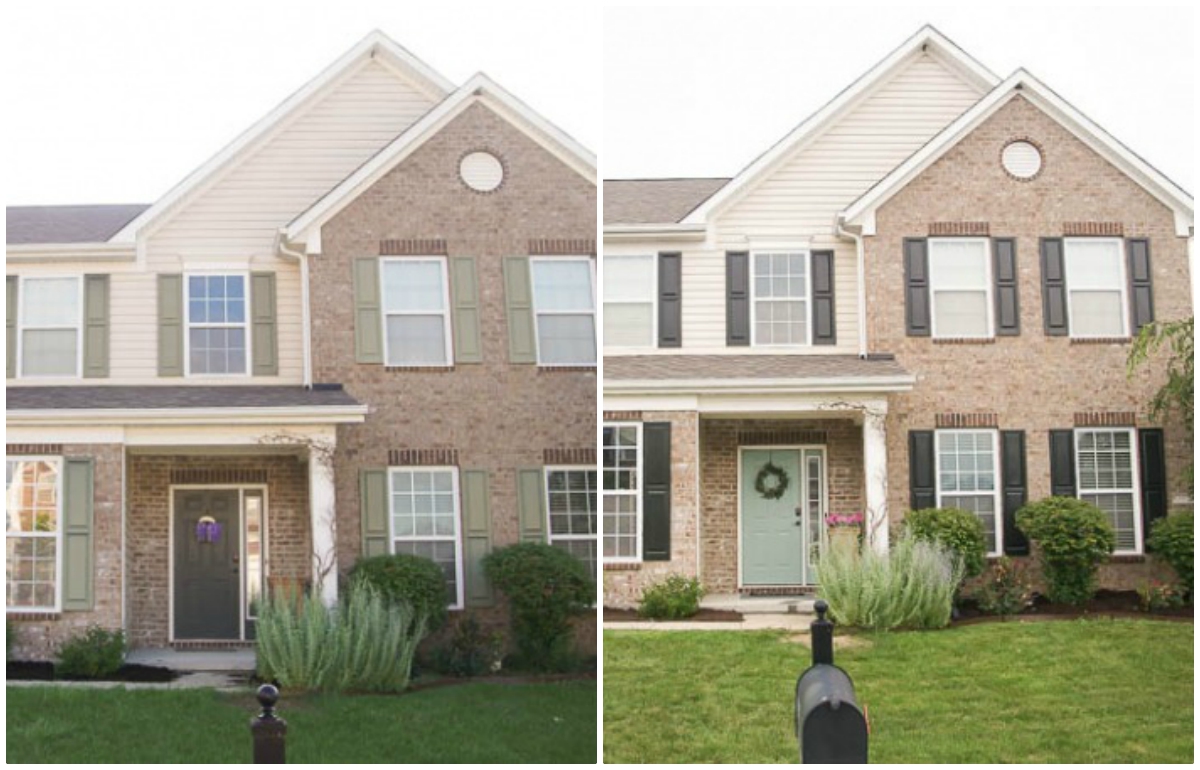
BEFORE:

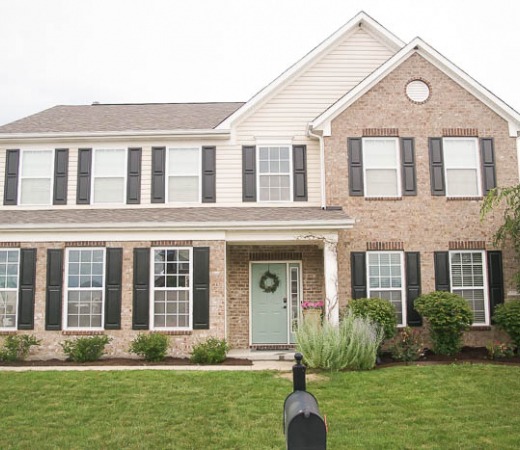
AFTER:
Project Steps:
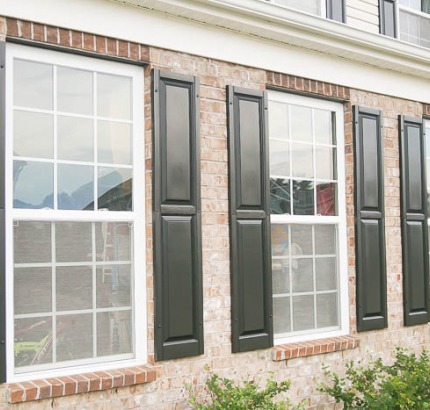
After living in our home for nearly 8 years, the shutters were faded, worn and dingy looking. So was our front door. The color was out of style and made our home look dated. So with a bit of time and paint, we were able to completely transform the exterior of our home by spray painting our shutters and front door. And the results make me so incredibly happy!

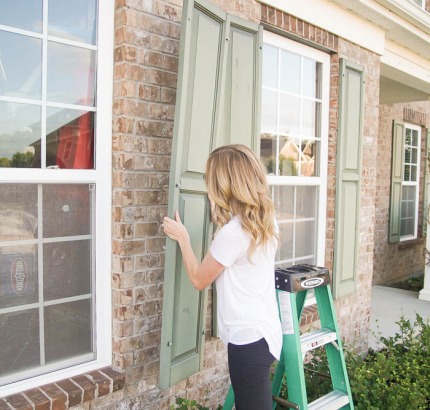
STEP 1:
You will want to begin by removing the shutters from your home.
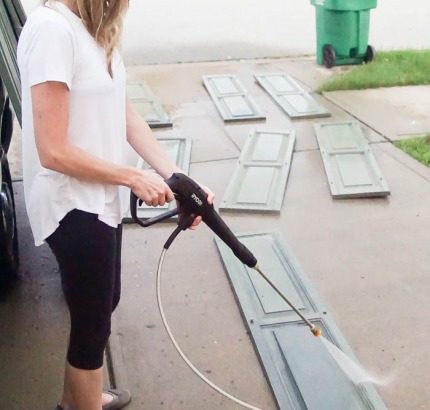
STEP 2:
Next, use a power sprayer to clean the shutters and then let them dry completely.
STEP 3:
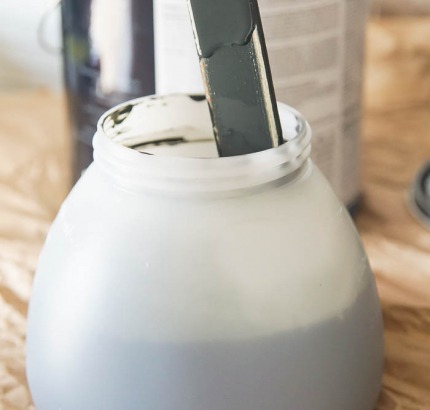
You will then thin your paint/primer according to manufacturer instructions. The exterior paint we purchased was a paint and primer in one, so we did not use a separate primer for this project. But if your paint doesn't contain a primer, you will want to prime your shutters first.
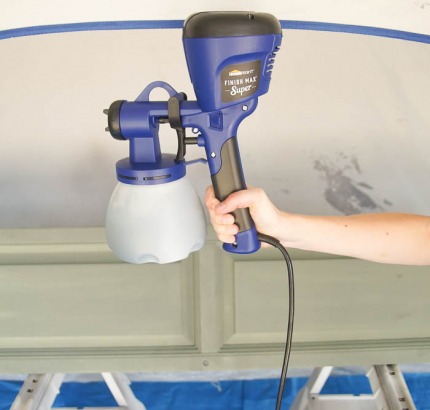
Place the thinned paint into the Super Finish Max Extra paint container and use the proper tip according to the type of project you are doing and paint you are using (see manual for further detail on this.)
STEP 4:
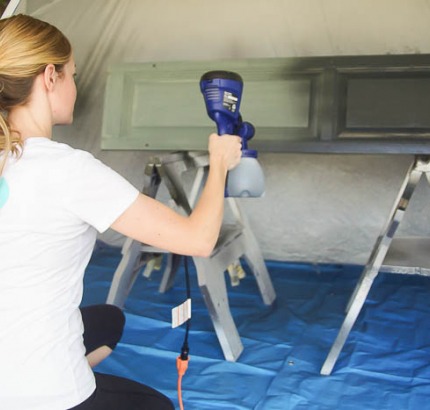
We decided to paint our shutters in our ventilated garage because it was so hot outside and our garage was shaded and a bit cooler. So we set up our HomeRight Spray Shelter and covered the ground with paint tarps to protect everything.
STEP 5:
Using long strokes, use the paint sprayer to lightly paint the shutters with one coat of paint and then let it dry completely.
I love using the Super Finish Max Extra for this project because there is less thinning needed and it can handle a wide variety of projects, paints and stains. You can use oil or water based products making this paint sprayer so versatile! And the paint container is a nice size so we were able to paint quite a few shutters before needing to refill it!
After the shutters were dry, we applied a second coat of paint. Then we let them dry completely.
STEP 6:
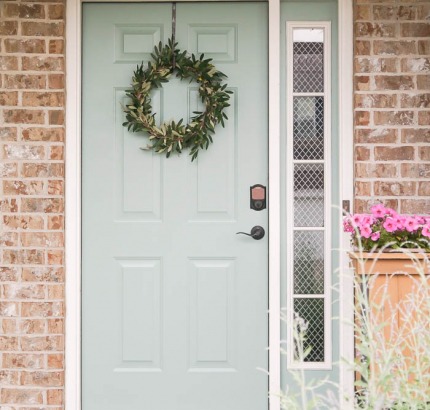
While we were waiting for our shutters to dry, we changed the paint color, removed our front door from it's frame and decided to brighten our door up a bit too!
Our door used to be a depressing shade of green.
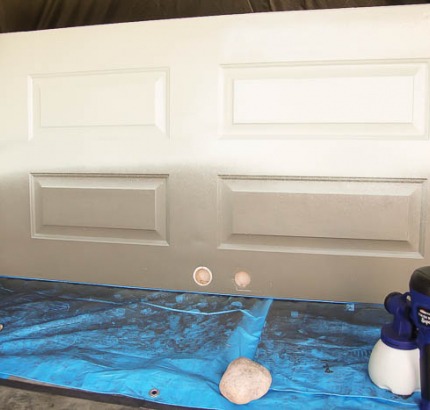
STEP 7:
But with two coats of paint, it is bright, beautiful and oh-so-happy! Seriously, every time I see my door it makes me so happy! (That's totally normal...right?!)
STEP 8:
After the paint on the shutters was completely set, we installed them back onto our home. Thank you to my husband who climbed up the tall ladder and installed the shutters on the second story. Eek! Tall ladders freak me out!
And then we installed the door back in place too.
STEP 9:
It's amazing how a fresh coat of paint can completely update the exterior of a home and make it feel so much more welcoming. I just love how it all turned out.
If you want to see more details about the type of paint we used and more details about this project, please come and check out on my post about it on my Simply Designing blog HERE.
Download project steps & shopping list
We'll never share your email with anyone else.