Repurposed Desk
Bored of your current furniture or decor? Give your home new life by painting and upcycling the furniture you already have using a HomeRight sprayer.
Do you ever fall into a rut in your home? Maybe we can get bored with our décor or tired of seeing the same things over and over. Instead of doing a remodel, must create a happy place instead. The best part is that you don’t need to break the bank. I’m taking this repurposed desk along with an assortment of thrifted finds to create a spot to make me smile.
Step 1
Thrift stores, yard sales, and even the curb can provide us with so much material for creating. It’s amazing! The catch is to have vision. Take this vintage desk I spied, for instance. It’s solid wood, in relatively good shape, and has unique design. I didn’t need a desk, but I was looking for a console table. This is perfect for what I’m after.

Step 2
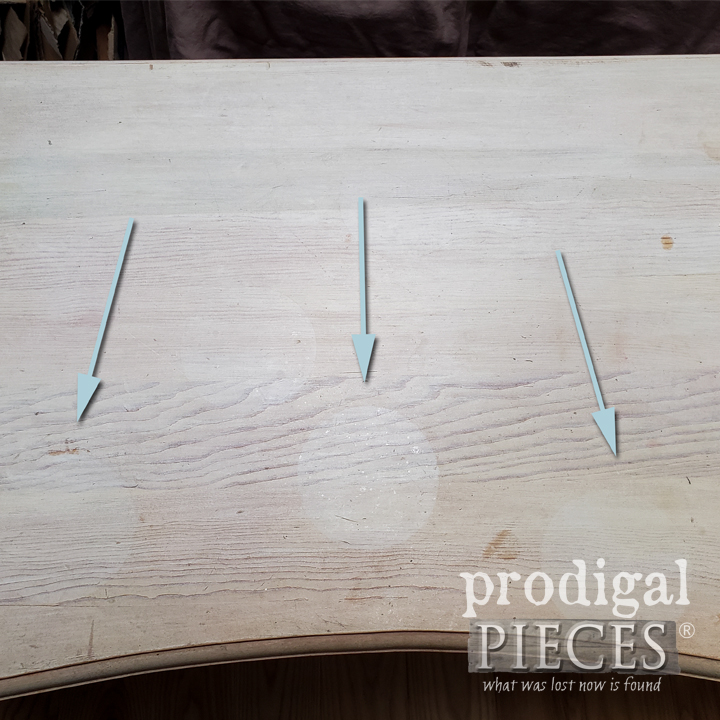
First, I take note of any repairs or fixes that need done. The only thing I notice are these circles that seemed to have come from candles or jars. No worries there about bleed through, so I just wipe everything down with a vinegar/water mixture to remove any residue. If I was concerned about the stains bleeding through paint or being soaked into the wood, I would need to use a stain blocking primer.
Step 3
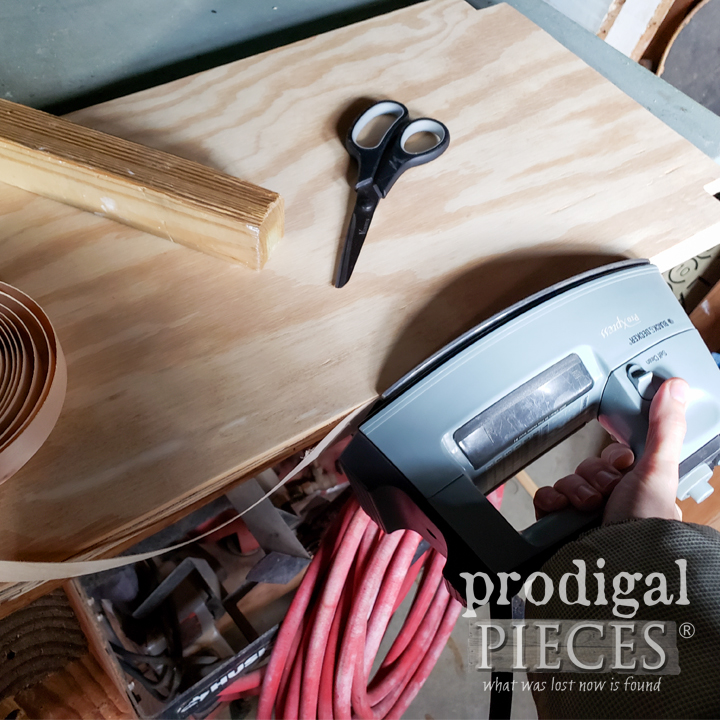
Then, before I move onto paint, I want to add a bottom shelf using scrap wood I have in my stash. ¾” plywood cut to size fits the bill. I notch out spots to go around the legs, and then use my Kreg Jig to add pocket holes. Before I attach my shelf, I iron on a strip of veneer to give it a nice finished look. Just iron on, then trim and sand as needed.
Step 4
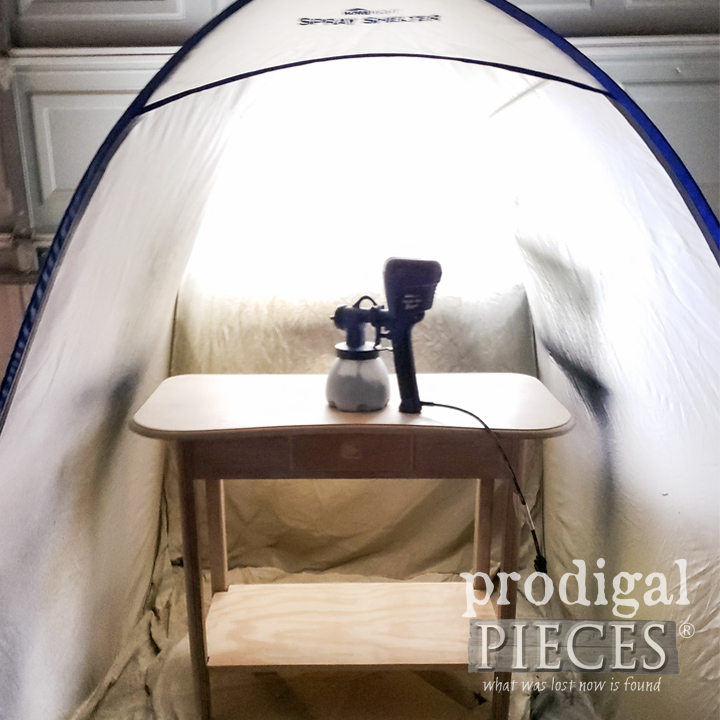
Next, it’s time for paint. I bring out my DIY Furniture Turn Table (see my tutorial HERE), my Medium HomeRight Spray Shelter , and my Super Finish Max Extra Sprayer . Talk about a blessing to have these tools. The shelters come in 3 sizes. So handy, portable, and tuck away into a small package for storage afterwards.
Step 5
I follow the instructions to fill the canister with slightly thinned paint. You can see my video tutorial how to set it up HERE.. For this project, I’m using a fun electric kinda blue latex (a seconds paint I found) in an satin finish. Before beginning to paint I set my flow settings set by practicing on a piece of cardboard or scrap wood. Then, it’s game on. woot!
Within 5 minutes I have one coat of paint on and I’m done with this step. The best part is cleanup is easy and done in the same amount of time as well.

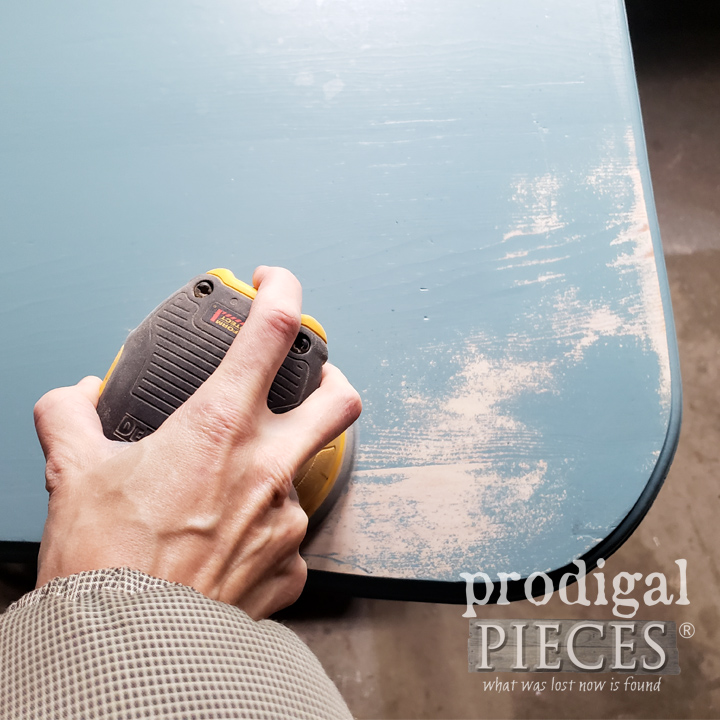
Step 6
Before I call my table finished, I first want to add a texture and depth to it. I use my sander to distress it all over making sure to let the grain kinda peek through. The original whitewash is also something I want to use to my advantage to create layers. Now this repurposed desk into console table has a story to tell.
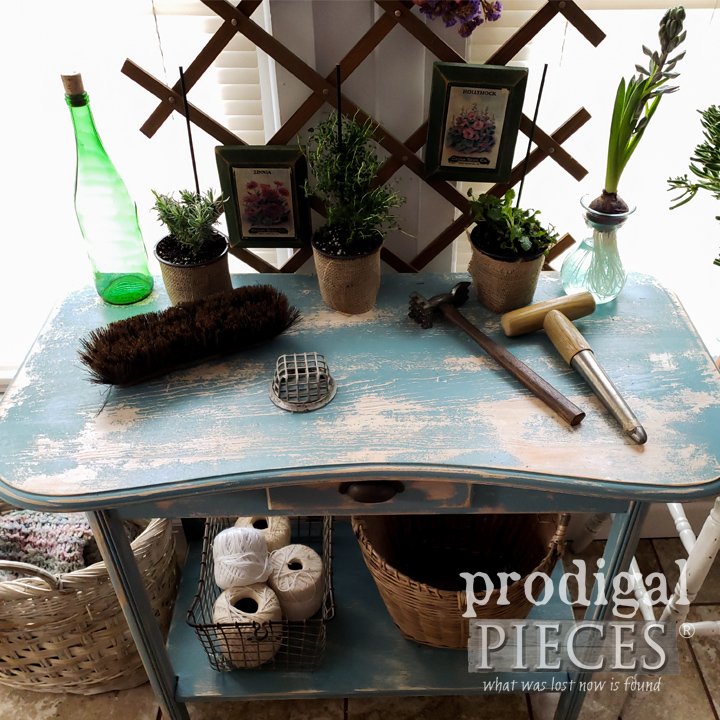
Step 7
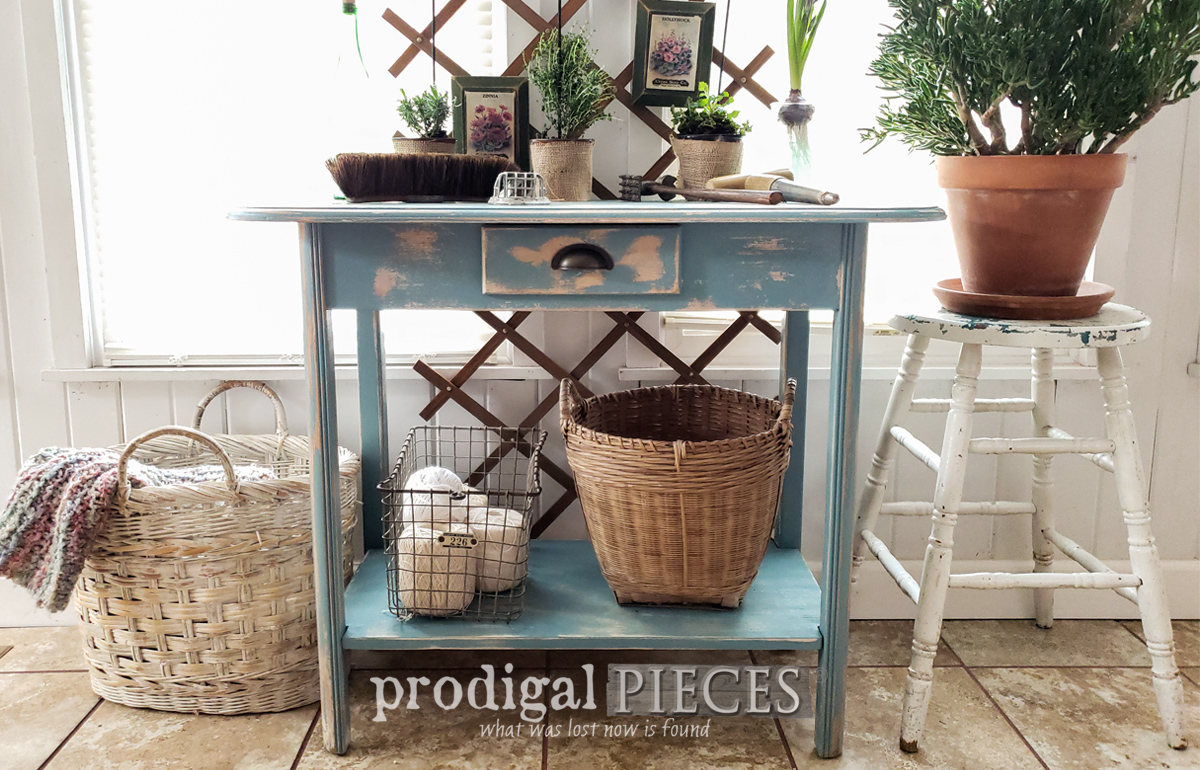
Once I finish painting and distressing, I change up the hardware using my hardware jig and adding a new bin pull. My table is now complete and ready to be set up in my newly created happy place. Each item in this picture came from the thrift store or my garden. I’m a sucker for blooms and all things gardening, so this is definitely a bright spot on gray days. Isn’t that distressed blue pretty?
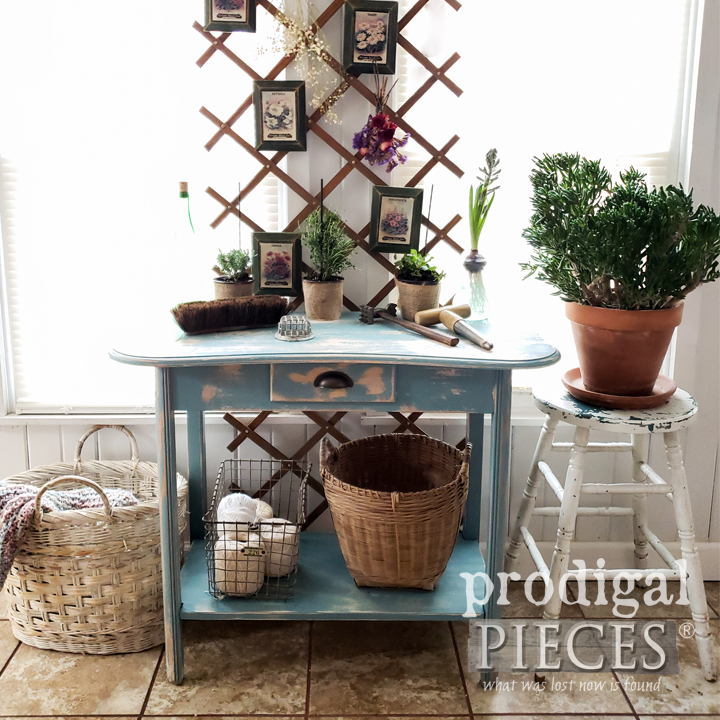
Step 8
Finally, I’ve created a new space in my home for my family to enjoy. It only took time and a little DIY know-how. Are feeling inspired to tackle your spot in your home? There’s no limit when it comes to reinventing your spaces. Initiative and willing spirit are all that’s required. You can do it!
I invite you to come see my other DIY projects from furniture, to remodeling, sewing, crafting and more at Prodigal Pieces. Until next time!
This sponsored post was created by Prodigal Pieces. Head to the blog for the full post and details.
Download project steps & shopping list
We'll never share your email with anyone else.