
Staining a Dining Room Table
Restore and refinish your dining room table, and apply stain and sealer with the Super Finish Max sprayer!
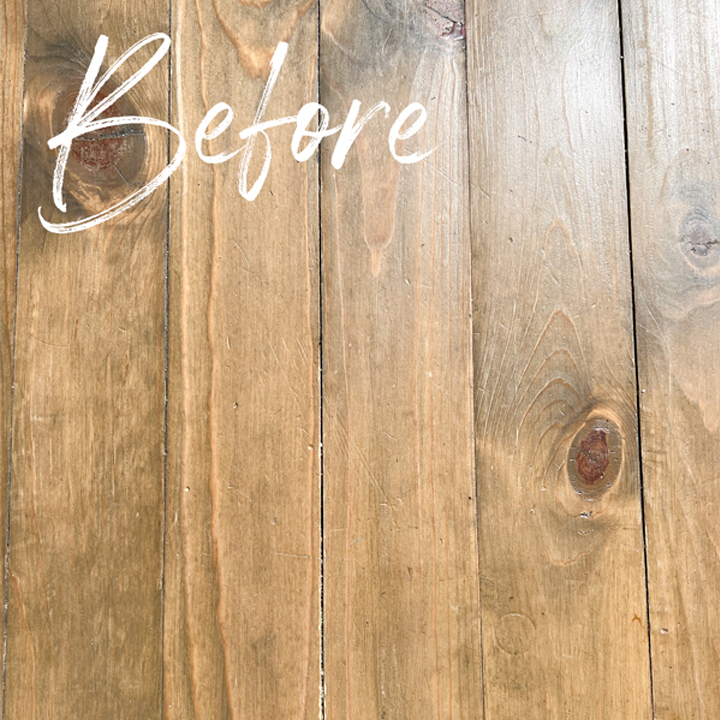
Before
I wanted to refinish my table and bench to match the dutch door in my kitchen. The boards on the table top had water damage and had warped, causing gaps. Now that it is warm outside, I thought this would be the perfect time to do this DIY project. I grabbed my sander and my Super Finish Max and got to work!
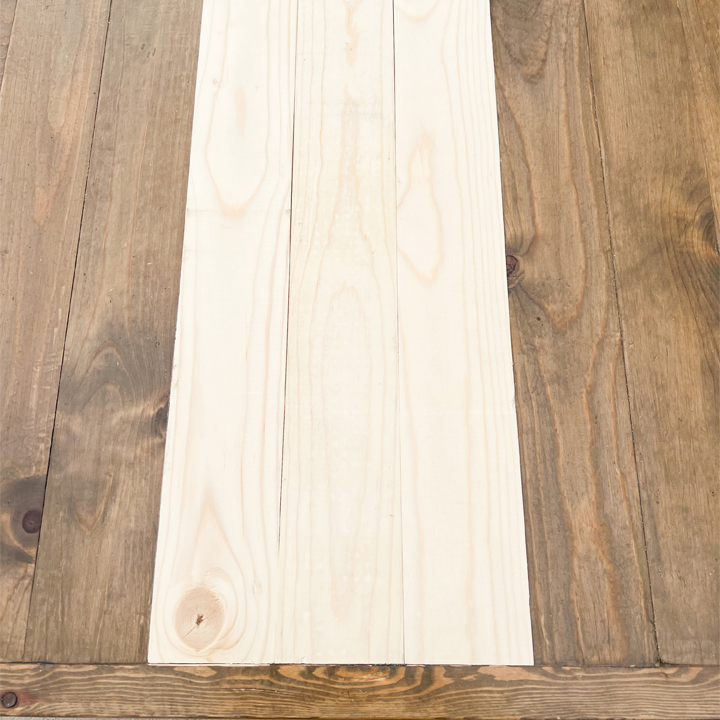
Step 1: Make Repairs
I needed to replace the 3 worst boards. Luckily the boards making up the top were just screwed together on the bottom. It was an easy fix. If your wood furniture piece has dents or scratches, fill them with wood putty. Make sure to use a stainable putty.
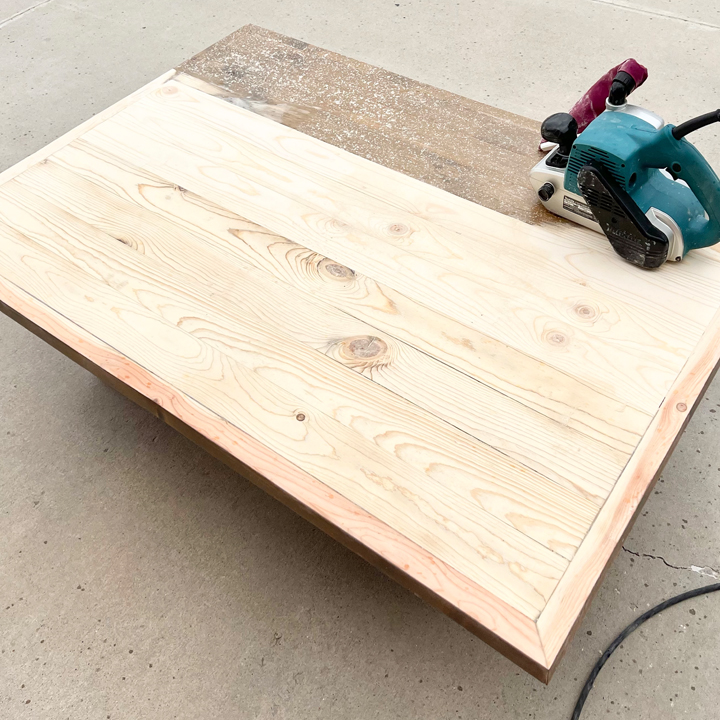
Step 2: Sand
I sanded all the way down to the bare wood. To do this, I started with a heavy grit sandpaper like 80 or 100. Then I moved to a 120 or 150. I like to finish off with a 220 but I hand sand instead of using a sander. Once it has been sanded completely, vacuum up the dust and wipe it down with a damp rag.
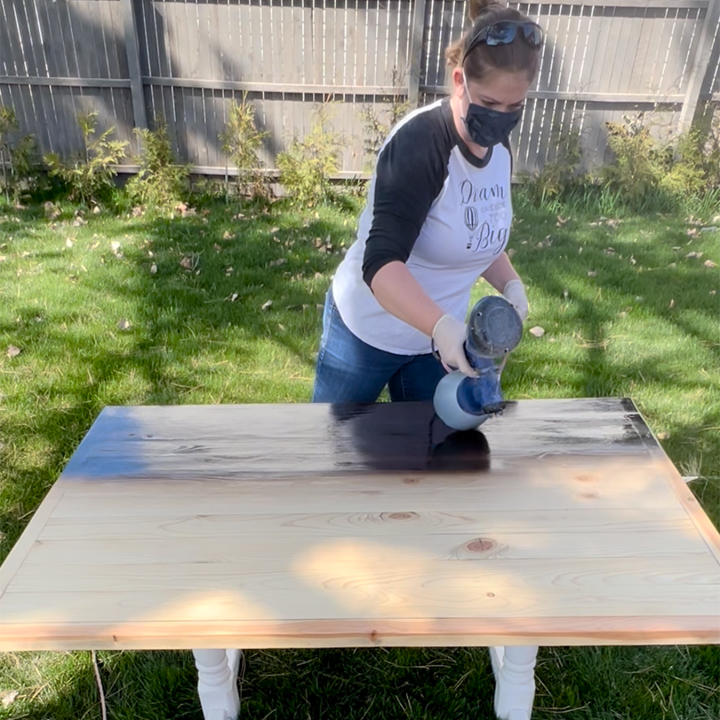
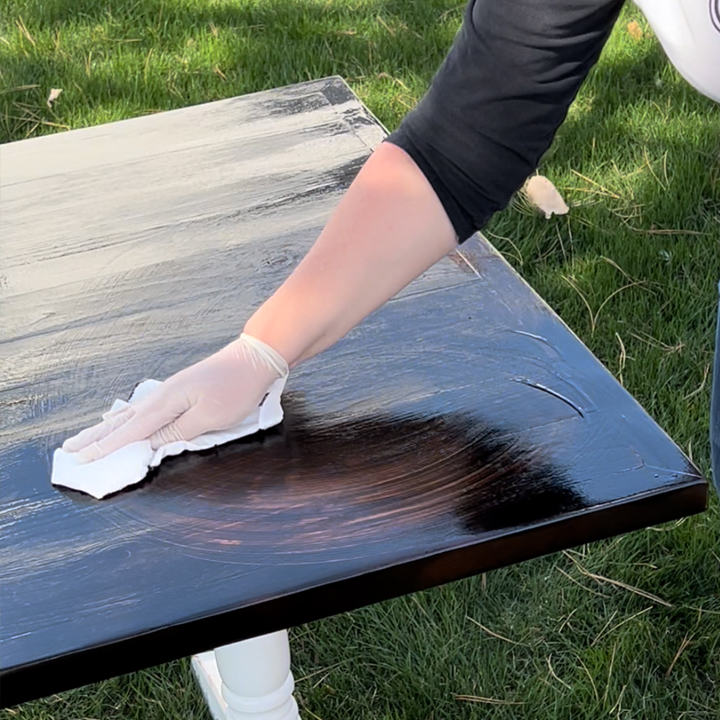
Step 3: Stain
I love using a sprayer to stain! The Super Finish Max has multiple spray tips. For stains and sealers, use the blue spray tip. Use a scrap piece of cardboard or wood to test the spray. Adjust as needed to get a thin spray. Light coats are best. Spray slowly and with even strokes to get uniform coverage.
Allow the wood stain to soak in for 10 minutes (or whatever time it states on the can) before wiping off any excess stain. If you want your furniture piece to be darker, allow the stain to dry and add a second coat.
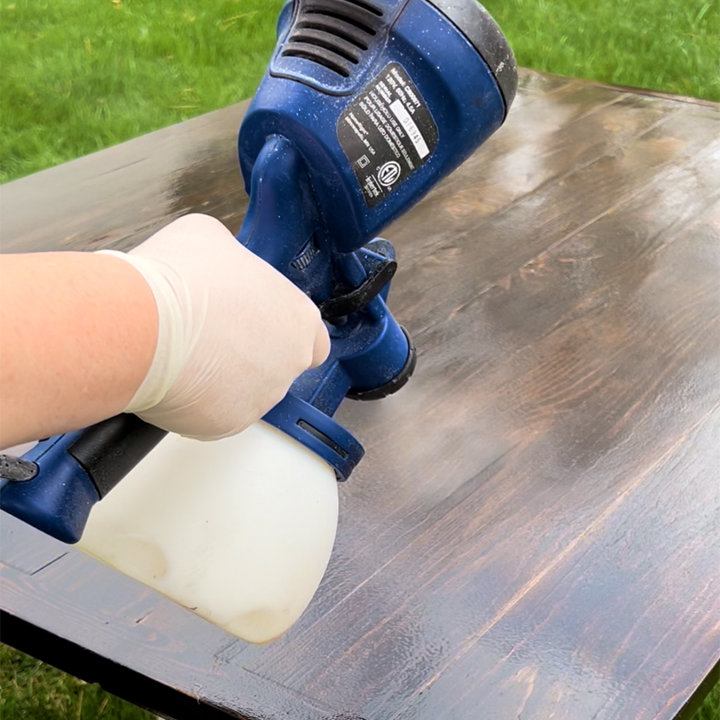
Step 4: Applying Sealer
I shared in previous posts (when I made plate chargers for Thanksgiving and when I refreshed my front door) how easy it is to use a sprayer to apply sealer to wood. I used polyurethane to my kitchen table using my Super Finish Max as well. Just like when you stain, make sure to wear a mask. Eyewear is also a good idea, especially if you are not outside in a well ventilated area.
I adjusted the spray so very little sealer was coming out. You will get a much more professional finish if you are patient and apply thin coats. Using a sprayer means no need to worry about brush strokes!
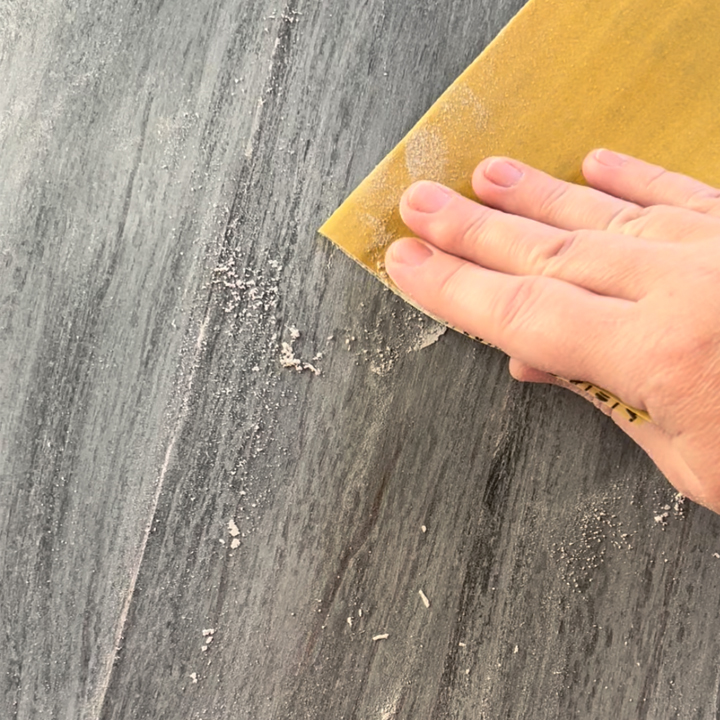
Step 5: Sand In Between Coats
In order for each additional layer of sealer to properly adhere to each other, you need to lightly sand in between each thin coat. I use a fine grit sandpaper (220 grit). The first coat of sealer will sink in and may look uneven. Just like with the first coat of primer or paint, it is okay that it doesn't look perfect. Adding the first coat of sealer may also raise the grain and make the wood feel rough. That is alright too! Sanding helps even and smooth out the first coat. I recommend for something that gets light wear and tear to use at least 2 layers of sealer. If it is something that will get lots of wear, add at least 3 layers.
Step 6: Clean Your Sprayer
When cleaning your sprayer after using an oil based product, make sure to use paint thinner, mineral spirits, or brush cleaner. Wear gloves! I have an old bucket that is designated as my clean up bucket. Clean your sprayer thoroughly. Properly dispose of the cleaner according to the instructions on the container. I like to fill the sprayer part way with the cleaner, plug it in, and run the cleaner through the sprayer to make sure all the parts get clean.
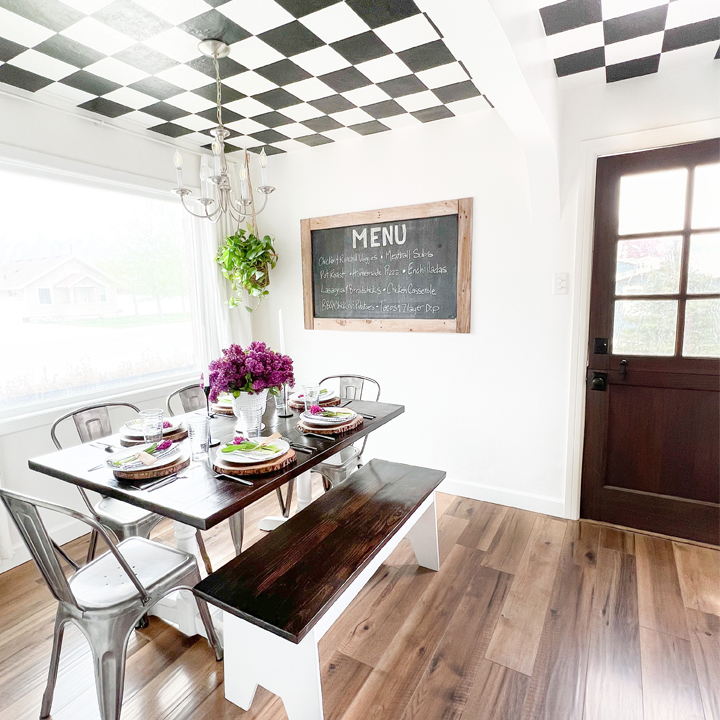
All the work is worth it when you see your newly refinished furniture! Not only do you save money by refinishing instead of buying something new, but you have the satisfaction of a job well done. Head over to Not Just a Housewife to see the full blog post.
Download project steps & shopping list
We'll never share your email with anyone else.