Upcycled Mud Bar
When spring and summer roll around, it’s the perfect time to create for our outdoor spaces. Learn how to create a DIY, upcycled mud bar for your backyard.
When spring and summer roll around, it’s the perfect time to create for our outdoor spaces. The best way to do that is to upcycle! I’m excited to show you a new version of our upcycled mud bar we created for our kids a few years ago. This time around, however, we’re using a sewing machine desk top to start us off. It’s time to grab those tools and build some fun. You can do it!
Step 1
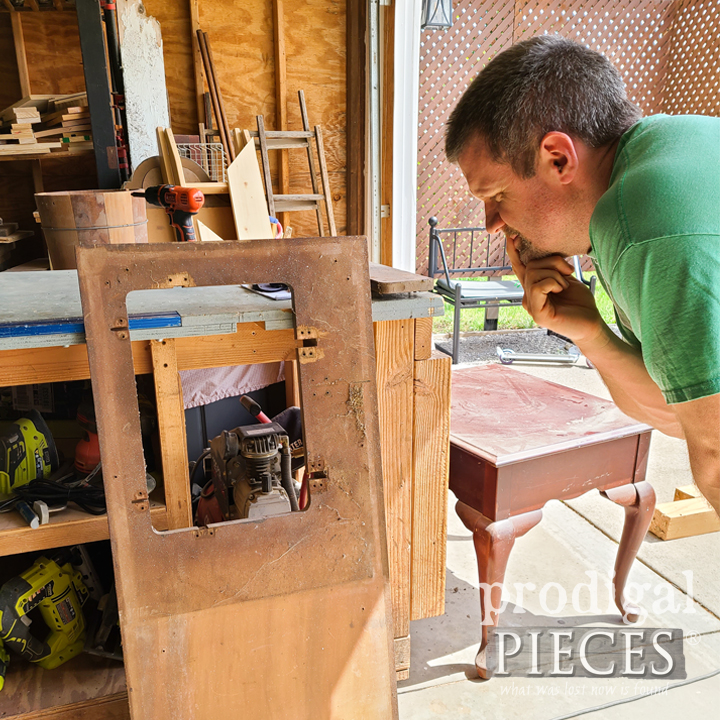
First, I’d like to introduce you to my husband (& partner in DIY), JC. We are always collaborating on projects and this time I wanted to challenge him to try the HomeRight Super Finish Max Sprayer for the very first time. eep! I asked him what he thought this misfit came from and after a few guesses he knew it’s from a sewing desk top. Bravo! As I mentioned, we originally created a mud bar for our kids made from reclaimed lumber found on the curb. You can view it HERE.
Step 2
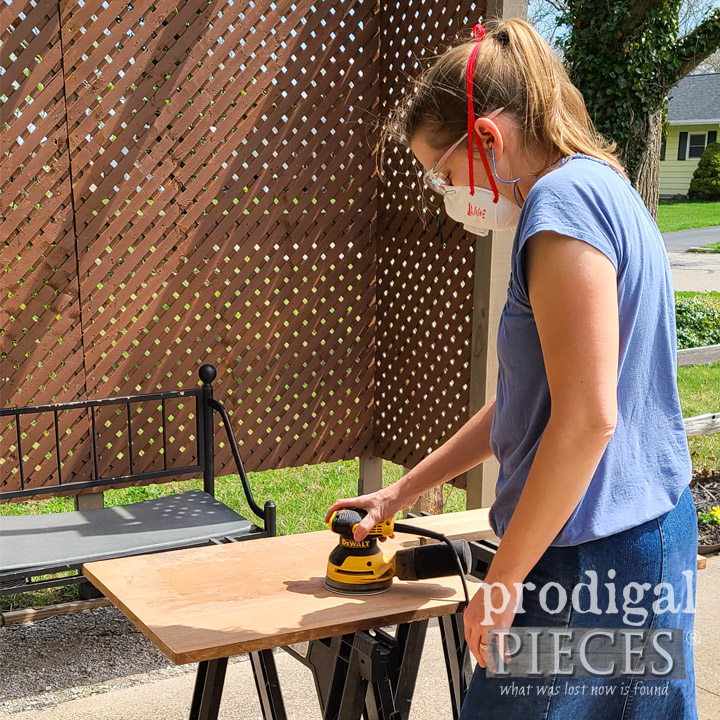
First order of this DIY adventure is to prep the sewing desk top for our build. I use my random orbit sander. It’s pretty flaky, so it comes off in a flash.
Step 3
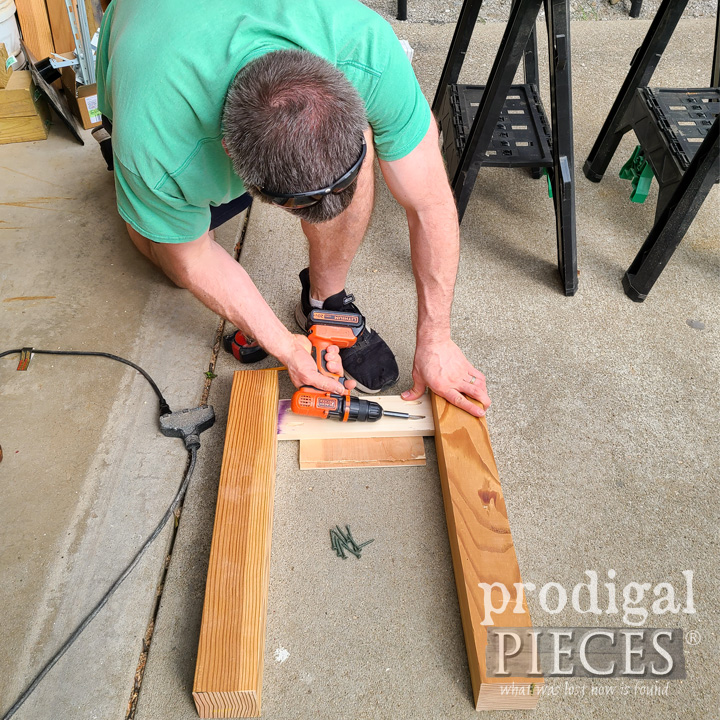
Meanwhile, JC sets out cutting four legs from 4” x 4” pine posts. After that, we cut a 1” x 4” skirt for the top edge and bottoms shelf we have planned. Also, we need 1” x 4” slats for the bottom shelf and 2” x 4” uprights on the back. Both of us tackle this and have it assembled lickety-split using a pocket-hole jig. Yahoo!
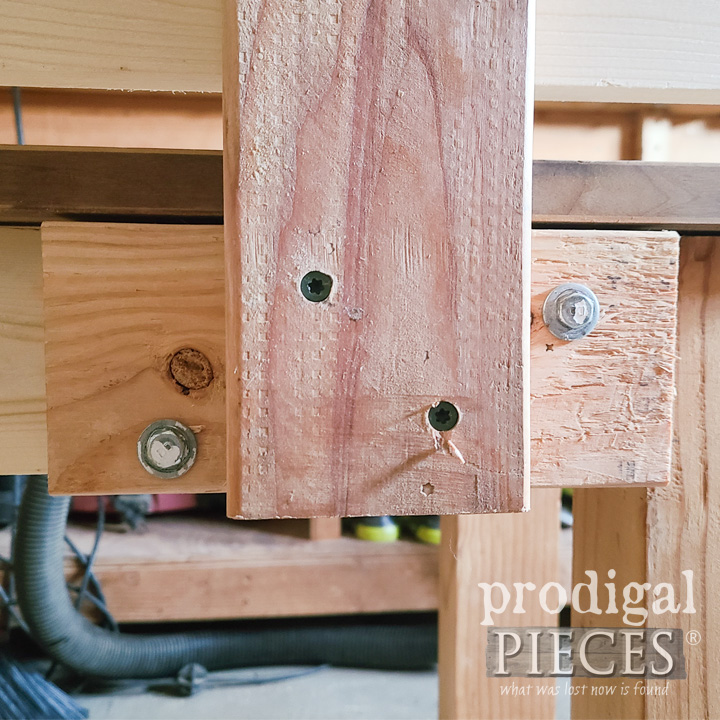
Step 4
Next, we add the uprights. For this, we use two pieces of 2” x 4” lumber attached to the skirt with lag bolts and T-nuts. T-nuts are awesome for anchoring into the wood to keep it sturdy. Then, we attach two 2” x 4” uprights to those first pieces using screws.
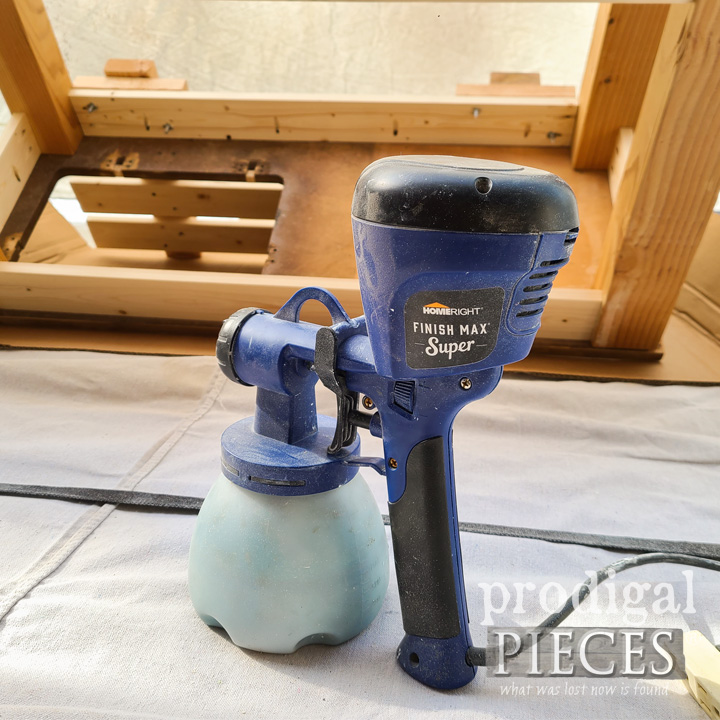
Step 5
Finally, it’s time to have a blast…literally! I just love my sprayers and JC knows it, but he’s never had the chance to attempt a piece of furniture, let alone a build of ours. It’s usually something I handle because I like to. We set up our Large Spray Shelter and the Super Finish Max Sprayer.
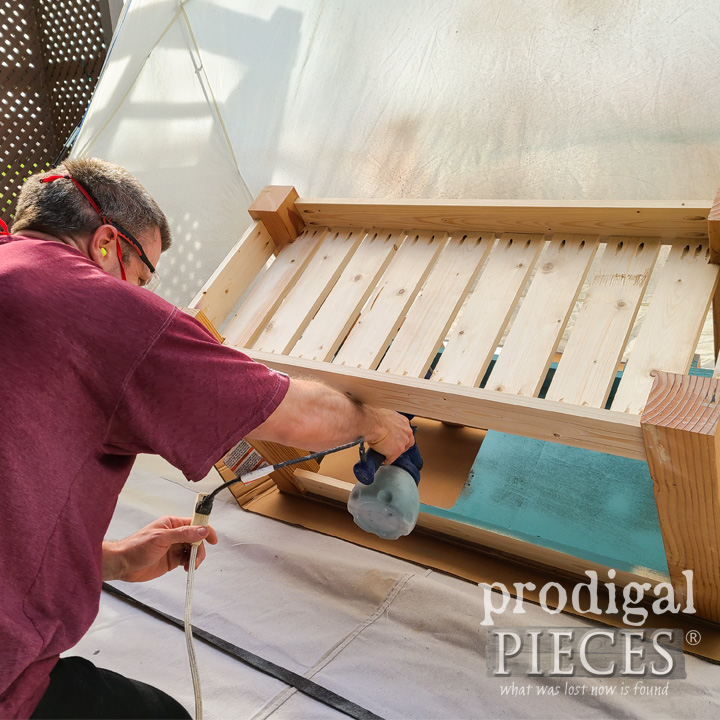
Step 6
Once we have everything set up, I show him how to fill the sprayer canister following the manufacturer instructions. We’re using an exterior semi-gloss for long-lasting protection and durability. Then, he gives it a test run on scrap wood (or you can use plywood). I show him how the nozzle allows you to spray in different patterns. In addition, the knob can be adjusted to change the flow. Last, but not least, it’s time to spray! He begins on the bottom to seal it first. Don’t you love the blue?
Step 7
As soon as the bottom is coated, we flip it up and he coats the top surfaces. JC mentions how easy it is to use and can’t believe how well it coats on the first coat. After two hours, he applies a second coat and lets it cure as well.

Step 8
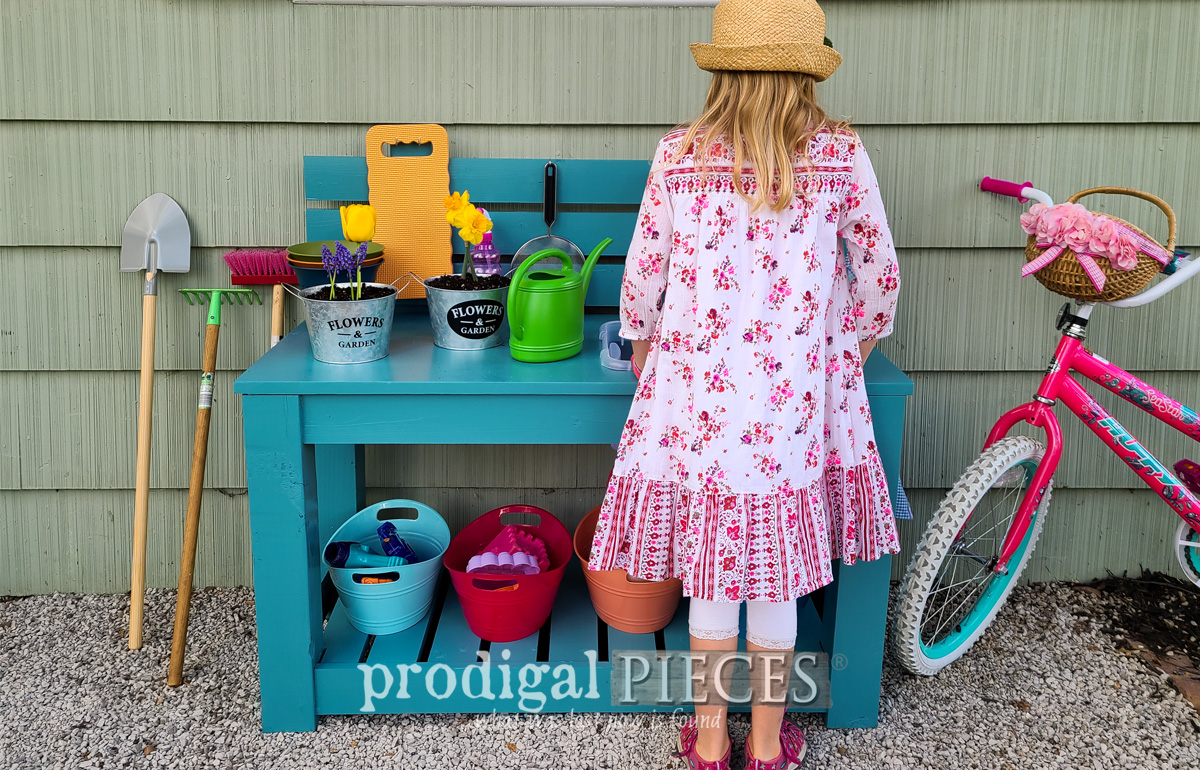
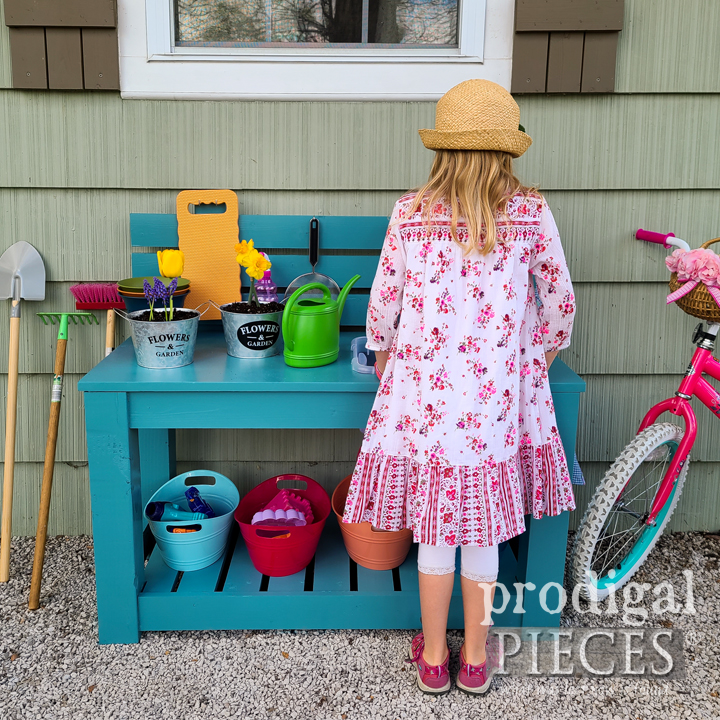
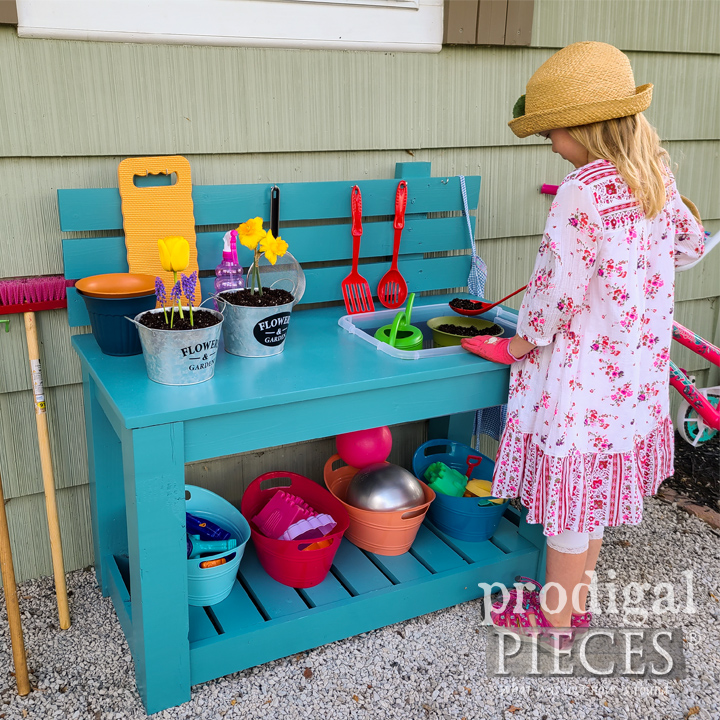
After adding a few hooks and fun accessories our upcycled mud bar is complete. {{happy dance}} Notice I found a plastic tub that perfectly fit the existing hole in the sewing desk top. All I had to do was pop off the handles and voila! I’m ready to make a mud pie and plant some blooms.
Step 9
Whether you’re a kid or kid at heart, this is a super fun build for the entire family to get involved in. My kiddos loved helping to stage this as well as have fun. JC and I are thankful we are able to work together and share our love of DIY with you. We hope you are inspired to create your own upcycled mud bar too. You can find more fun DIY projects on my blog and these cases and more in my online shop at Prodigal Pieces. Feel free to ask questions and share. Until next time!
Download project steps & shopping list
We'll never share your email with anyone else.