
How to Update Dark Wood Furniture
Painting over dark, wood furniture can be tough due to veneer bleeding through your fresh paint job. Follow this tutorial for tips on how to get it right!
Hi I’m Wendi from H2oBungalow.com. Today I’m going to share with you how to update old furniture with paint using my Super Finish Max Paint Sprayer. Painting old dark furniture is a great way to breathe new life into old pieces you still love.
I’ve made a video of my entire process filed with tips and useful information that covers all the steps of this makeover. If you’d like to download the step by step instructions you can find them in my blog post at H2OBungalow.com
Supplies You'll Need:
- Super Finish Max paint sprayer
- Extra Super Finish Max paint containers
- Medium Spray Shelter
- Quality latex paint, I used I used 50% mix of Sherwin Williams Ravishing Coral and Quite Coral
- Water based paint primer like Gripper, STIXX or Zinsser
- Simple Green
- Painter’s rags
- Drill
- Sander
- Respirator
- Safety goggles
Step 1: Repair
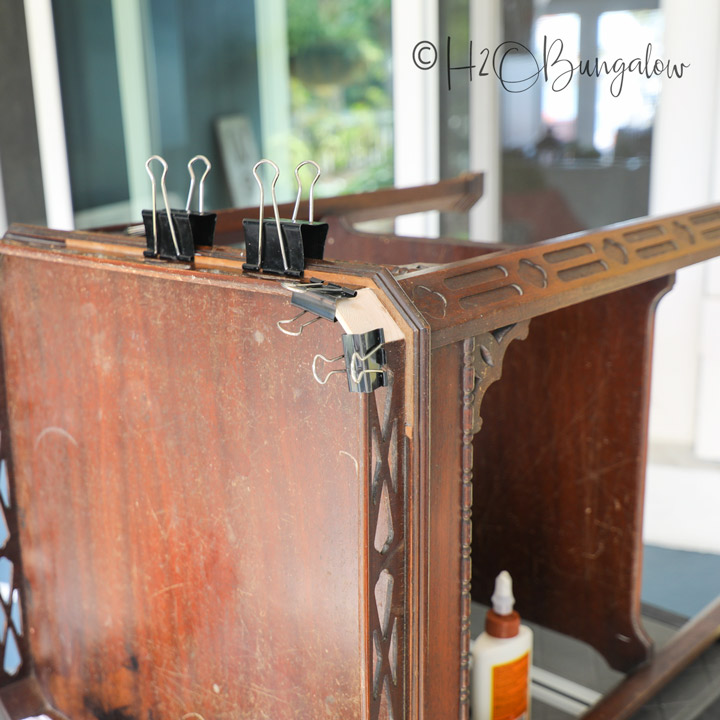
The first thing you want to do is repair any missing pieces or loose trim before painting. Use wood glue and putty if needed. Metal Binder clips work great for holding small areas together while glue or wood putty are drying.
Step 2: Sanding
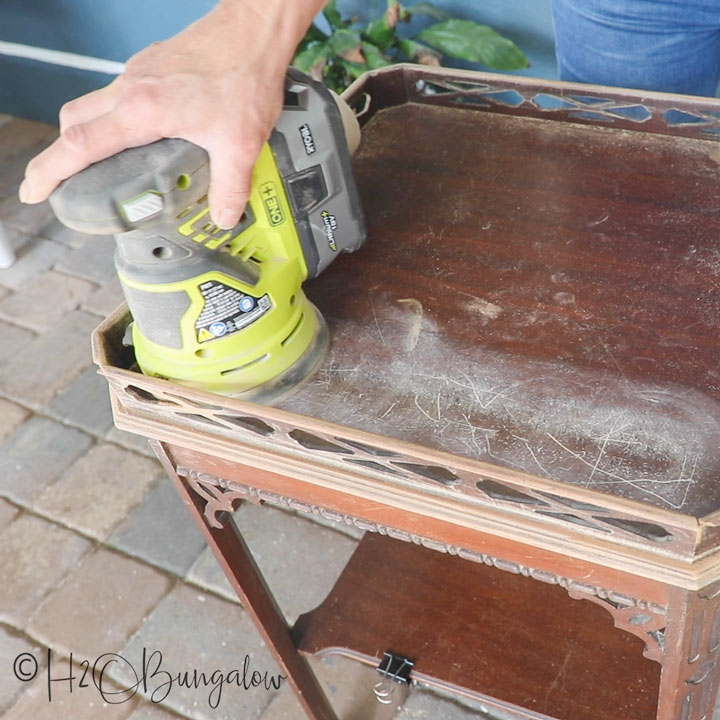
If needed, lightly sand flat surfaces to remove deep gouges in the wood or peeling old finish. These tabletops had a lot of wear and tear that needed to be smoothed down before painting. I used a random orbital sander and 150 grit sandpaper to go over the flat surfaces until I couldn’t feel the gouges anymore.
Step 3: Degloss & Clean
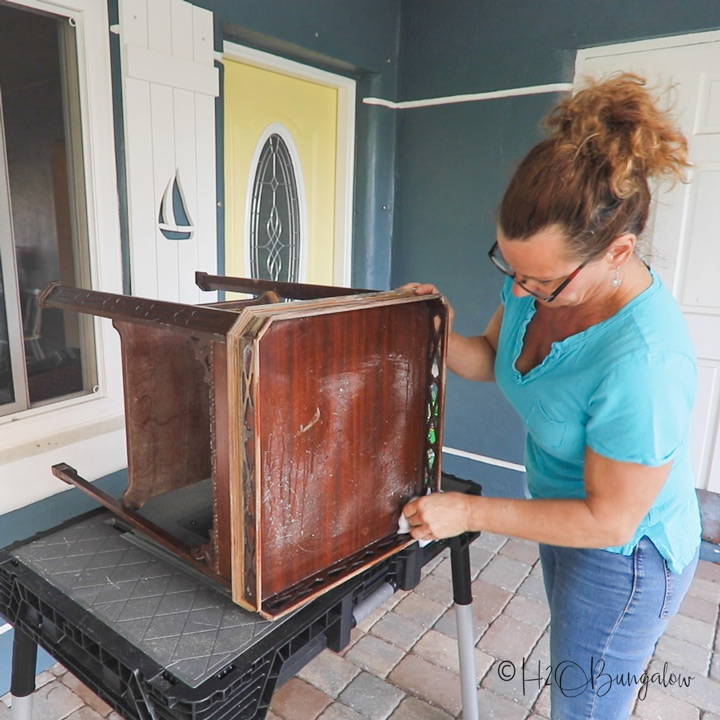
Use Simple Green and cotton painter’s rags to clean and degloss all of the surfaces. Deglossing the old finish gives the new paint a good surface to adhere to so your paint project will last a long time.
Step 4: Apply two coats of primer
Dark wood or stained wood furniture is notorious for tannins bleeding through new and light-colored paint, which is why painting old dark wood furniture can be so tough. I used a water-based Gripper Primer to seal the wood and old finish before painting with my color.
Spraying inside fretwork and cutouts can be challenging and lead to dripped paint if you paint over the same place too long while trying to get these areas painted. I used an artist’s brush to apply a coat of the primer inside all of the fretwork before applying a primer coat all over.
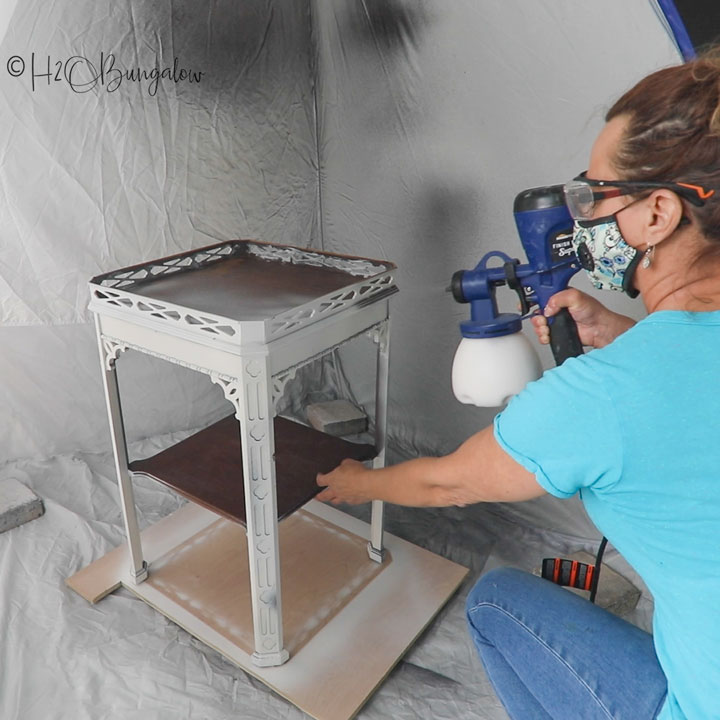
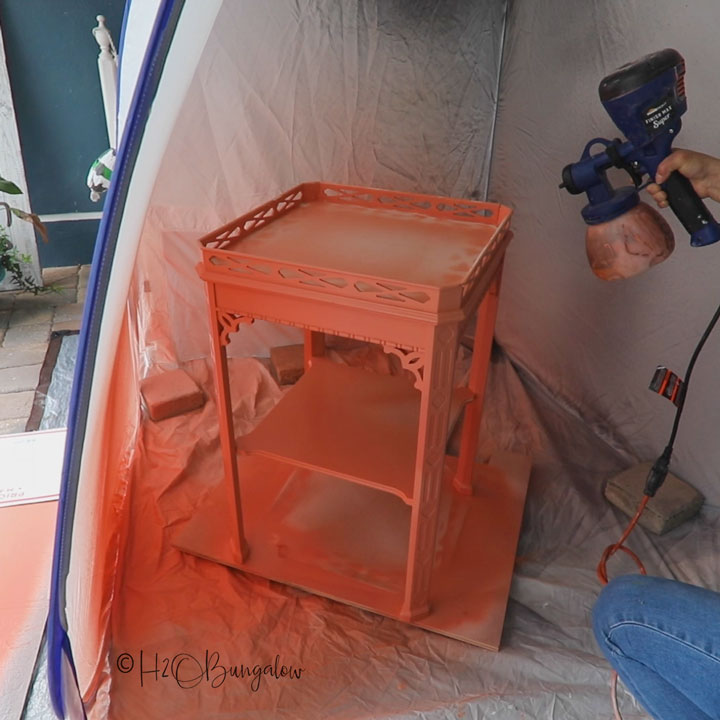
After applying primer to the fretwork, I gave the tables two coats of primer with my Super Finish Max paint sprayer.
Step 5: Apply two coats of paint
I started by hand painting the fretwork first, followed by two coats of paint in the coral mix I made.
Step 6: Let the tables cure
Put the tables aside and let them cure for several days before using them or placing anything on the tabletops.
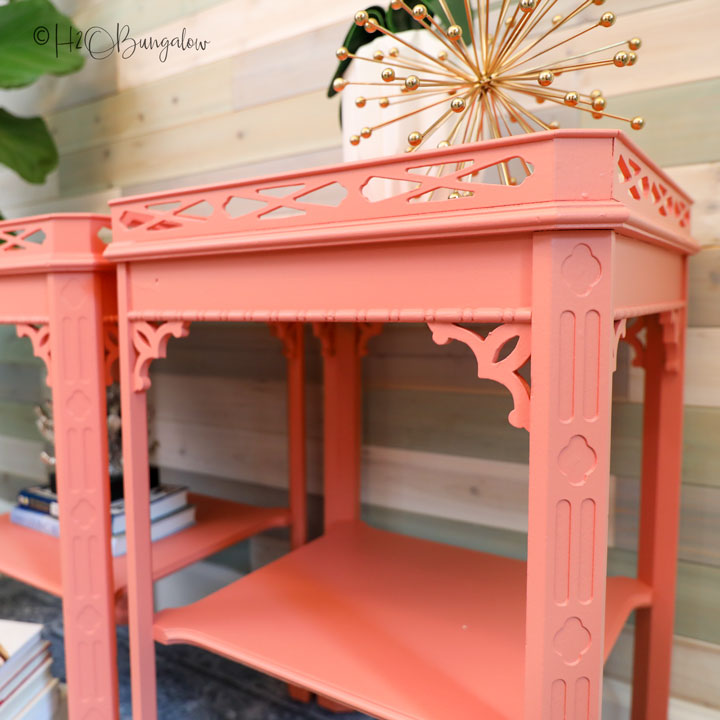
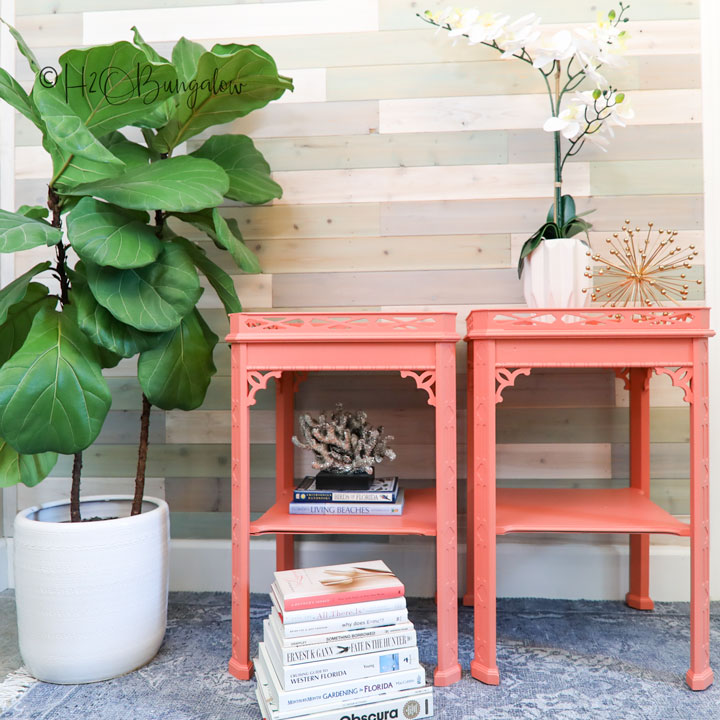
Giving new life to vintage furniture with a trendy paint color is a great way to update a room and still use a favorite piece of furniture.
Looking for more DIY projects to use your HomeRight Super Finish Max paint sprayer on? You’ll find lots of different types of home decor and home improvement project tutorials that you can use your HomeRight Super Finish Max paint sprayer on in my blog at H2OBungalow.com.
This sponsored post was created by H2O Bunglaow. Head to the blog for the full post and details about this project.
Download project steps & shopping list
We'll never share your email with anyone else.