Vintage Farmhouse Hutch Makeover
Tired of your current furniture? Learn how to change and update your existing furniture on a budget using a HomeRight paint sprayer.
There may be times where we get tired of our home décor and desire change. However, sometimes our desires don’t match our budget. Not only is a big budget require, but also new décor. Sometimes we just need to envision our current décor anew. That’s where the ol’ bucket of elbow grease comes into play and it’s time to pull up our DIY sleeves. I’m sharing today how I took a worn down vintage farmhouse hutch and breathed new life into it. It’s easy with the right tools and know-how.
Step One
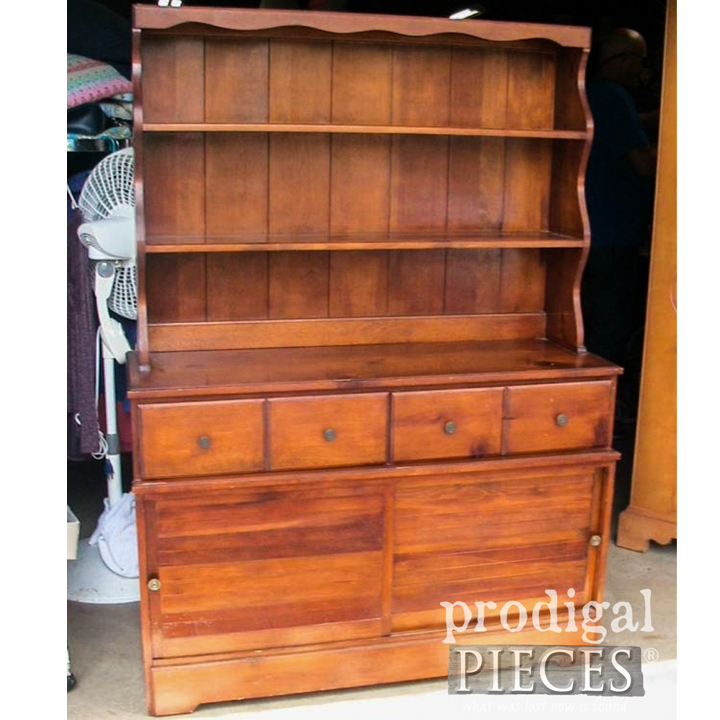
I had this vintage pine hutch with open upper storage with extra storage below. It has great lines, made of solid wood, and oodles of storage opportunities. My finished vision for it was a mix of wood and paint.
Step Two
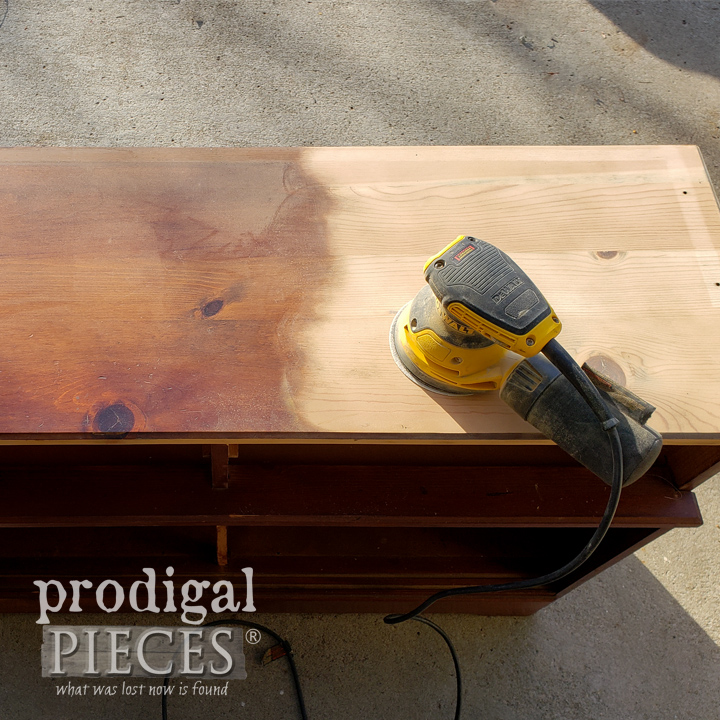
First, I made any necessary repairs to the surfaces with wood filler and then a good sanding to the top surface. I typically begin with a 120 grit paper when just removing and old, worn finish. Take it slow and follow the grain in the wood. Once sanded, a rustic scrubbed look is what I’m after, so I use a combination of 3 different waxes (gray, brown, white) to protect and age the wood. Buff to a low luster.
Step Three
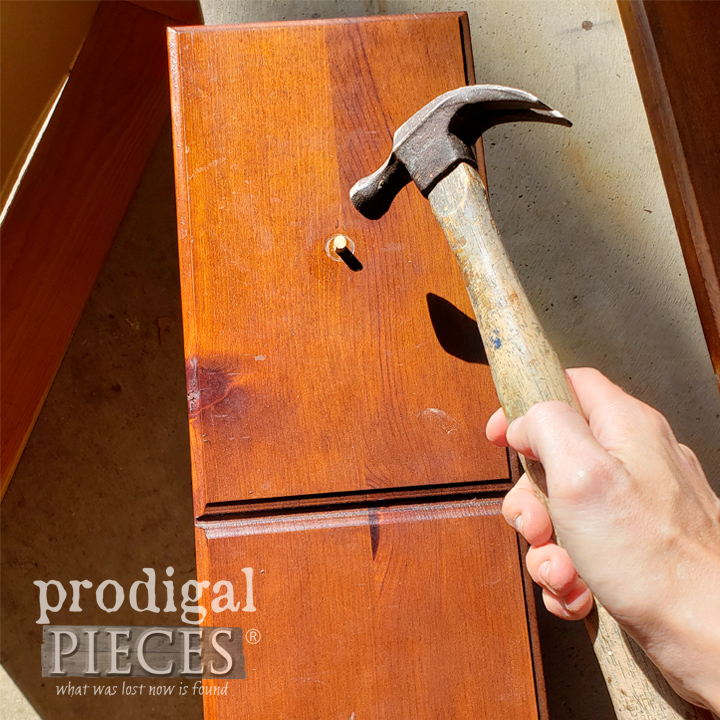
Then, it’s time to tackle the cabinet. I knew I wanted to change up the hardware, so I plug the knob holes with dowel sand smooth.
Step Four
I cover the waxed top with paper and tape and set everything up in my HomeRight Spray Shelter . Talk about a blessing to have these shelters (small, medium & large). So handy, portable, and tuck away into a small package for storage afterwards.
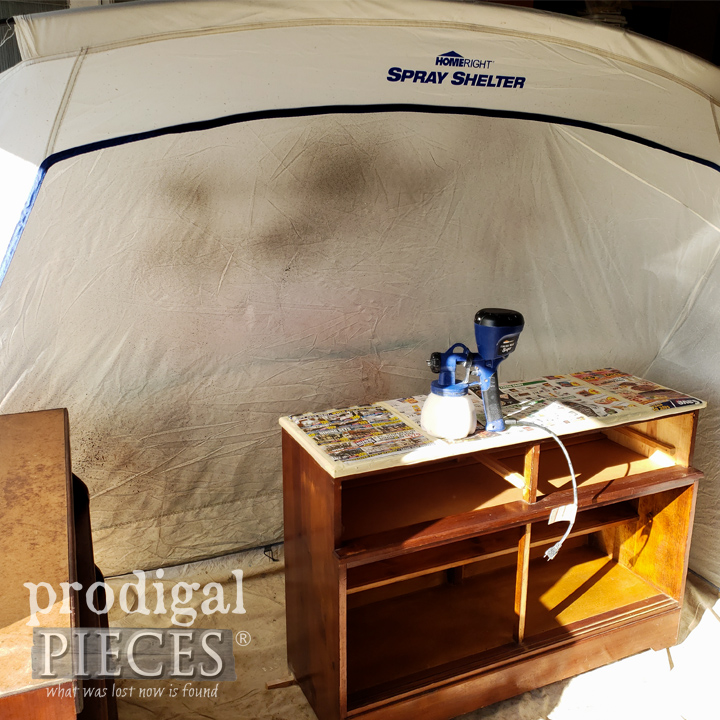
Step Five
Next, out comes my favorite sprayer to play – the HomeRight Super Finish Max. I follow the instructions to fill the canister with slightly thinned paint. You can see my video tutorial how to set it up HERE. For this project, I’m using a light gray latex in an eggshell finish. Before beginning I get my flow settings set by practicing on a piece of cardboard or scrap wood. Then, it’s game on. woot!
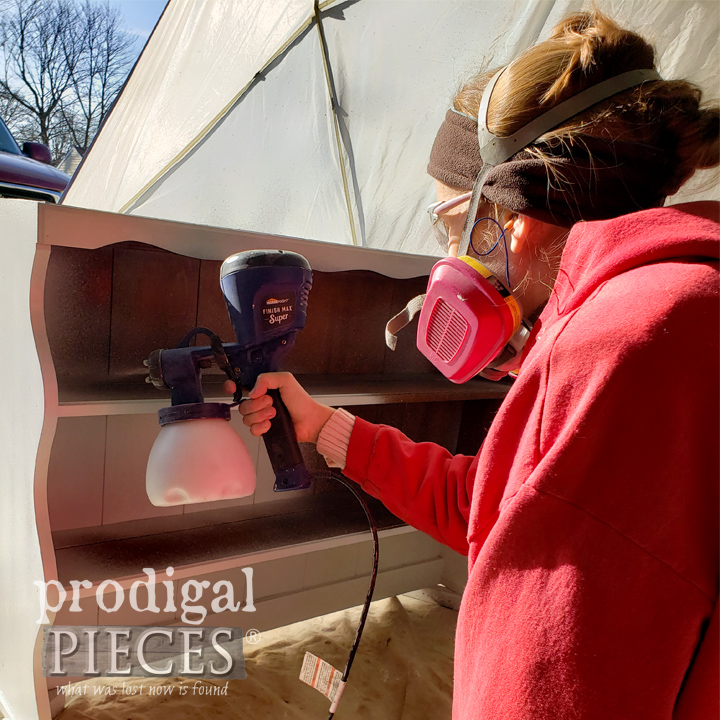
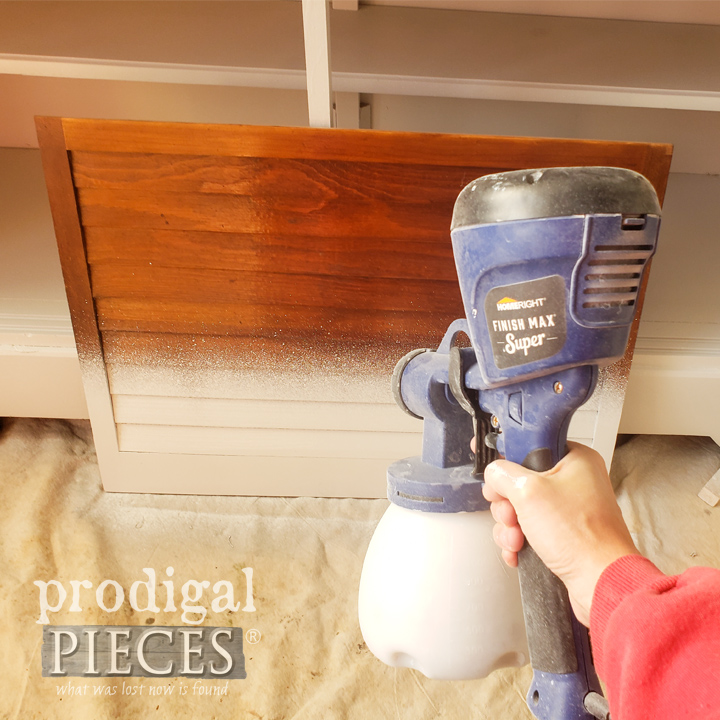
Step Six
My process consists of painting two coats, letting full cure time in between. Be sure to clean your sprayer in-between uses. This keeps it running smoothly for your project, but also adds to longevity of your tool. Just look at how it tackles those louver doors. Those can be a bear to paint! I love this sprayer…really.
Step Seven
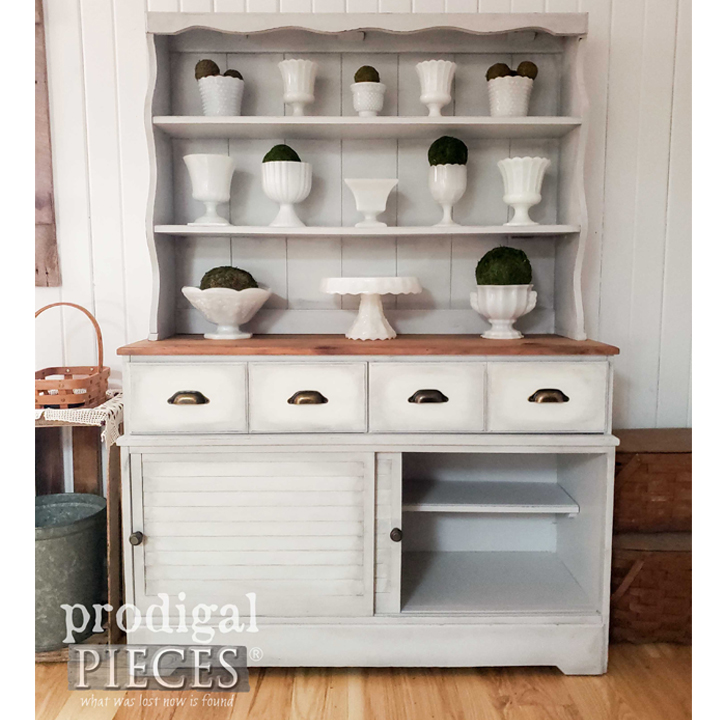
Once I’m finished painting the base gray coat, I apply whitewash with blending to the doors, hutch top back, and drawer fronts. This creates depth and texture to an otherwise flat surface. After that, I use my waxes to add dimension and shadowing to those same spots.
Step Eight
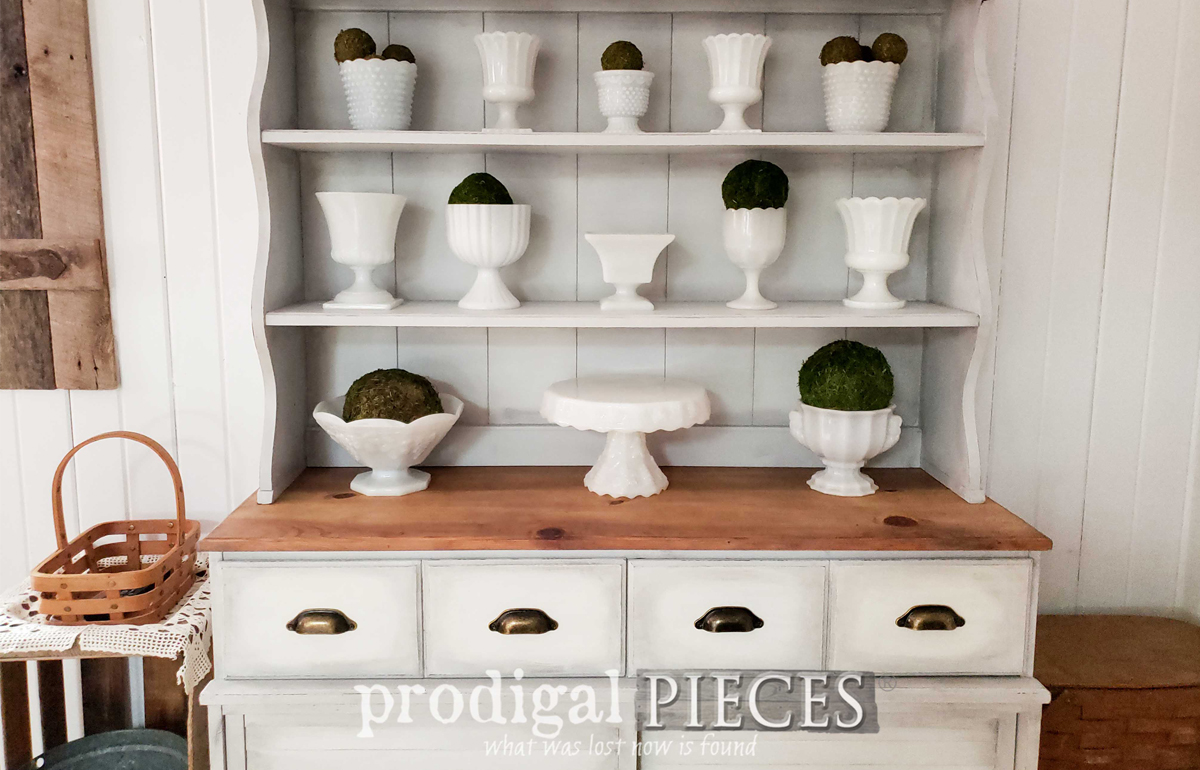
Finally, new hardware is added and we can see the fruits of our labor. That old pine is now refreshed giving props to the beautiful wood that is there too. Thankfully, I was able to get this completed look in one day’s time. You just can’t beat that.
Are feeling inspired to tackle your own furniture? I am! The sky’s truly the limit when it comes to reinventing your spaces. Initiative and willing spirit are all that’s required. You can do it!
I invite you to come see my other DIY projects from furniture, to remodeling, sewing, crafting and more at Prodigal Pieces. Until next time!

Download project steps & shopping list
We'll never share your email with anyone else.